Note
Hello, welcome to the SunFounder Raspberry Pi & Arduino & ESP32 Enthusiasts Community on Facebook! Dive deeper into Raspberry Pi, Arduino, and ESP32 with fellow enthusiasts.
Why Join?
Expert Support: Solve post-sale issues and technical challenges with help from our community and team.
Learn & Share: Exchange tips and tutorials to enhance your skills.
Exclusive Previews: Get early access to new product announcements and sneak peeks.
Special Discounts: Enjoy exclusive discounts on our newest products.
Festive Promotions and Giveaways: Take part in giveaways and holiday promotions.
👉 Ready to explore and create with us? Click [here] and join today!
8.8 Camera with Home Assistant
This project will guide you in setting up a video stream web server for the ESP32 camera and integrating it with the popular home automation platform, Home Assistant. This integration will allow you to access the server from any device on your network.
Note
Before diving into this project, you need to have an operating system with Home Assistant installed.
We recommend installing the Home Assistant OS on a Raspberry Pi.
If you don’t have a Raspberry Pi, you can also install it on a virtual machine running on Windows, macOS, or Linux.
For installation instructions, refer to the official website link: https://www.home-assistant.io/installation/
Please proceed with this project only after successful installation.
Required Components
In this project, we need the following components.
It’s definitely convenient to buy a whole kit, here’s the link:
Name |
ITEMS IN THIS KIT |
LINK |
|---|---|---|
ESP32 Starter Kit |
320+ |
You can also buy them separately from the links below.
COMPONENT INTRODUCTION |
PURCHASE LINK |
|---|---|
1. Configuration in ESP Home
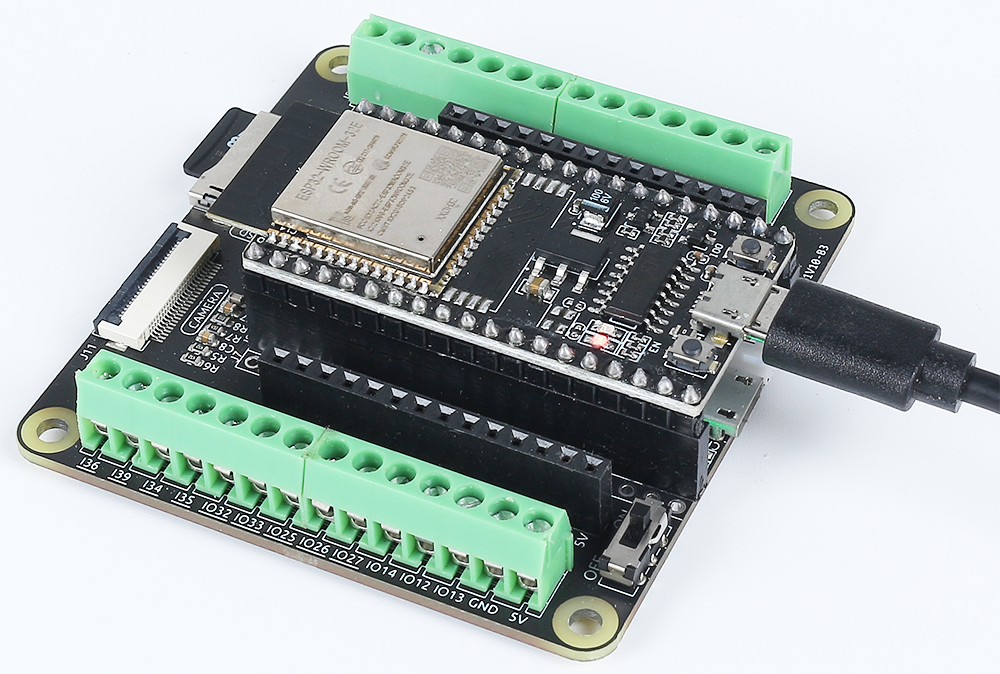
First plug in the camera.
Connect your ESP32 to the host where you’ve installed the Home Assistant system (e.g., if installed on a Raspberry Pi, connect to the Pi).
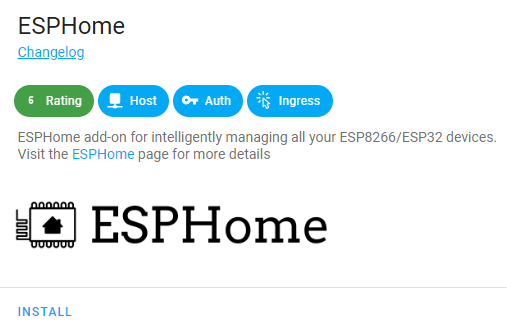
Install ESPHome Addon.
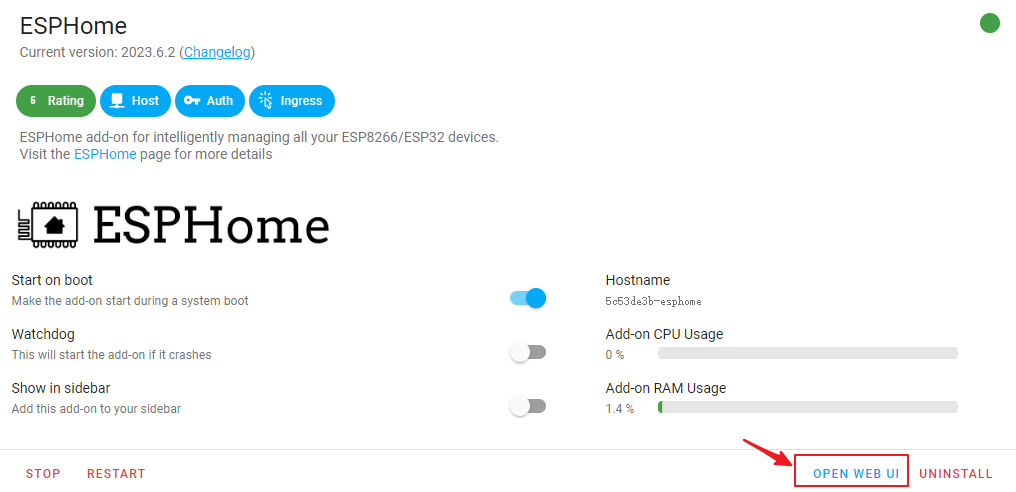
Click START, then OPEN WEB UI.
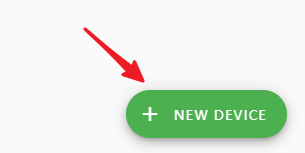
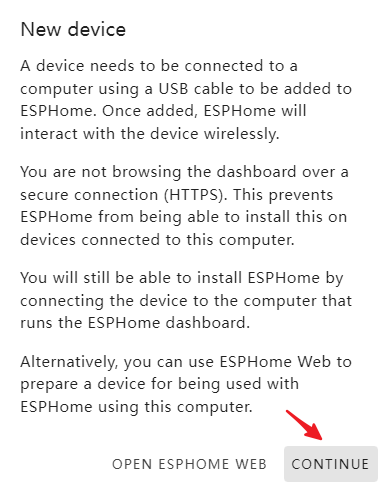
Add new devices.
A prompt might appear. Click CONTINUE.
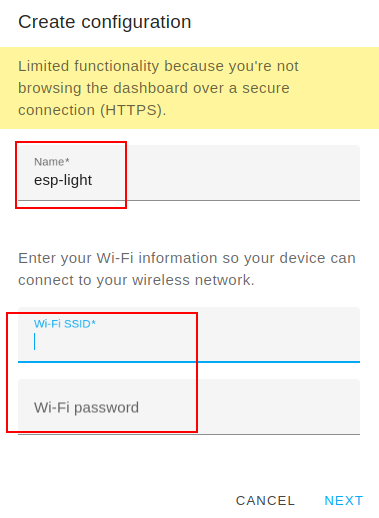
Create a configuration. Here, you can enter any desired name for Name. For WiFi, enter details of the network on which your Home Assistant system is present.
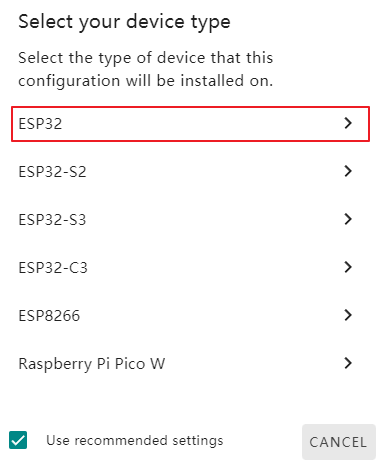
Select the ESP32 as the device type.
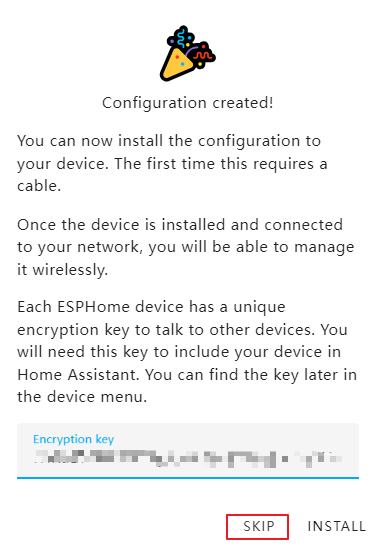
When you see a fireworks celebration icon, it means you’ve successfully created the device. Click skip (DO NOT click INSTALL).
At this point, you’ve only added the device in ESPHome. To integrate the ESP32 module into Home Assistant, additional configurations are needed:
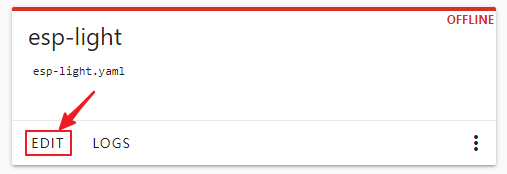
Click EDIT.
After entering the
.yamlinterface, modify thessidandpasswordwith your WiFi details.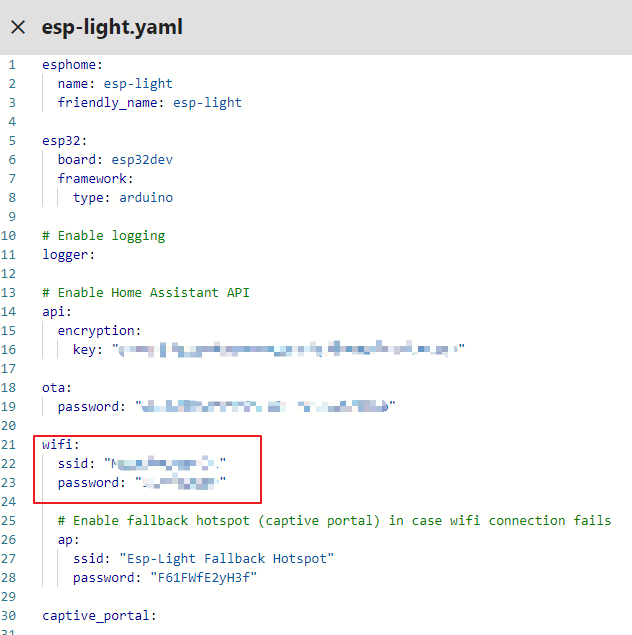
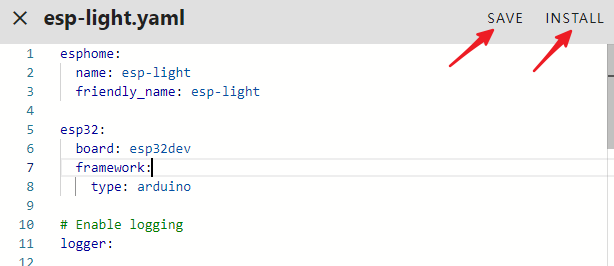
Under the
captive_portalsection, paste the following code:# Example configuration entry esp32_camera: external_clock: pin: GPIO0 frequency: 20MHz i2c_pins: sda: GPIO26 scl: GPIO27 data_pins: [GPIO5, GPIO18, GPIO19, GPIO21, GPIO36, GPIO39, GPIO34, GPIO35] vsync_pin: GPIO25 href_pin: GPIO23 pixel_clock_pin: GPIO22 power_down_pin: GPIO32 # Image settings name: My Camera # ...
Note
For more details on the
.yamlconfiguration for ESP32, you can refer to ESP32 Camera - ESPHome.Save, then click INSTALL.
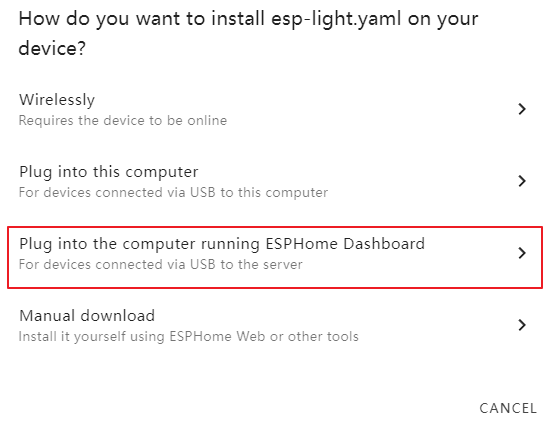
Choose the USB port method for installation.
Note
The initial compilation will download dependency packages, which might take around 10 minutes. Please be patient. If the process stalls for a long time, check if there’s enough disk space on your system.
Wait for the
INFO Successfully compiled program.message, indicating firmware compilation is complete.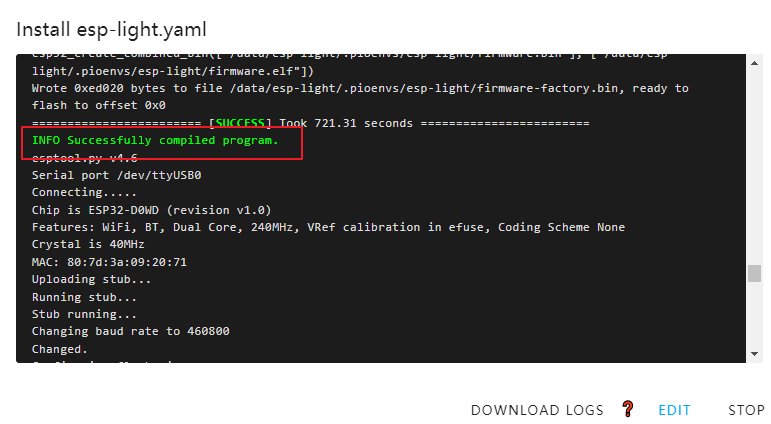
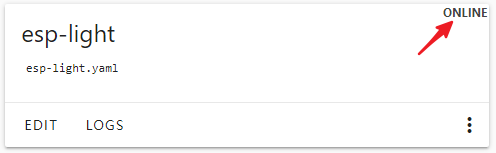
Note
At this point, you should see the node as ONLINE. If not, ensure your ESP32 is on the same network segment or try rebooting the device.
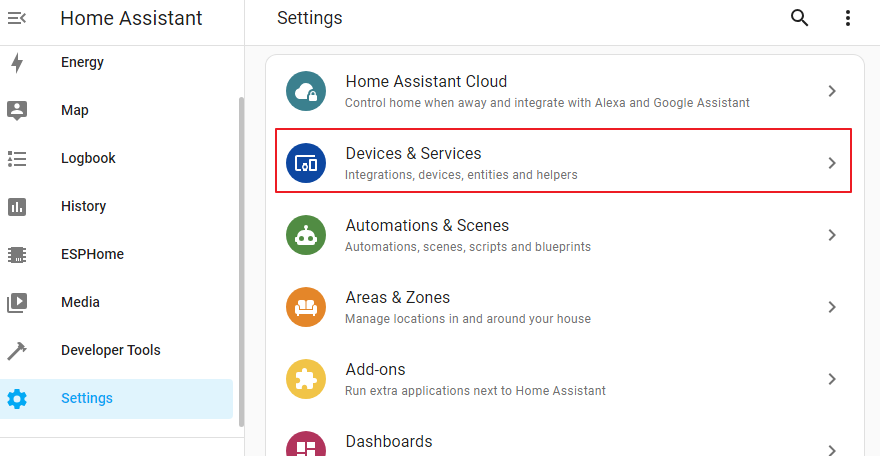
2. Configuration in Home Assistant
After integrating with Esphome, you still need to configure the camera in homeassistant.
Go to Settings > Devices & Services.
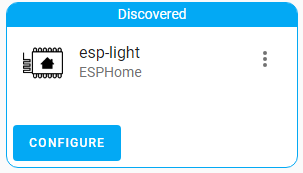
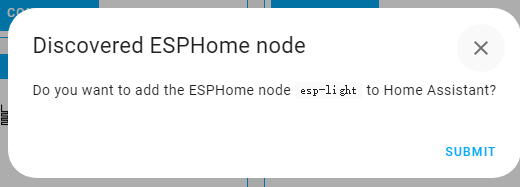
Now you should see the esphome tab. Click CONFIGURE.
Click SUBMIT.
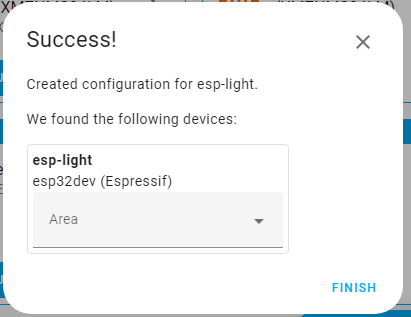
Wait for the Success message.
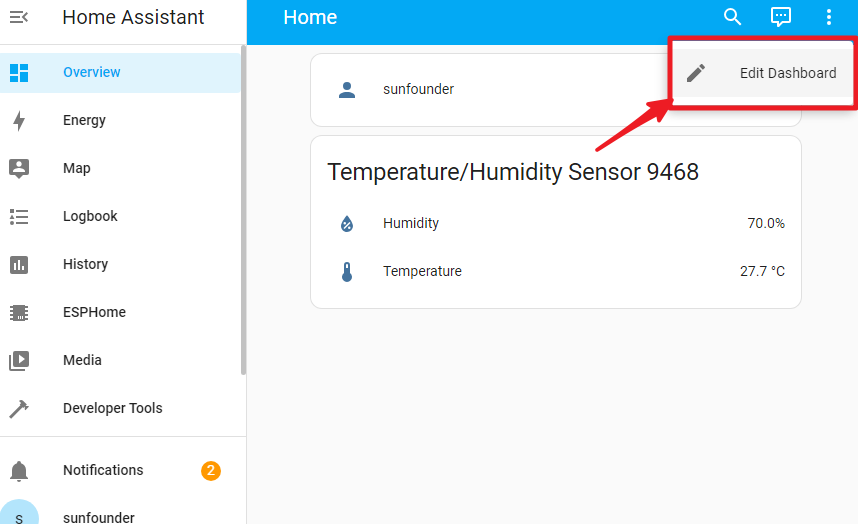
In Overview, click the top-right menu and select Edit Dashboard.
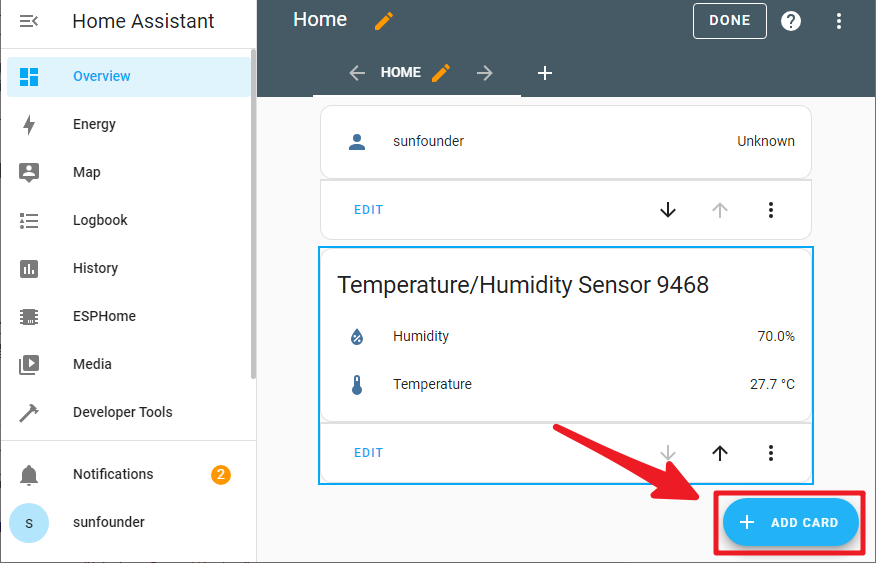
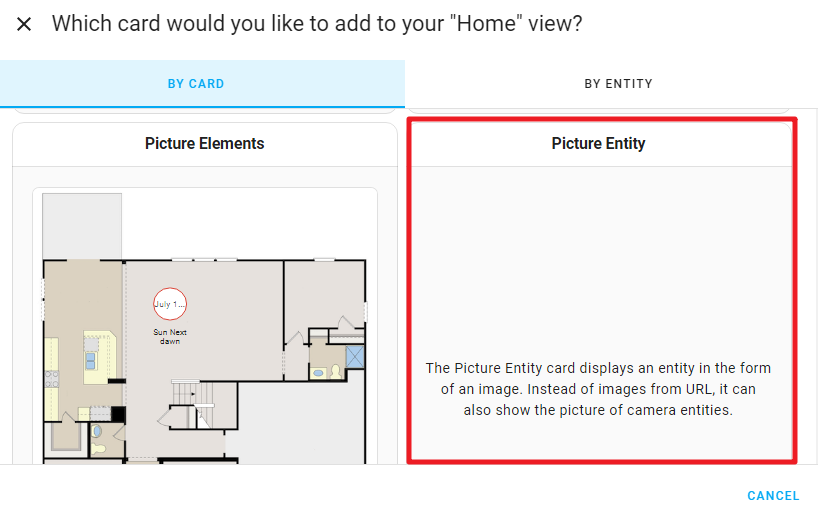
Click ADD CARD.
Choose Picture entity.
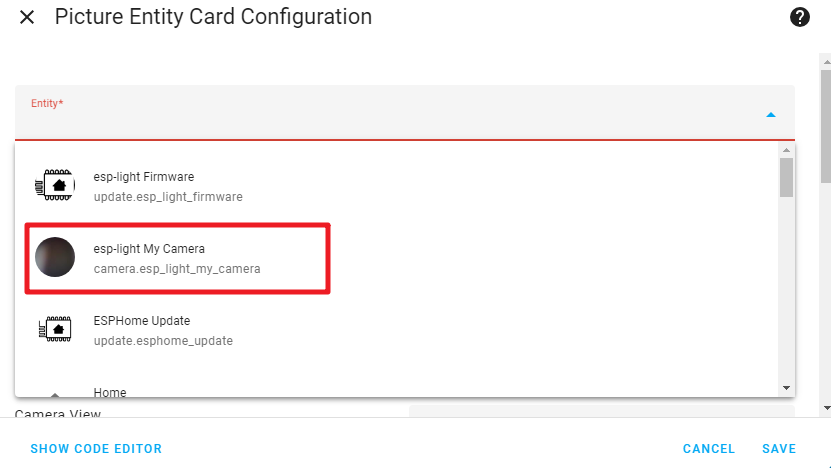
In the entity field, select the ESP32 you just added. Then save.
Lastly, click DONE to exit the EDIT interface.
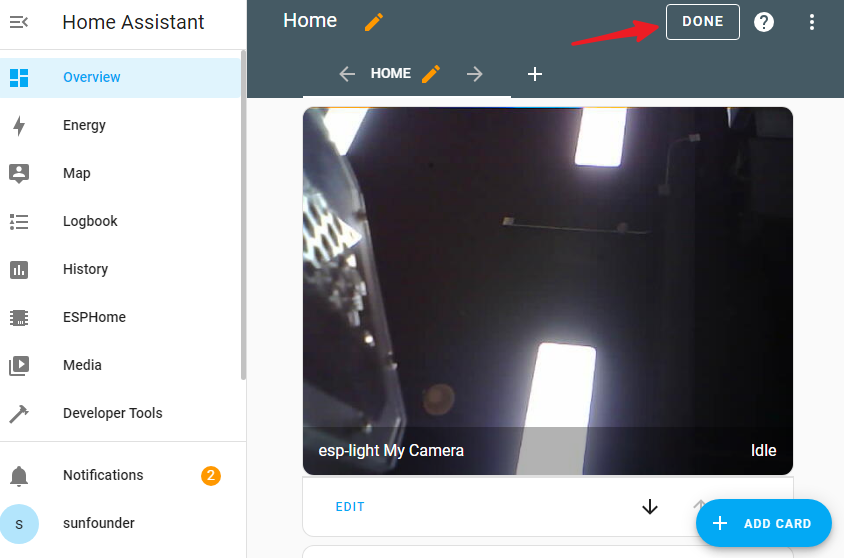
Now, you can view your camera feed on Home Assistant.