Note
Hello, welcome to the SunFounder Raspberry Pi & Arduino & ESP32 Enthusiasts Community on Facebook! Dive deeper into Raspberry Pi, Arduino, and ESP32 with fellow enthusiasts.
Why Join?
Expert Support: Solve post-sale issues and technical challenges with help from our community and team.
Learn & Share: Exchange tips and tutorials to enhance your skills.
Exclusive Previews: Get early access to new product announcements and sneak peeks.
Special Discounts: Enjoy exclusive discounts on our newest products.
Festive Promotions and Giveaways: Take part in giveaways and holiday promotions.
👉 Ready to explore and create with us? Click [here] and join today!
1.3 Install the ESP32 Board(Important)
To program the ESP32 microcontroller, we need to install the ESP32 board package in the Arduino IDE. Follow the step-by-step guide below:
Install the ESP32 Board
In the Boards Manager window, type ESP32 in the search bar. Click the Install button to start the installation process. This will download and install the ESP32 board package.

Congratulations! You have successfully installed the ESP32 board package in the Arduino IDE.
Upload the Code
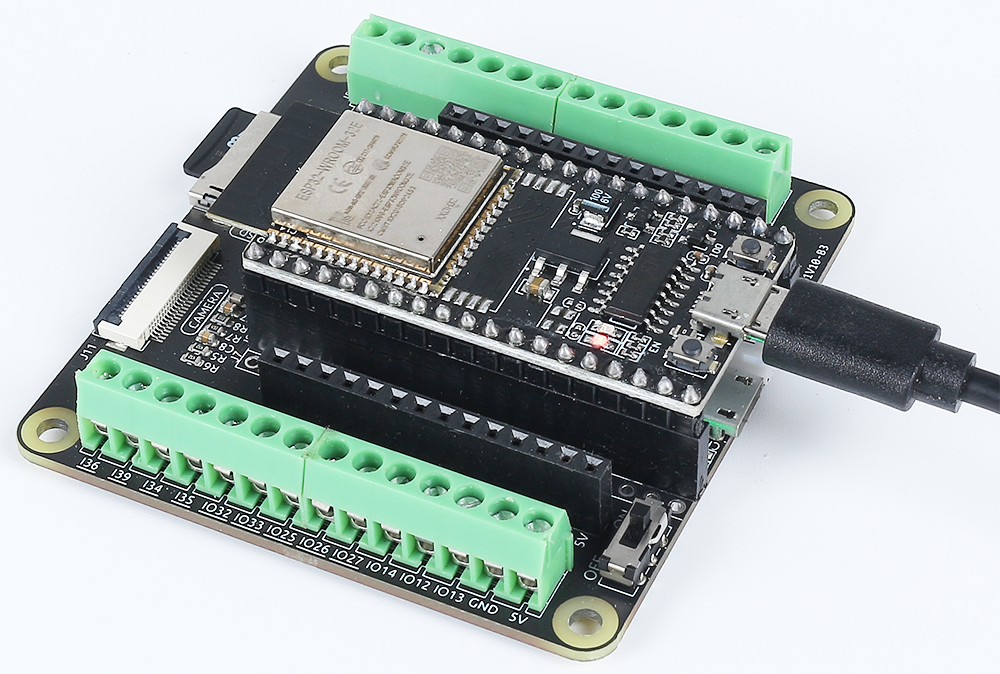
Now, connect the ESP32 board to your computer using a USB cable.
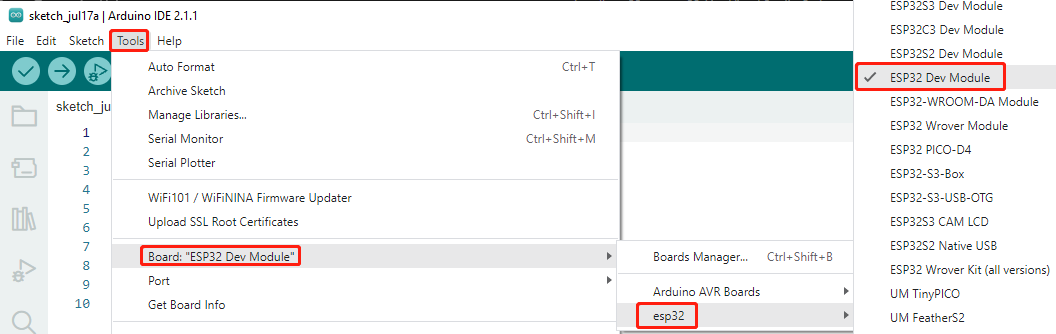
Then select the correct board, ESP32 Dev Module, by clicking on Tools -> Board -> esp32.
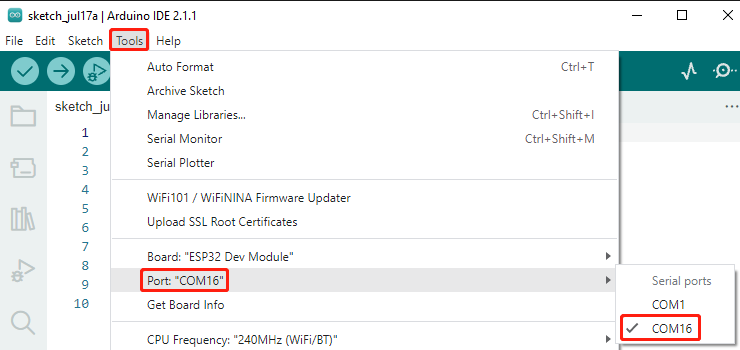
If your ESP32 is connected to the computer, you can choose the correct port by clicking on Tools -> Port.
Note
If it shows COM1 or no port, your computer may not recognize the board. See Manually Install Driver for ESP32.
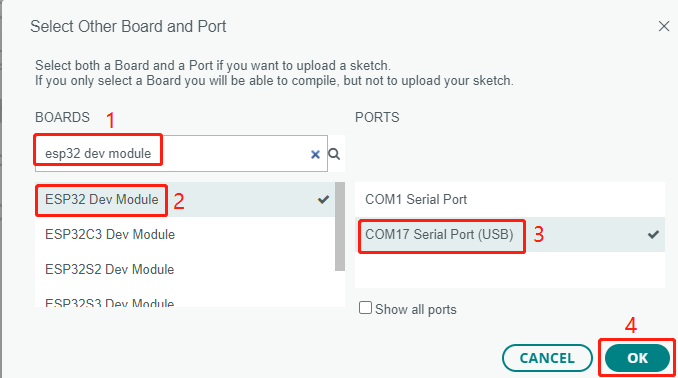
Additionally, Arduino 2.0 introduced a new way to quickly select the board and port. For ESP32, it is usually not automatically recognized, so you need to click on Select other board and port.
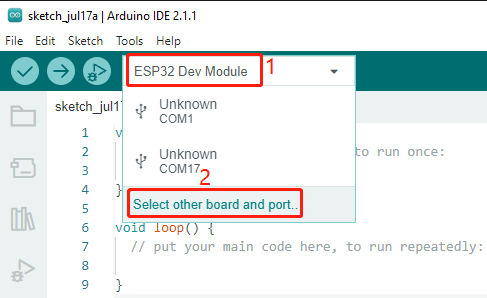
In the search box, type ESP32 Dev Module and select it when it appears. Then, choose the correct port and click OK.
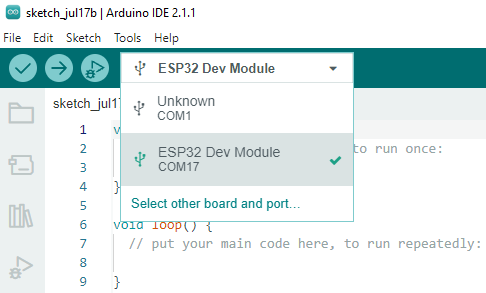
Afterward, you can select it through this quick access window. Note that during subsequent use, there may be times when ESP32 is not available in the quick access window, and you will need to repeat the above two steps.
Both methods allow you to select the correct board and port, so choose the one that suits you best. Now, everything is ready to upload the code to the ESP32.