Note
Hello, welcome to the SunFounder Raspberry Pi & Arduino & ESP32 Enthusiasts Community on Facebook! Dive deeper into Raspberry Pi, Arduino, and ESP32 with fellow enthusiasts.
Why Join?
Expert Support: Solve post-sale issues and technical challenges with help from our community and team.
Learn & Share: Exchange tips and tutorials to enhance your skills.
Exclusive Previews: Get early access to new product announcements and sneak peeks.
Special Discounts: Enjoy exclusive discounts on our newest products.
Festive Promotions and Giveaways: Take part in giveaways and holiday promotions.
👉 Ready to explore and create with us? Click [here] and join today!
1.3 Adding the required libraries
You need to add the correct libraries for the Arduino IDE to use Blynk.
Click HERE, scroll down to “Assets” and download the first
.zipfile.Note
Please note that the version number shown in the image below may be outdated. We highly recommend downloading and installing the latest version available.

Unzip this file and then enter the
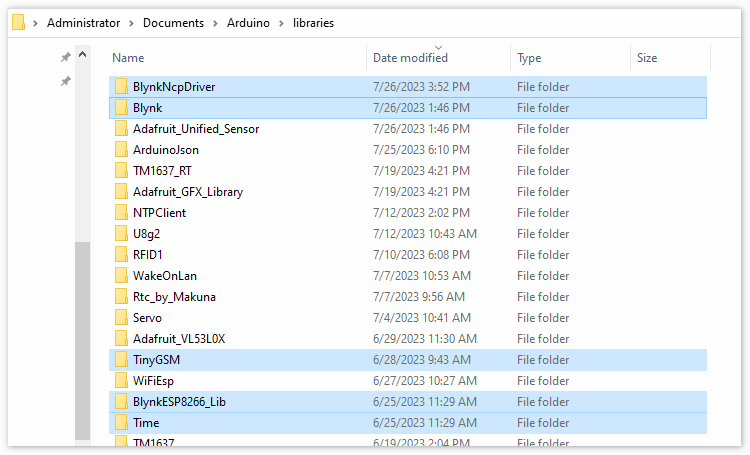
librariesfolder to see the following folders.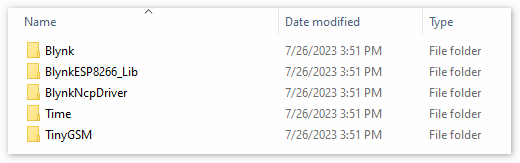
Copy them all and add them to the
librariesfolder of your sketchbook.Step 1: You can find or change the location of your libraries folder at
File > Preferences > Sketchbook location.
Step 2: Go to the location of your Sketchbook location(find from Arduino IDE). And find
librariesfolder, click to open it.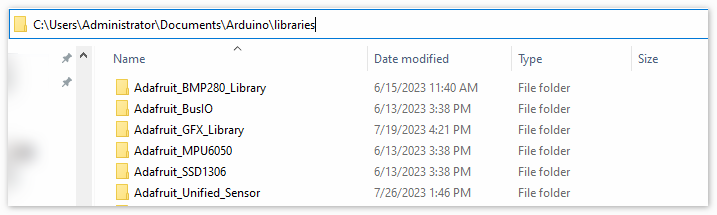
Step 3: Paste all the unzipped folders of
Blynk_Release_vx.x.x\librariesinto the libraries folder.