2.10 Active Buzzer
Overview
In this lesson, you will get to know about active buzzer. As a type of electronic buzzer with an integrated structure, active buzzer is supplied by DC power, widely used in computer, alarm, electronic toy, telephone, timer and other electronic products or voice devices.
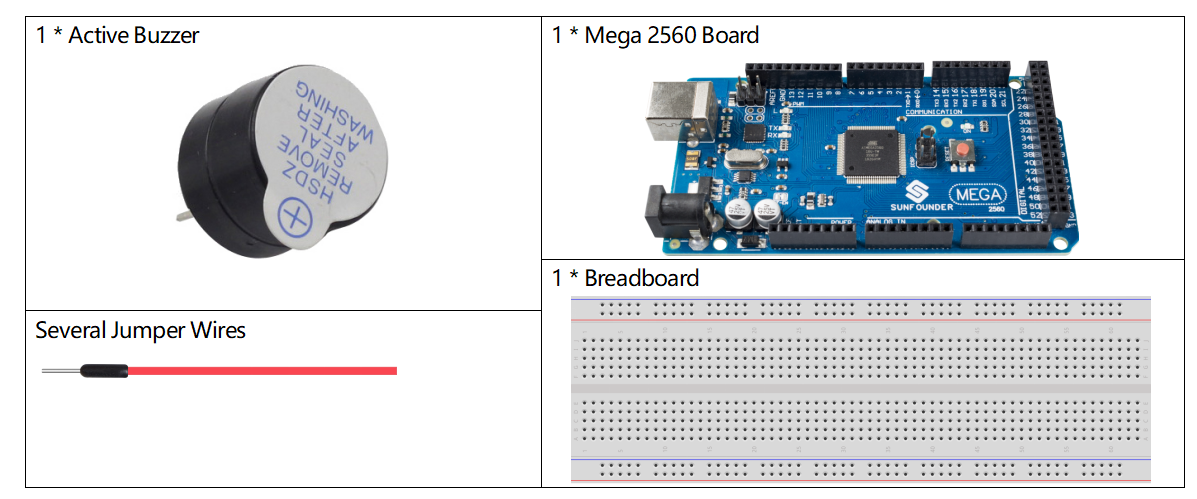
Components Required

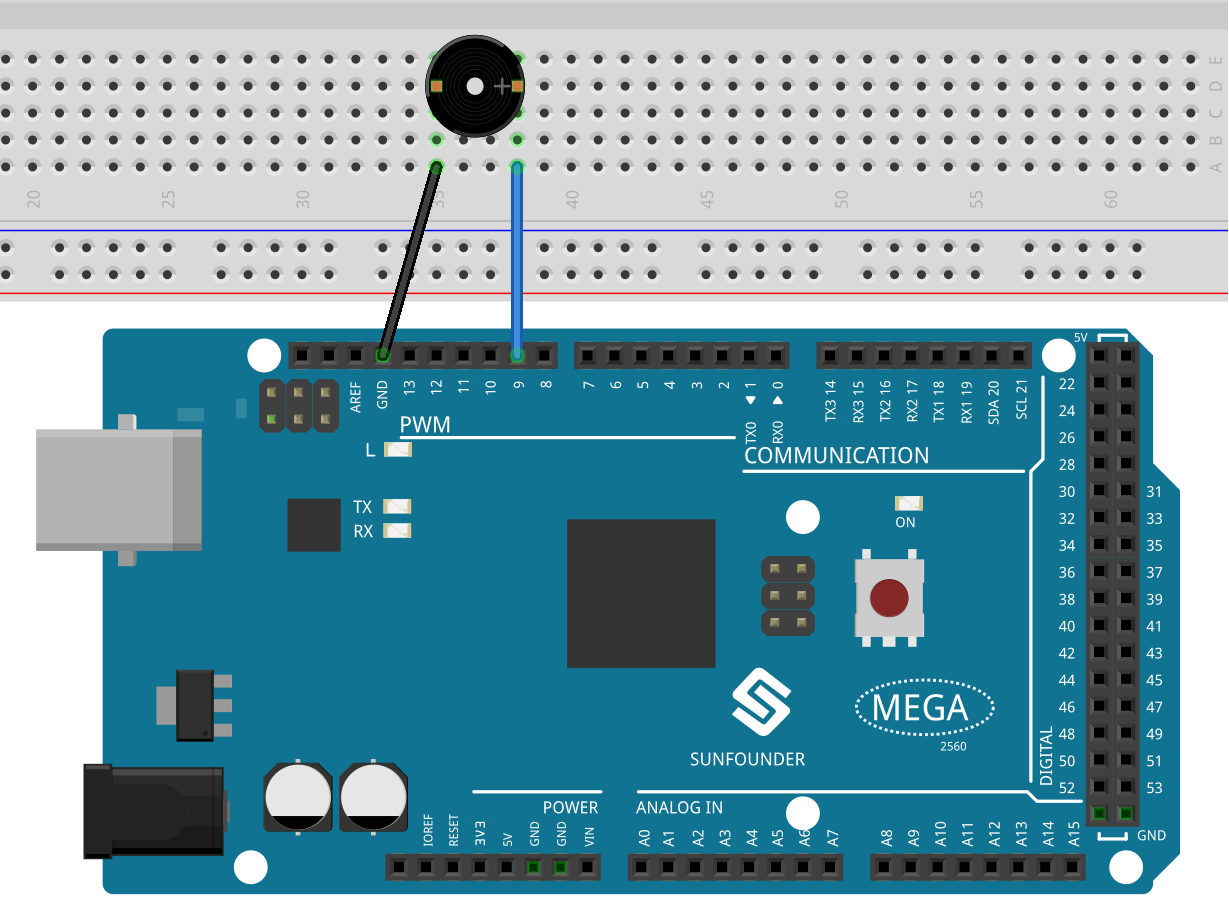
Fritzing Circuit

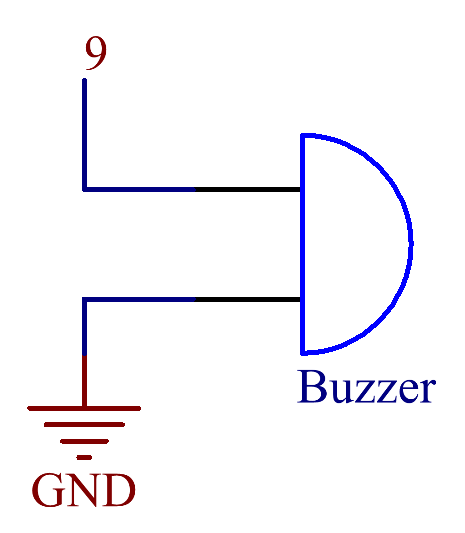
In this example, we use the digital pin 9 to drive the buzzer and extend the cathode of the Buzzer to GND and its anode to the digital pin 9.
Schematic Diagram

Code
Note
You can open the file
2.10_activeBuzzer.inounder the path ofsunfounder_vincent_kit_for_arduino\code\2.10_activeBuzzerdirectly.Or copy this code into Arduino IDE.
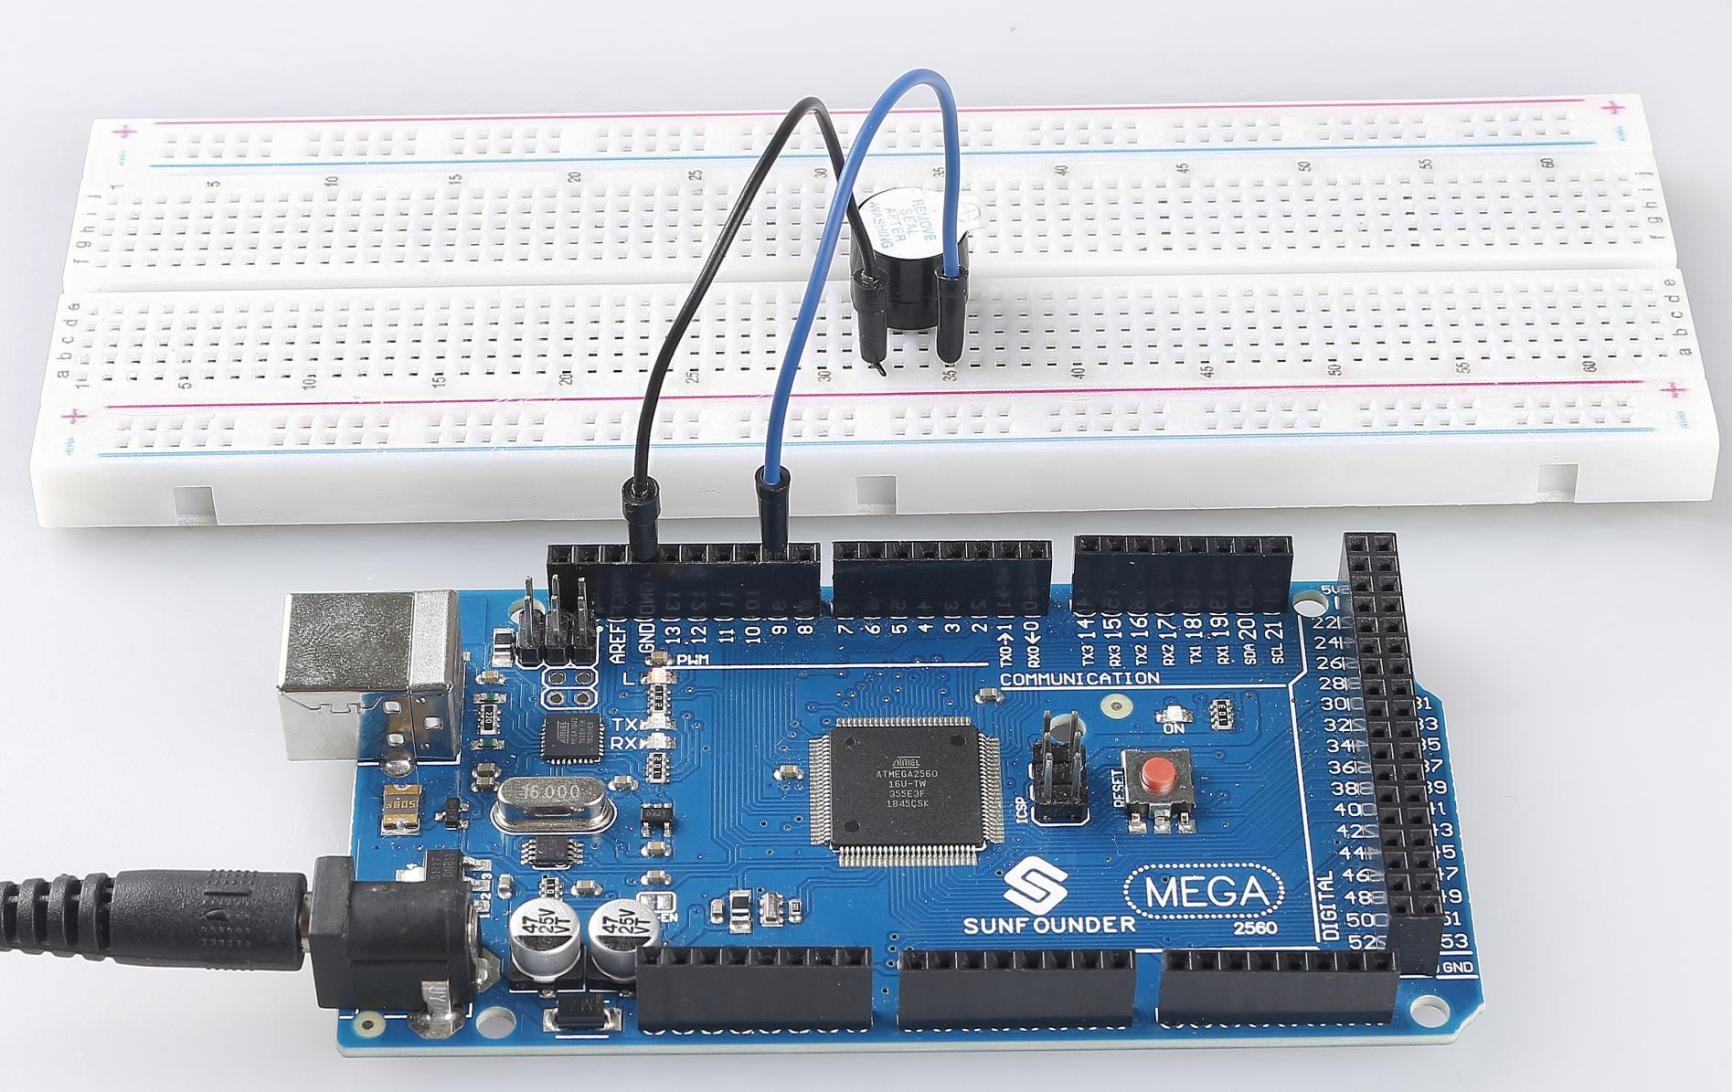
When you finish uploading the codes to the Mega2560 board, you can hear the beep—beep emitted from the buzzer. If you want to know more about the detail code explanation, please refer to Part 1-1.2 Digital Write.
Phenomenon Picture
