Note
Hello, welcome to the SunFounder Raspberry Pi & Arduino & ESP32 Enthusiasts Community on Facebook! Dive deeper into Raspberry Pi, Arduino, and ESP32 with fellow enthusiasts.
Why Join?
Expert Support: Solve post-sale issues and technical challenges with help from our community and team.
Learn & Share: Exchange tips and tutorials to enhance your skills.
Exclusive Previews: Get early access to new product announcements and sneak peeks.
Special Discounts: Enjoy exclusive discounts on our newest products.
Festive Promotions and Giveaways: Take part in giveaways and holiday promotions.
👉 Ready to explore and create with us? Click [here] and join today!
How to download and run the Code
Downloading Code to Your Raspberry Pi
Before downloading the code, please be aware that the example code has been tested ONLY on the latest version of Raspberry Pi OS. We offer two download methods:
If you’re not accessing your Raspberry Pi with a direct screen connection, consider utilizing remote access options. For detailed guidance, refer to the instructions in If You Have No Screen.
Method 1: Using Git Clone (Recommended)
Log into your Raspberry Pi, open Terminal, and navigate to the home directory (
~). (You can also access the terminal using SSH.)cd ~

Note
Use the
cdcommand to change directories. Here,~/denotes the home directory.Clone the GitHub repository.
git clone https://github.com/sunfounder/universal-maker-sensor-kit.git

Use File Manager to access the downloaded code files.

Method 2: Downloading Code Directly from GitHub
Open a web browser and go to https://github.com/sunfounder/universal-maker-sensor-kit, then click on the download button.

Once downloaded, locate the code file in
File Manager > Downloadsand unzip it into the/home/pidirectory.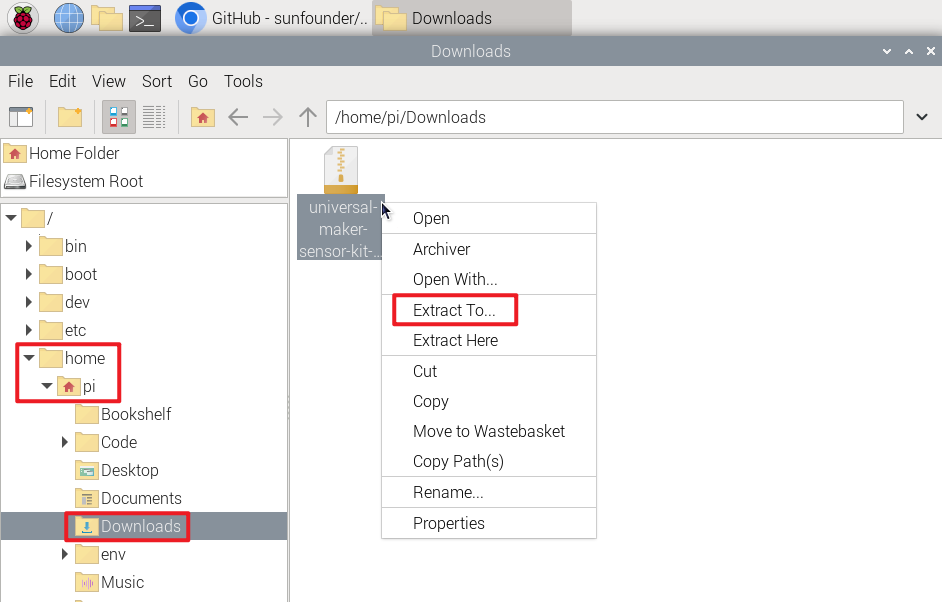
Navigate to the
/home/pidirectory to access the extracted code files.
Opening and Running Code
You can find the code for each project in its respective code section. Alternatively, you can locate the code in the provided code directory. For instance, in universal-maker-sensor-kit/raspberry_pi/, you will find Lesson 1’s code named 01_button_module.py.
There are two ways to run Python code below:
Method 1: Using Geany
Open the code file by double-clicking on it.

Alternatively, right-click the file and select Open With….

Choose Programming > Geany Programmer’s Editor and click OK.

The code will be displayed for editing or review.

Click Run in the window and the following contents will appear.

To stop it from running, just click the X button in the top right corner to close it and you’ll return to the code. Alternatively, you can terminate the program by typing ctrl+c.

Method 2: Using Terminal
Log into your Raspberry Pi, open Terminal, and navigate to the home directory (
~). (You can also access the terminal using SSH.)cd ~/universal-maker-sensor-kit/raspberry_pi/

Note
Use the
cdcommand to navigate to the experiment’s code directory.Execute the code:
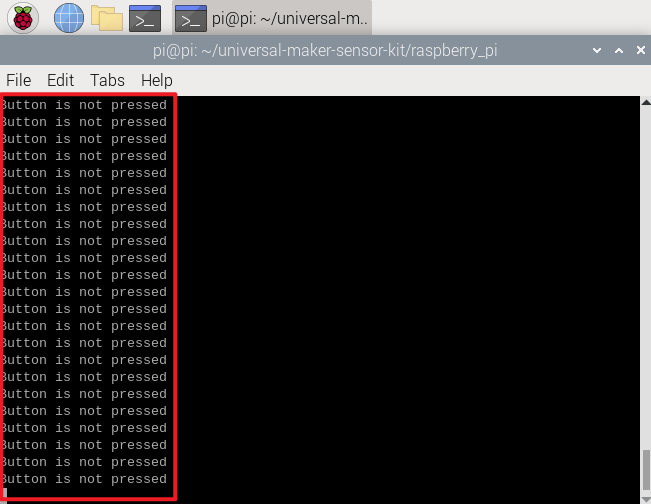
python3 Lesson_01_Button_Module/01_button_module.py

Upon running the code, the output will indicate whether the Button is pressed or not.
To edit the
Lesson_01_Button_Module/01_button_module.pyfile, stop the code by pressingCtrl + C. Then, open the file with:nano Lesson_01_Button_Module/01_button_module.py

nanois a text editor. This command opensnano Lesson_01_Button_Module/01_button_module.pyfor editing.
To exit nano, press
Ctrl+X. If you’ve made changes, a prompt will ask whether to save them. Respond withY(yes) to save orN(no) to discard. PressEnterto confirm and exit. Reopen the file withnano Lesson_01_Button_Module/nano 01_button_module.pyto view your changes.