Note
Hello, welcome to the SunFounder Raspberry Pi & Arduino & ESP32 Enthusiasts Community on Facebook! Dive deeper into Raspberry Pi, Arduino, and ESP32 with fellow enthusiasts.
Why Join?
Expert Support: Solve post-sale issues and technical challenges with help from our community and team.
Learn & Share: Exchange tips and tutorials to enhance your skills.
Exclusive Previews: Get early access to new product announcements and sneak peeks.
Special Discounts: Enjoy exclusive discounts on our newest products.
Festive Promotions and Giveaways: Take part in giveaways and holiday promotions.
👉 Ready to explore and create with us? Click [here] and join today!
Write Raspberry Pi OS to SD Card
Step 1
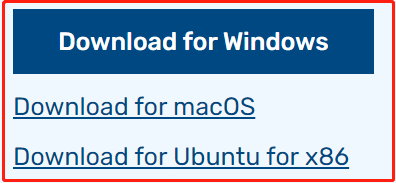
The Raspberry Pi team offers a user-friendly graphical SD card writing tool compatible with Mac OS, Ubuntu 18.04, and Windows. This is the most convenient option for most users, as it automatically downloads and installs the OS image to the SD card.
Visit the download page: https://www.raspberrypi.org/software/. Choose the Raspberry Pi Imager for your operating system. Once downloaded, open it to begin the installation.
Step 2
Upon launching the installer, your OS might prompt a security warning. For instance, Windows may show this message:
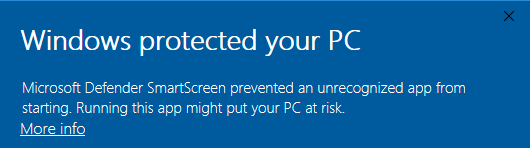
If you see this warning, click on More info and then choose Run anyway. Continue by following the instructions on your screen to complete the installation of the Raspberry Pi Imager.
Step 3
After installing the Imager, open the application by clicking the Raspberry Pi Imager icon or executing rpi-imager.

Step 4
Click Choose device and select your Raspberry Pi model from the list.

Step 5
Next, click Choose OS and pick an operating system to install.

Step 6
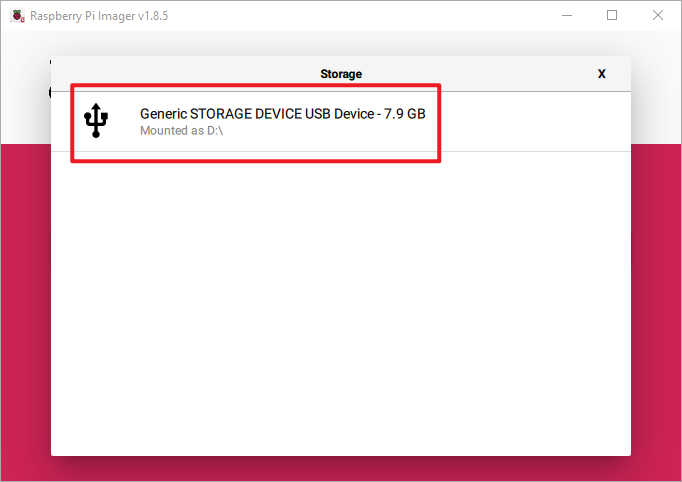
Insert your preferred storage medium, such as a microSD card, into an external or integrated SD card reader. Next, click “Choose Storage” and select your device.
Note
Ensure you select the correct storage device when multiple devices are connected; they can often be distinguished by their capacity. If uncertain, disconnect the other devices. Be aware that installing the system on the chosen storage device will erase all data on it.
Step 7
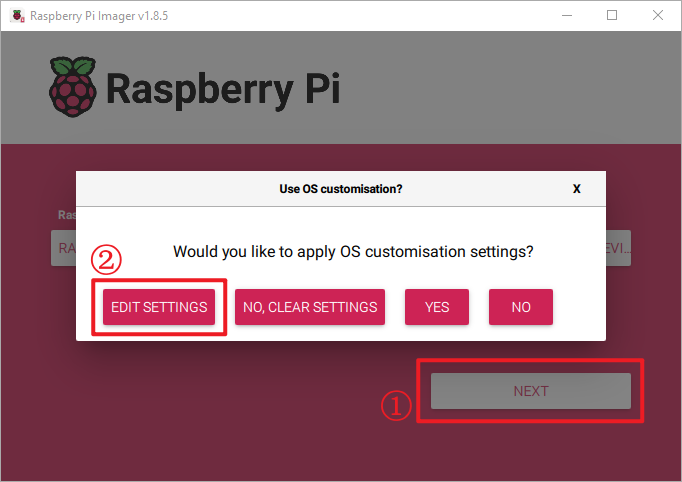
Press the NEXT button and choose EDIT SETTINGS to access the OS Customization page.
Step 8
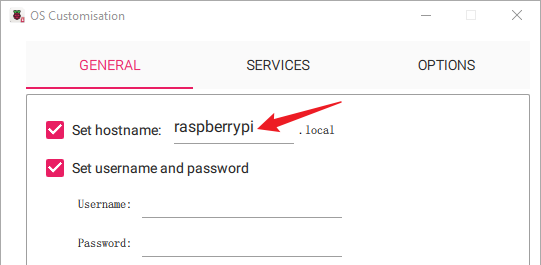
Set the hostname.
Note
The hostname option defines the hostname your Raspberry Pi broadcasts to the network using mDNS. By connecting your Raspberry Pi to the network, it allows other devices to interact with it using <hostname>.local or <hostname>.lan.
Set the username and password for the Raspberry Pi’s administrator account.
Note
The Raspberry Pi does not come with a default password, making it crucial to set one. Additionally, you have the option to personalize the username.

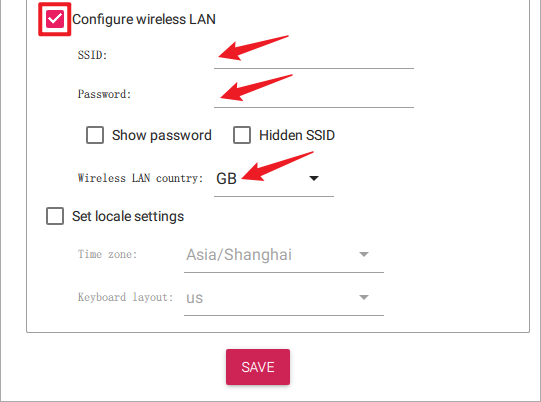
Configure wireless LAN by entering your network’s SSID and password.
Note
Configure the “Wireless LAN country” using your nation’s two-letter ISO/IEC alpha2 code.
Step 9
Navigate to the SERVICES page, choose Enable SSH option to turn on SSH, and select “Use password authentication” (recommended for beginners). Click Save to apply your changes.

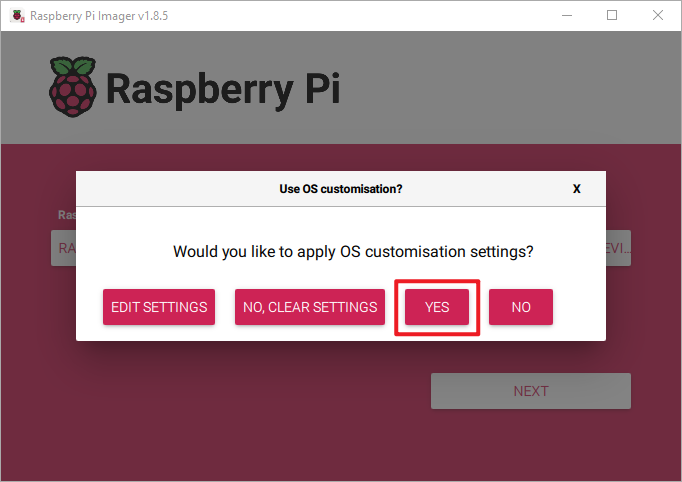
Step 10
Click the Yes button.
Step 11
If your SD card contains files, consider backing them up to avoid permanent loss. If no backup is needed, click Yes.

Step 12
The window below will appear once the writing process is complete. Writing process takes some time and varies based on the SD card’s read-write performance; please be patient.
