Lesson 31 Barometer-BMP180 Module
Introduction
The BMP180 barometer is the new digital barometric pressure sensor, with a very high performance, which enables applications in advanced mobile devices, such as smart phones, tablets and sports devices. It complies with the BMP085 but boasts many improvements, like a smaller size and more digital interfaces.
Required Components
1 * Raspberry Pi
1 * Breadboard
1 * Barometer module
1 * 4-Pin anti-reverse cable
Experimental Principle
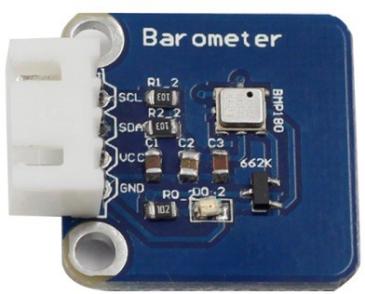
Use a barometer to measure air pressure and temperature. The schematic diagram of the module is as follows:

Experimental Procedures
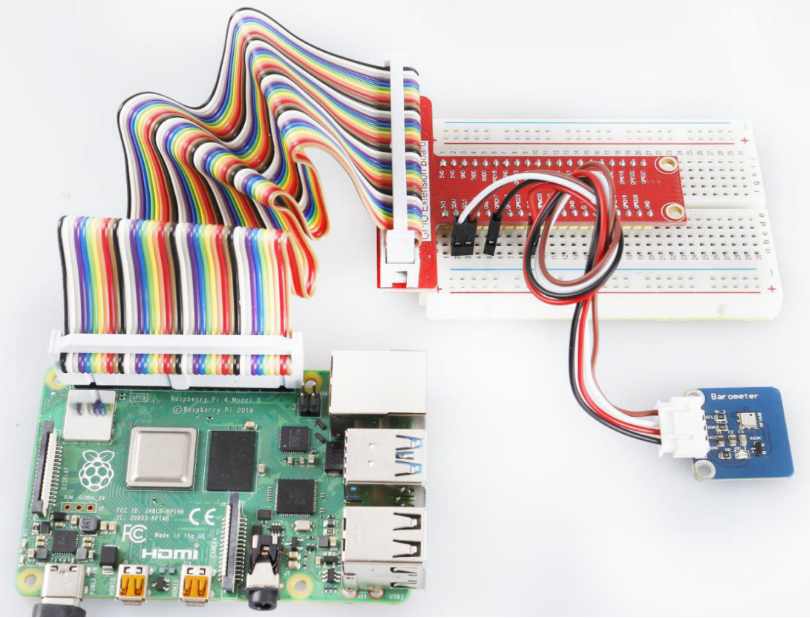
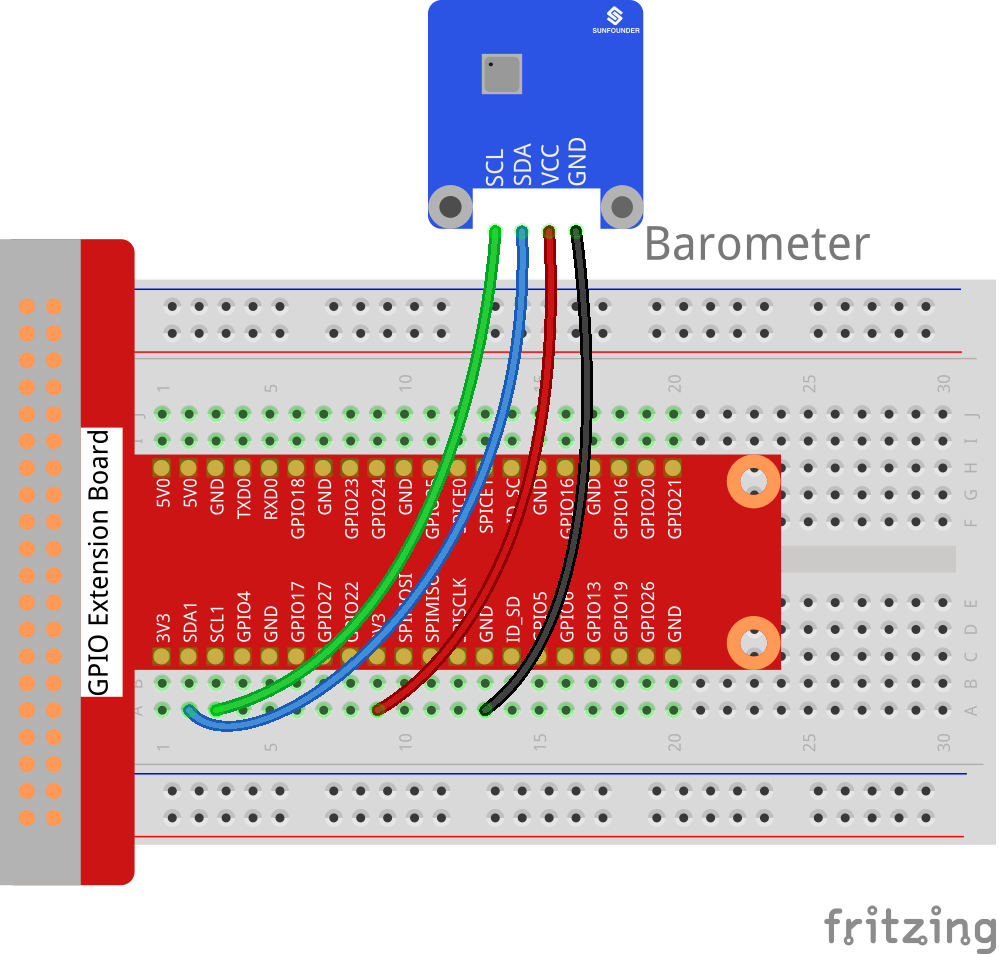
Step 1: Build the circuit.
Raspberry Pi |
GPIO Extension Board |
Barometer |
SCL |
SCL1 |
SCL |
SDA |
SDA1 |
SDA |
3.3V |
3V3 |
VCC |
GND |
GND |
GND |
Step 2: Setup I2C (see Appendix . If you have set I2C, skip this step.)
For C Users:
Step 3: Download libi2c-dev.
sudo apt-get install libi2c-dev
Step 4: Change directory.
cd /home/pi/SunFounder_SensorKit_for_RPi2/C/31_barometer/
Step 5: Compile.
gcc barometer.c bmp180.c -lm -lwiringPi -lwiringPiDev
Note
If it does not work after running, or there is an error prompt wiringPi.h: No such file or directory, please refer to WiringPi to install it.
Step 6: Run.
sudo ./a.out
Note
If you get the error
“Unable to open I2C device: No such file or directory”, you need to setup I2C (see I2C Configuration).
Code
#include "bmp180.h"
#include <unistd.h>
#include <stdio.h>

int main(int argc, char **argv){
    char *i2c_device = "/dev/i2c-1";
    int address = 0x77;

    void *bmp = bmp180_init(address, i2c_device);

    if(bmp != NULL){
        int i;
        for(i = 0; i < 100; i++) {
            float t = bmp180_temperature(bmp);
            long p = bmp180_pressure(bmp);
            float alt = bmp180_altitude(bmp);
            printf("temperature = %.2f, pressure = %lu, altitude = %.2f\n", t, p, alt);
            usleep(2 * 1000 * 1000);
        }
    }
    return 0;
}
For Python Users:
Step 3: We’ll need to install some utilities for the Raspberry Pi to communicate over I2C.
git clone https://github.com/adafruit/Adafruit_Python_BMP.git
cd Adafruit_Python_BMP
sudo python3 setup.py install
Step 4: Change directory.
cd /home/pi/SunFounder_SensorKit_for_RPi2/Python/
Step 5: Run.
sudo python3 31_barometer.py
Note
If you get the error
FileNotFoundError: [Errno 2] No such file or directory: '/dev/i2c-1', you need to setup I2C (see Appendix -> I2C Configuration).If the error
OSError: [Errno 121] Remote I/Oappears, it means the module is miswired or the module is broken.If the module is connected correctly and still has the error
TimeoutError: [Errno 110] Connection timed out, it means that the module is broken, please contact service@sunfounder.com. It is also possible to test if the I2C address appears with the commandi2cdetect -y 1if you have the I2C tools installed (sudo apt-get install i2c-tools).
Code
import Adafruit_BMP.BMP085 as BMP085
import time

def setup():
    print ('\n Barometer begins...')

def loop():
    while True:
        sensor = BMP085.BMP085()
        temp = sensor.read_temperature()    # Read temperature to veriable temp
        pressure = sensor.read_pressure()   # Read pressure to veriable pressure

        print ('')
        print ('      Temperature = {0:0.2f} C'.format(temp))               # Print temperature
        print ('      Pressure = {0:0.2f} Pa'.format(pressure))     # Print pressure
        time.sleep(1)
        print ('')

def destroy():
    pass

if __name__ == '__main__':          # Program start from here
    setup()
    try:
        loop()
    except KeyboardInterrupt:
        destroy()
Now you can see the temperature and pressure value displayed on the screen.