Lesson 15 Joystick PS2
Introduction
There are five operation directions for joystick PS2: up, down, left, right and press-down.
Required Components
1 * Raspberry Pi
1 * Breadboard
1 * PCF8591
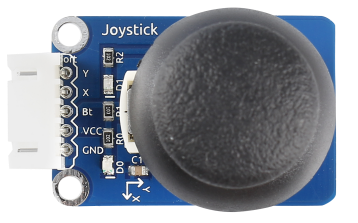
1 * Joystick PS2 module
1 * 5-Pin anti-reverse cable
Several Jumper wires
Experimental Principle
This module has two analog outputs (corresponding to X and Y coordinates) and one digital output representing whether it is pressed on Z axis.
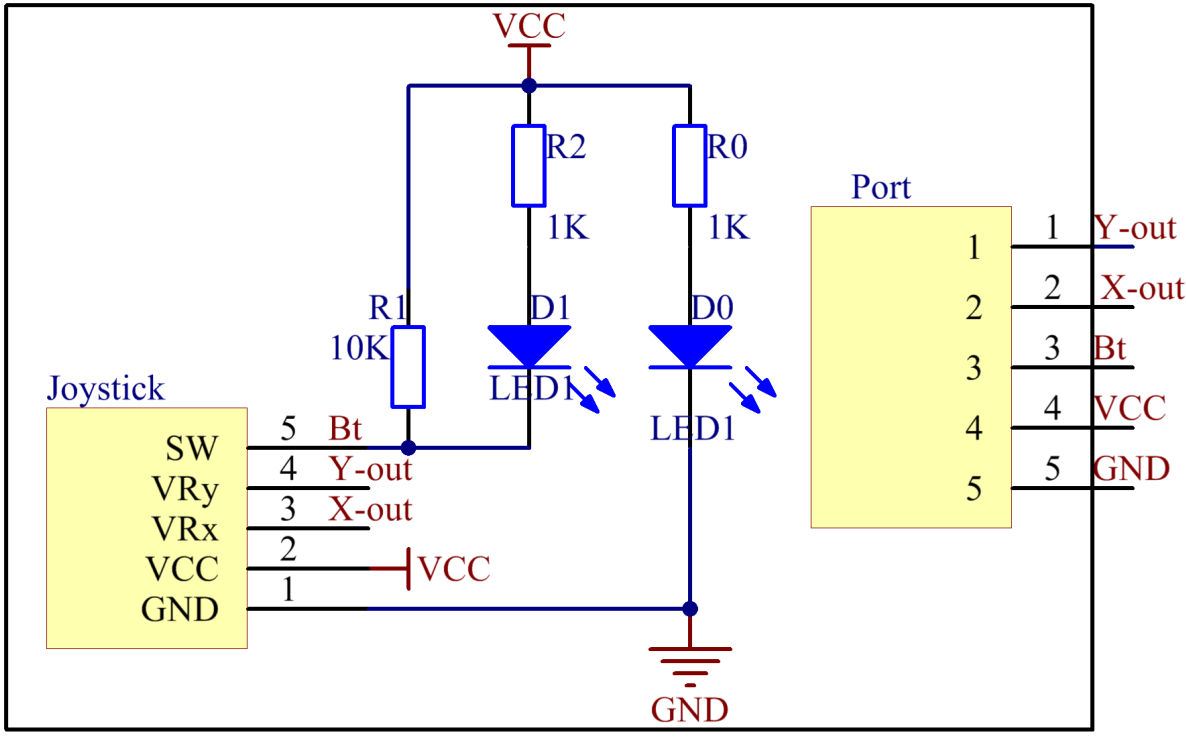
In this experiment, we connect pin X and Y to the analog input ports of the A/D convertor so as to convert analog quantities into digital ones. Then program on Raspberry Pi to detect the moving direction of the Joystick. The schematic diagram:
Experimental Procedures
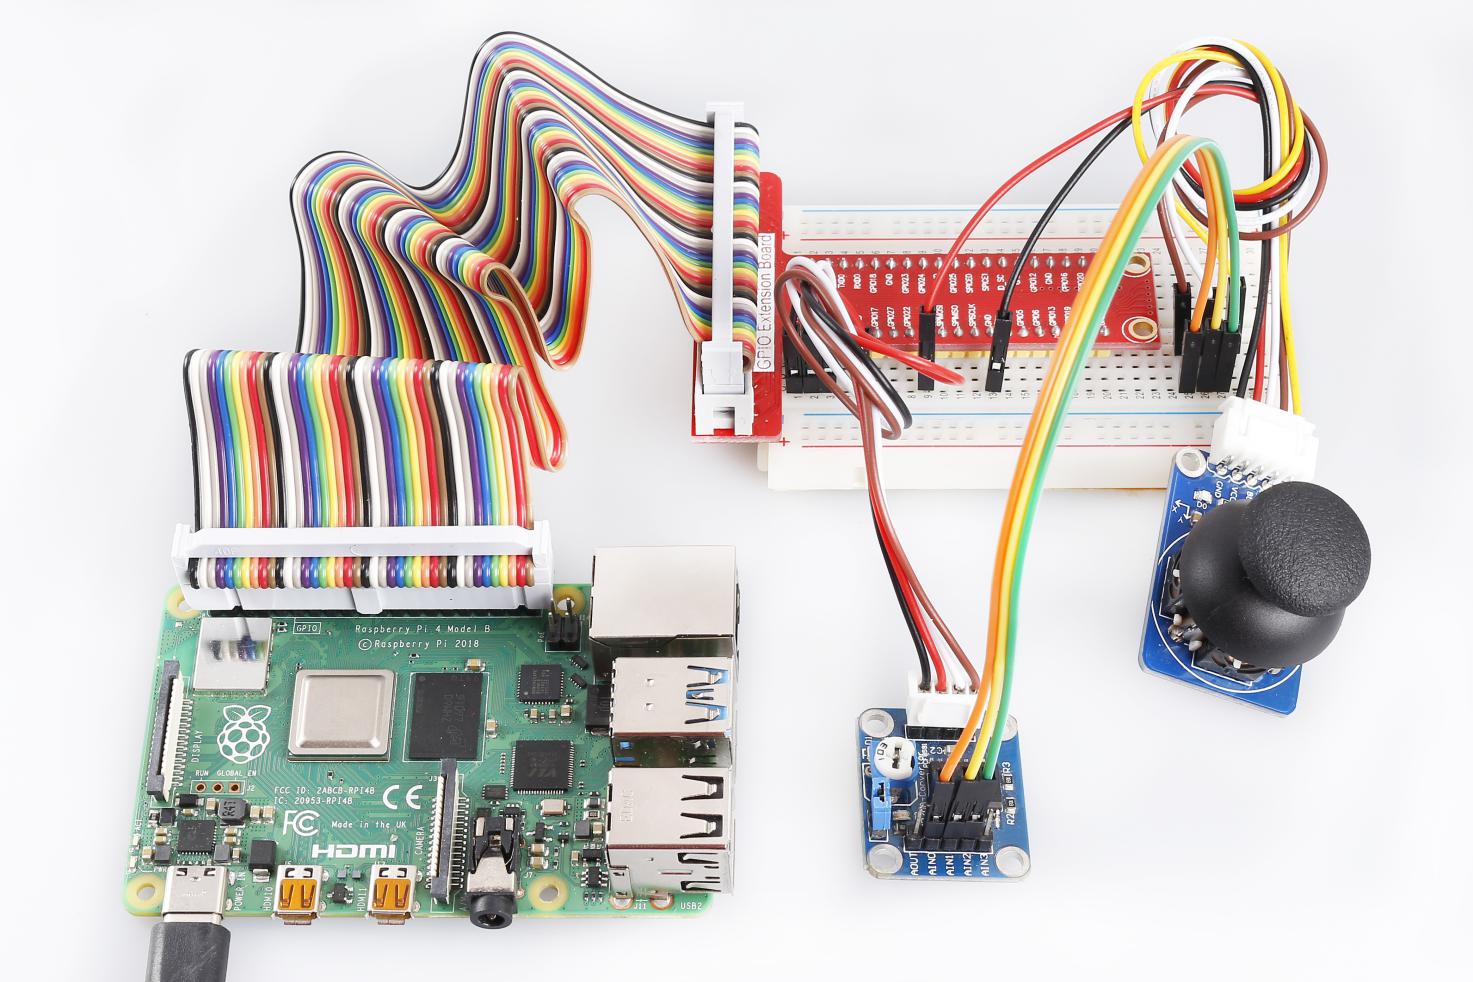
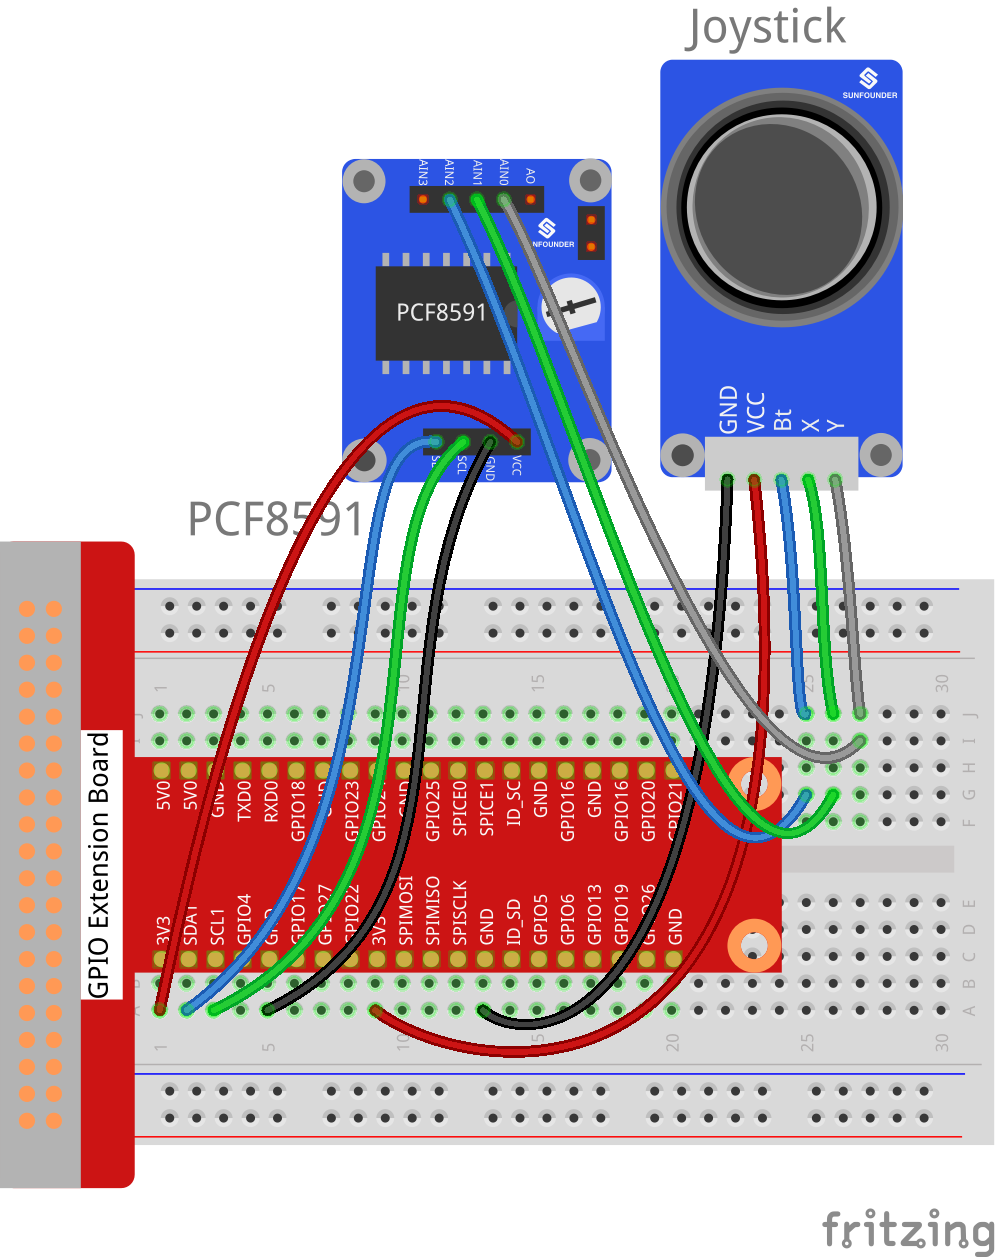
Step 1: Build the circuit.
Raspberry Pi |
GPIO Extension Board |
PCF8591 Module |
SDA |
SDA1 |
SDA |
SCL |
SCL1 |
SCL |
3.3V |
3V3 |
VCC |
GND |
GND |
GND |
Joystick PS2 |
GPIO Extension Board |
PCF8591 Module |
Y |
* |
AIN0 |
X |
* |
AIN1 |
Bt |
* |
AIN2 |
VCC |
3V3 |
VCC |
GND |
GND |
GND |
For C Users:
Step 2: Change directory.
cd /home/pi/SunFounder_SensorKit_for_RPi2/C/15_joystick_PS2/
Step 3: Compile.
gcc joystick_PS2.c -lwiringPi
Note
If it does not work after running, or there is an error prompt wiringPi.h: No such file or directory, please refer to WiringPi to install it.
Step 4: Run.
sudo ./a.out
Code
#include <stdio.h>
#include <wiringPi.h>
#include <pcf8591.h>

#define PCF       120
#define uchar       unsigned char

int AIN0 = PCF + 0;
int AIN1 = PCF + 1;
int AIN2 = PCF + 2;

char *state[7] = {"home", "up", "down", "left", "right", "pressed"};

int direction(){
    int x, y, b;
    int tmp=0;
    x = analogRead(AIN1);
    y = analogRead(AIN0);
    b = analogRead(AIN2);
    if (y <= 30)
        tmp = 1;            // up
    if (y >= 225)
        tmp = 2;            // down

    if (x >= 225)
        tmp = 3;            // left
    if (x <= 30)
        tmp = 4;            // right

    if (b <= 30)
        tmp = 5;            // button preesd
    if (x-125<15 && x-125>-15 && y-125<15 && y-125>-15 && b >= 60)
        tmp = 0;            // home position

    return tmp;
}

int main (void)
{
    int tmp=0;
    int status = 0;
    wiringPiSetup ();
    // Setup pcf8591 on base pin 120, and address 0x48
    pcf8591Setup (PCF, 0x48);
    while(1) // loop forever
    {
        tmp = direction();
        if (tmp != status)
        {
            printf("%s\n", state[tmp]);
            status = tmp;
        }
    }
    return 0 ;
}
For Python Users:
Step 2: Change directory.
cd /home/pi/SunFounder_SensorKit_for_RPi2/Python/
Step 3: Run.
sudo python3 15_joystick_PS2.py
Code
#!/usr/bin/env python3
import PCF8591 as ADC
import time

def setup():
    ADC.setup(0x48)                                 # Setup PCF8591
    global state

def direction():    #get joystick result
    state = ['home', 'up', 'down', 'left', 'right', 'pressed']
    i = 0
    if ADC.read(0) <= 30:
        i = 1               #up
    if ADC.read(0) >= 225:
        i = 2               #down

    if ADC.read(1) >= 225:
        i = 3               #left
    if ADC.read(1) <= 30:
        i = 4               #right

    if ADC.read(2) <= 30:
        i = 5               # Button pressed

    if ADC.read(0) - 125 < 15 and ADC.read(0) - 125 > -15   and ADC.read(1) - 125 < 15 and ADC.read(1) - 125 > -15 and ADC.read(2) == 255:
        i = 0

    return state[i]

def loop():
    status = ''
    while True:
        tmp = direction()
        if tmp != None and tmp != status:
            print (tmp)
            status = tmp

def destroy():
    pass

if __name__ == '__main__':          # Program start from here
    setup()
    try:
        loop()
    except KeyboardInterrupt:       # When 'Ctrl+C' is pressed, the child program destroy() will be  executed.
        destroy()
Now push the rocker upwards, and a string “up” will be printed on the screen; push it downwards, and “down” will be printed; if you push it left, “Left” will be printed on; If you push it right, and “Right” will be printed; If you press down the cap, “Button Pressed” will be printed on the screen.