Lesson 22 Gas Sensor
Introduction
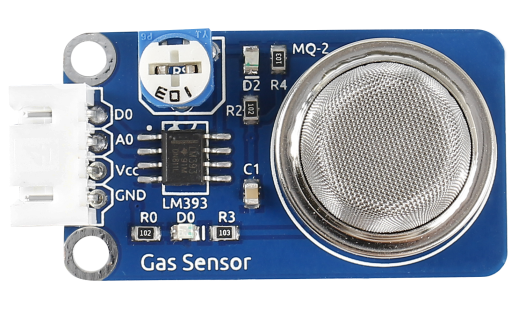
Gas Sensor MQ-2 is a sensor for flammable gas and smoke by detecting the concentration of combustible gas in the air. They are used in gas detecting equipment for smoke and flammable gasses in household, industry or automobile.
Required Components
1 * Raspberry Pi
1 * Breadboard
1 * Active Buzzer module
1 * PCF8591
1 * Gas sensor module
1 * 3-Pin anti-reverse cable
1 * 4-Pin anti-reverse cable
Several Jumper wires
Experimental Principle
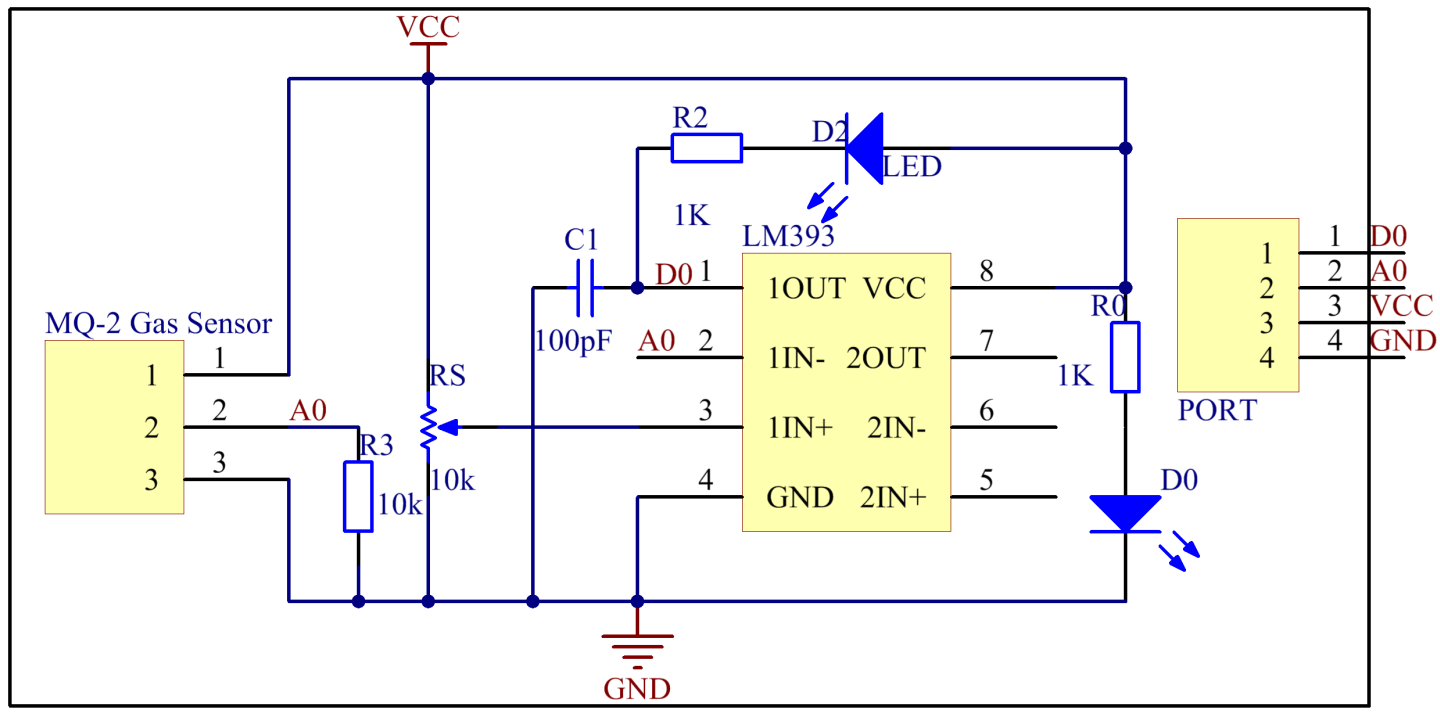
MQ-2 gas sensor is a kind of surface ion type and N-type semiconductors, which uses tin oxide semiconductor gas sensitive material. When ambient temperature is in 200 ~ 300℃, tin oxide will adsorb oxygen in the air and form oxygen anion adsorption to decrease electron density in semiconductor so as to increase its resistance. When in contact with the smoke, if grain boundary barrier is modulated by the smoke and changed, it could cause surface conductivity change. So you can gain the information of the smoke existence, The higher the smoke concentration is, the more conductive the material becomes, thus the lower the output resistance is.
In this experiment, if harmful gases reach a certain concentration, the buzzer will beep to warn.
The schematic diagram of the module is as shown below:
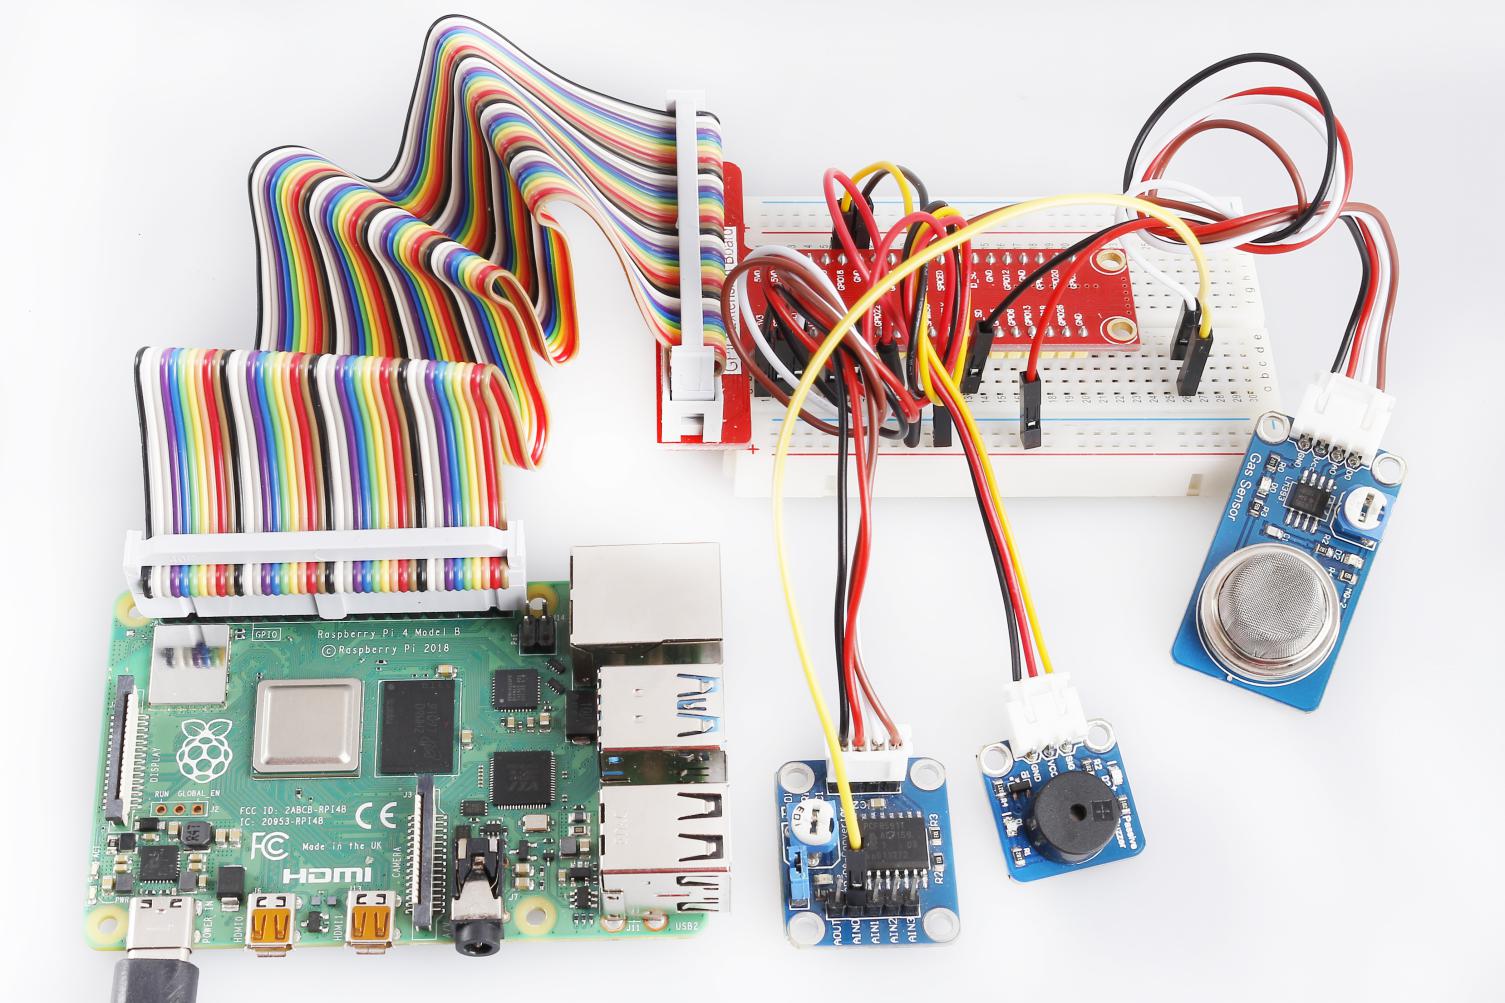
Experimental Procedures
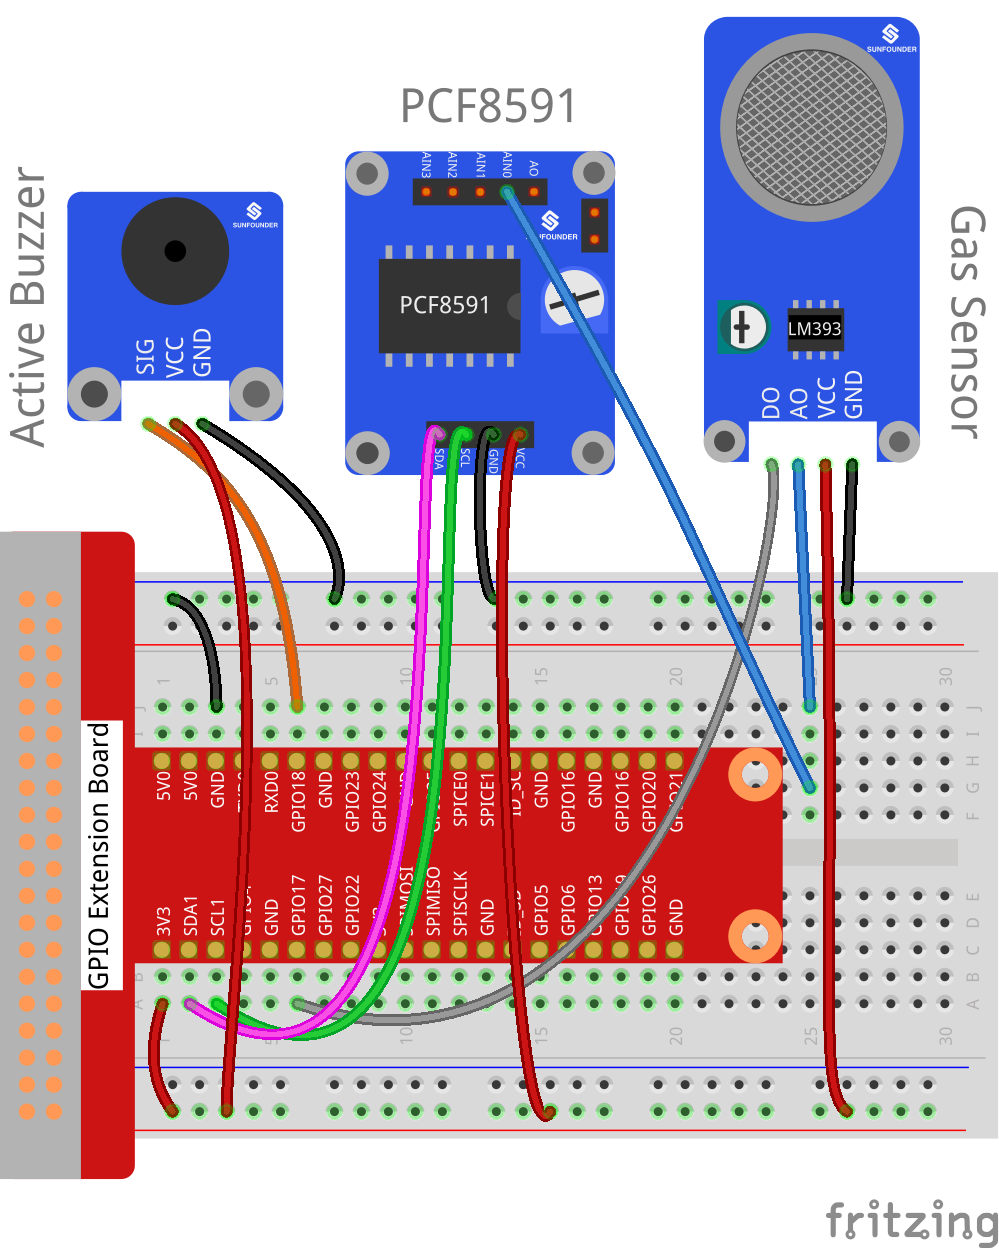
Step 1: Build the circuit.
Raspberry Pi |
GPIO Extension Board |
PCF8591 Module |
SDA |
SDA1 |
SDA |
SCL |
SCL1 |
SCL |
3.3V |
3V3 |
VCC |
GND |
GND |
GND |
Gas Sensor Module |
GPIO Extension Board |
PCF8591 Module |
DO |
GPIO17 |
* |
AO |
* |
AIN0 |
VCC |
3V3 |
* |
GND |
GND |
GND |
Raspberry Pi |
GPIO Extension Board |
Active Buzzer Module |
GPIO1 |
GPIO18 |
SIG |
3.3V |
3V3 |
VCC |
GND |
GND |
GND |
For C Users:
Step 2: Change directory.
cd /home/pi/SunFounder_SensorKit_for_RPi2/C/22_gas_sensor/
Step 3: Compile.
gcc gas_sensor.c -lwiringPi
Note
If it does not work after running, or there is an error prompt wiringPi.h: No such file or directory, please refer to WiringPi to install it.
Step 4: Run.
sudo ./a.out
Code
#include <stdio.h>
#include <wiringPi.h>
#include <pcf8591.h>
#include <math.h>

#define             PCF     120
#define             DOpin   0
#define             Buzz    1

void Print(int x)
{
    switch(x)
    {
        case 1:
            printf("\n*********\n"  );
            printf(  "* Saft~ *\n"  );
            printf(  "*********\n\n");
        break;
        case 0:
            printf("\n***************\n"  );
            printf(  "* Danger Gas! *\n"  );
            printf(  "***************\n\n");
        break;
        default:
            printf("\n**********************\n"  );
            printf(  "* Print value error. *\n"  );
            printf(  "**********************\n\n");
        break;
    }
}

int main()
{
    int analogVal;
    int tmp, status, count;

    if(wiringPiSetup() == -1){
        printf("setup wiringPi failed !");
        return 1;
    }
    // Setup pcf8591 on base pin 120, and address 0x48
    pcf8591Setup(PCF, 0x48);

    pinMode (DOpin, INPUT);
    pinMode (Buzz,  OUTPUT);
    digitalWrite(Buzz, HIGH);

    status = 0;
    count = 0;
    while(1) // loop forever
    {
        analogVal = analogRead(PCF + 0);
        printf("%d\n", analogVal);

        tmp = digitalRead(DOpin);

        if (tmp != status)
        {
            Print(tmp);
            status = tmp;
        }

        if (status == 0)
        {
            count ++;
            if (count % 2 == 0)
                {digitalWrite(Buzz, HIGH);}
            else
                {digitalWrite(Buzz, LOW);}
        }
        else
        {
            count = 0;
            digitalWrite(Buzz, HIGH);
        }
        delay (200);
    }
    return 0;
}
For Python Users:
Step 2: Change directory.
cd /home/pi/SunFounder_SensorKit_for_RPi2/Python/
Step 3: Run.
sudo python3 22_gas_sensor.py
Code
#!/usr/bin/env python3
import PCF8591 as ADC
import RPi.GPIO as GPIO
import time
import math

DO = 17
Buzz = 18
GPIO.setmode(GPIO.BCM)

def setup():
    ADC.setup(0x48)
    GPIO.setup      (DO,    GPIO.IN)
    GPIO.setup      (Buzz,  GPIO.OUT)
    GPIO.output     (Buzz,  1)

def Print(x):
    if x == 1:
        print ('')
        print ('   *********')
        print ('   * Safe~ *')
        print ('   *********')
        print ('')
    if x == 0:
        print ('')
        print ('   ***************')
        print ('   * Danger Gas! *')
        print ('   ***************')
        print ('')

def loop():
    status = 1
    count = 0
    while True:
        print (ADC.read(0))

        tmp = GPIO.input(DO)
        if tmp != status:
            Print(tmp)
            status = tmp
        if status == 0:
            count += 1
            if count % 2 == 0:
                GPIO.output(Buzz, 1)
            else:
                GPIO.output(Buzz, 0)
        else:
            GPIO.output(Buzz, 1)
            count = 0

        time.sleep(0.2)

def destroy():
    GPIO.output(Buzz, 1)
    GPIO.cleanup()

if __name__ == '__main__':
    try:
        setup()
        loop()
    except KeyboardInterrupt:
        destroy()
Place a lighter close to the MQ-2 gas sensor, and press the switch to release gasses. A value between 0 and 255 will be displayed on the screen. If harmful gases reach a certain concentration, the buzzer will beep, and “Danger Gas!” will be printed on the screen.
You can also turn the shaft of the potentiometer on the module to raise or reduce the concentration threshold.
The MQ-2 gas sensor needs to be heated up for a while. Wait until the value printed on screen stays steady and the sensor gets warm, which means it can work normally and sensitively at that time.
Note
It is normal that the gas sensor generates heat. Actually, the higher the temperature is, the sensor is more sensitive.