Note
Hello, welcome to the SunFounder Raspberry Pi & Arduino & ESP32 Enthusiasts Community on Facebook! Dive deeper into Raspberry Pi, Arduino, and ESP32 with fellow enthusiasts.
Why Join?
Expert Support: Solve post-sale issues and technical challenges with help from our community and team.
Learn & Share: Exchange tips and tutorials to enhance your skills.
Exclusive Previews: Get early access to new product announcements and sneak peeks.
Special Discounts: Enjoy exclusive discounts on our newest products.
Festive Promotions and Giveaways: Take part in giveaways and holiday promotions.
👉 Ready to explore and create with us? Click [here] and join today!
1.4 Upload the Libraries (Important)
In some projects, you will need additional libraries. So here we upload these libraries to ESP32 first, and then we can run the code directly later.
Download the relevant code from the link below.
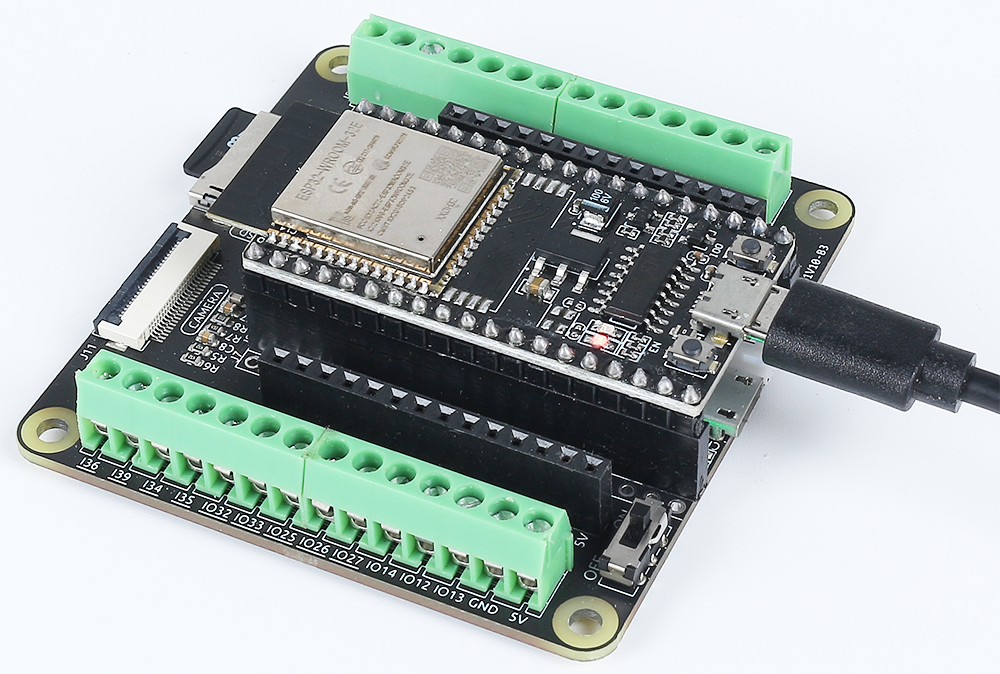
Connect the ESP32 board to your computer using a USB cable.
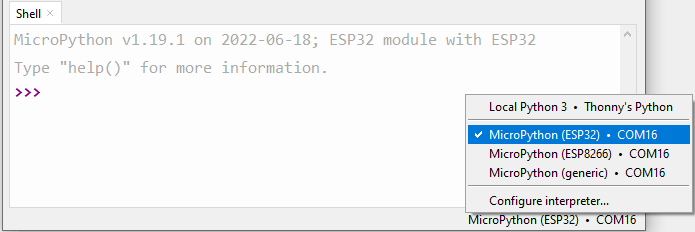
Open Thonny IDE and click on the “MicroPython (ESP32).COMXX” interpreter in the bottom right corner.
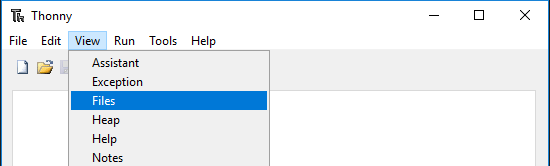
In the top navigation bar, click View -> Files.
Switch the path to the folder where you downloaded the code package before, and then go to the
esp32-starter-kit-main\micropython\libsfolder.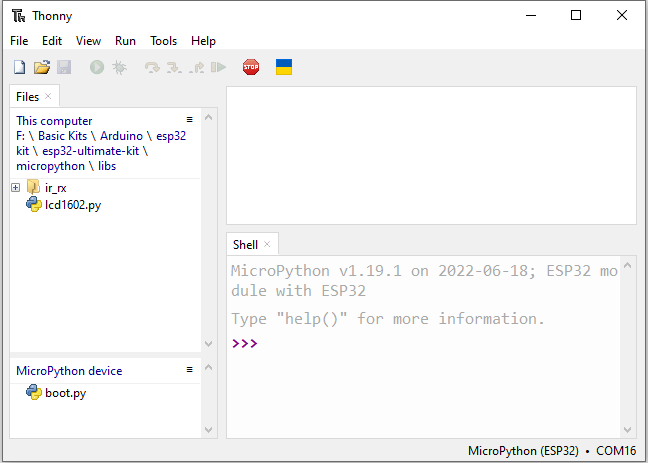
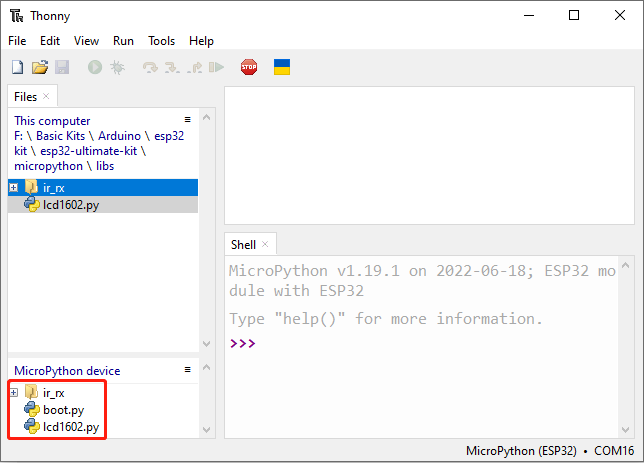
Select all the files or folders in the
libs/folder, right-click and click Upload to, it will take a while to upload.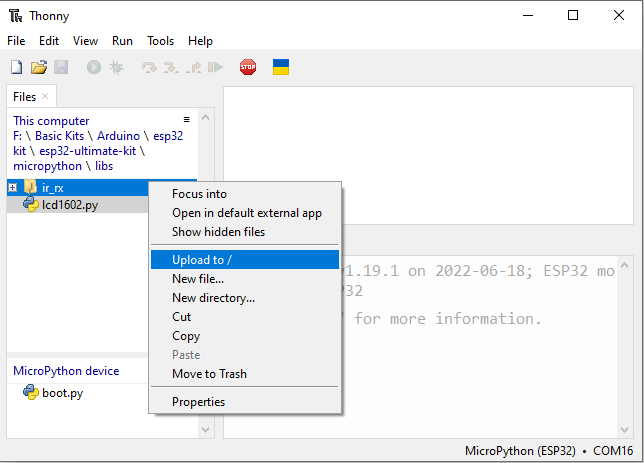
Now you will see the files you just uploaded inside your drive
MicroPython device.