3.5 - Small Fan
Now we use the TA6586 to drive the DC motor to make it rotate clockwise and counterclockwise. Since the DC motor requires a relatively large current, for safety reasons, here we use a power module to supply power to the motor.
Required Components
In this project, we need the following components.
It’s definitely convenient to buy a whole kit, here’s the link:
Name |
ITEMS IN THIS KIT |
PURCHASE LINK |
|---|---|---|
Kepler Kit |
450+ |
You can also buy them separately from the links below.
SN |
COMPONENT INTRODUCTION |
QUANTITY |
PURCHASE LINK |
|---|---|---|---|
1 |
1 |
||
2 |
Micro USB Cable |
1 |
|
3 |
1 |
||
4 |
Several |
||
5 |
1 |
||
6 |
1 |
||
7 |
1 |
||
8 |
18650 Battery |
1 |
|
9 |
Battery Holder |
1 |
Schematic

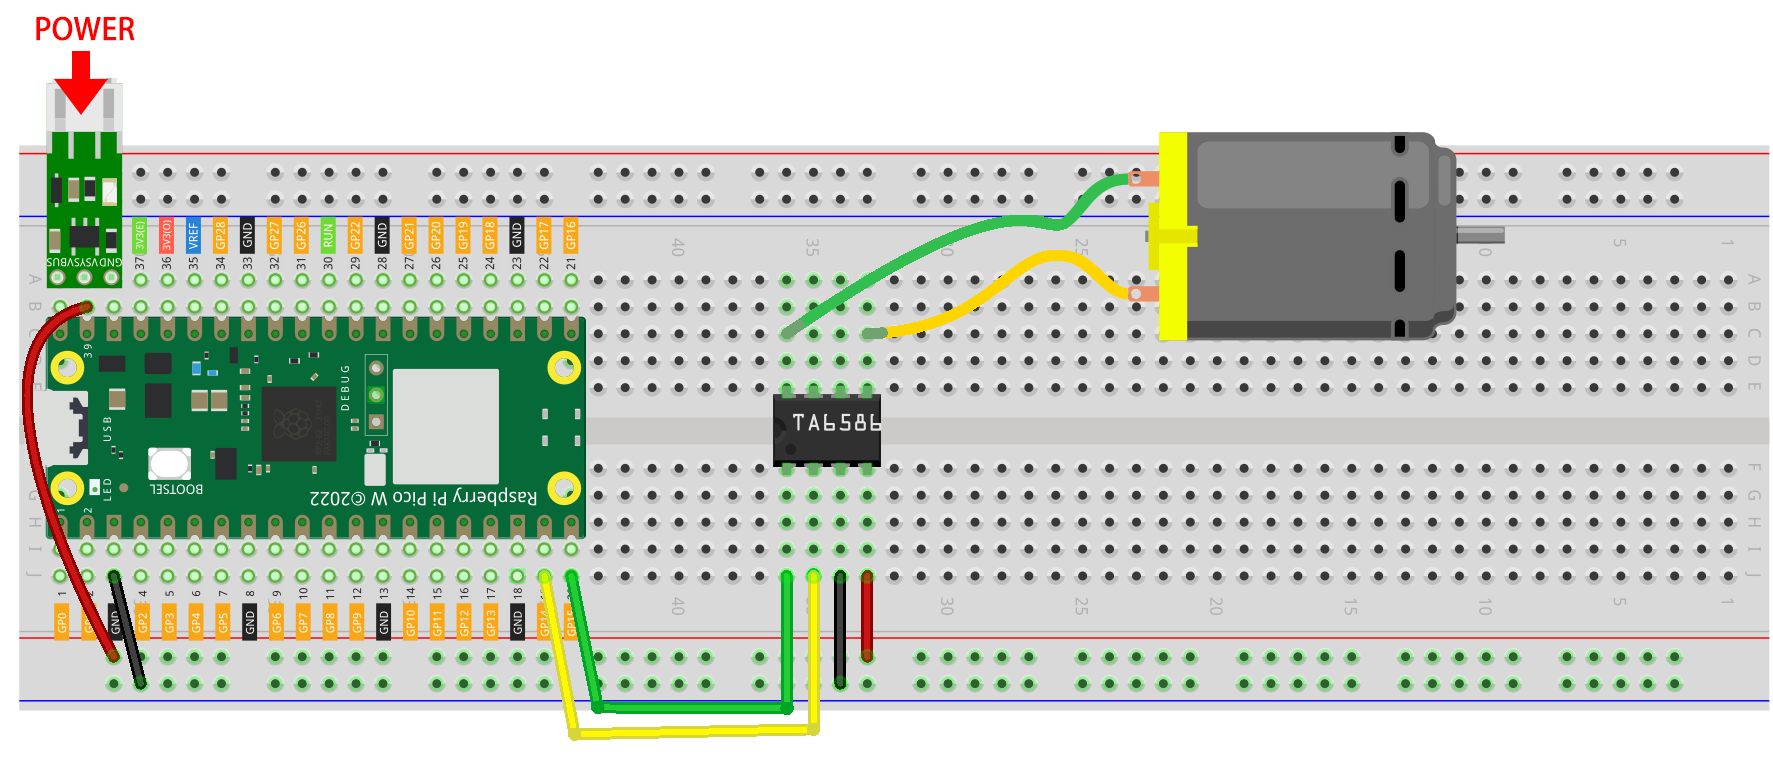
Wiring
Note
Since DC motors require a high current, we use a Li-po Charger module to power the motor here for safety reasons.
Make sure your Li-po Charger Module is connected as shown in the diagram. Otherwise, a short circuit will likely damage your battery and circuitry.
Code
Note
You can open the file
3.5_small_fan.inounder the path ofkepler-kit-main/arduino/3.5_small_fan.Or copy this code into Arduino IDE.
Don’t forget to select the board(Raspberry Pi Pico) and the correct port before clicking the Upload button.
Once the program is running, the motor will rotate back and forth in a regular pattern.
Note
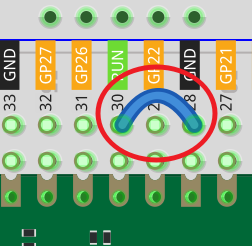
If you can not upload the code again, this time you need to connect the RUN pin on the Pico W with a wire to GND to reset it, and then unplug this wire to run the code again.
This is because the motor is operating with too much current, which may cause the Pico W to disconnect from the computer.

