3.1.10 Morse Code Generator
Introduction
In this project, we’ll make a Morse code generator, where you type in a series of English letters in the Raspberry Pi to make it appear as Morse code.
Required Components
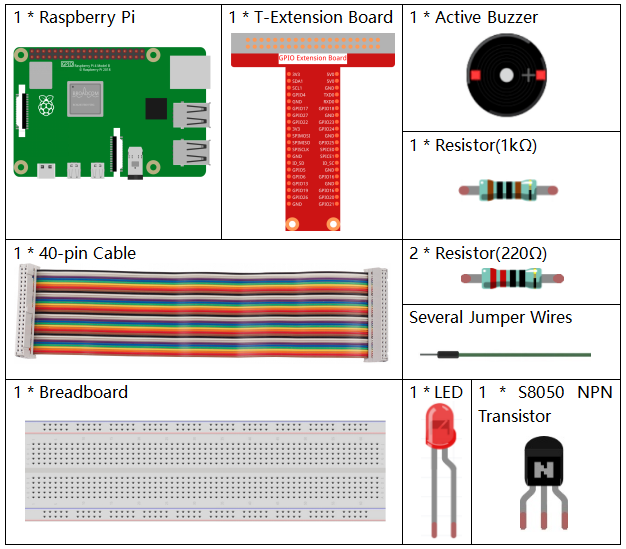
In this project, we need the following components.

It’s definitely convenient to buy a whole kit, here’s the link:
Name |
ITEMS IN THIS KIT |
LINK |
|---|---|---|
Raphael Kit |
337 |
You can also buy them separately from the links below.
COMPONENT INTRODUCTION |
PURCHASE LINK |
|---|---|
- |
|
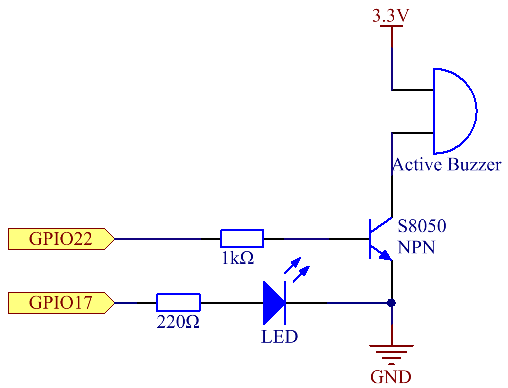
Schematic Diagram
T-Board Name |
physical |
wiringPi |
BCM |
GPIO17 |
Pin 11 |
0 |
17 |
GPIO22 |
Pin 15 |
3 |
22 |

Experimental Procedures
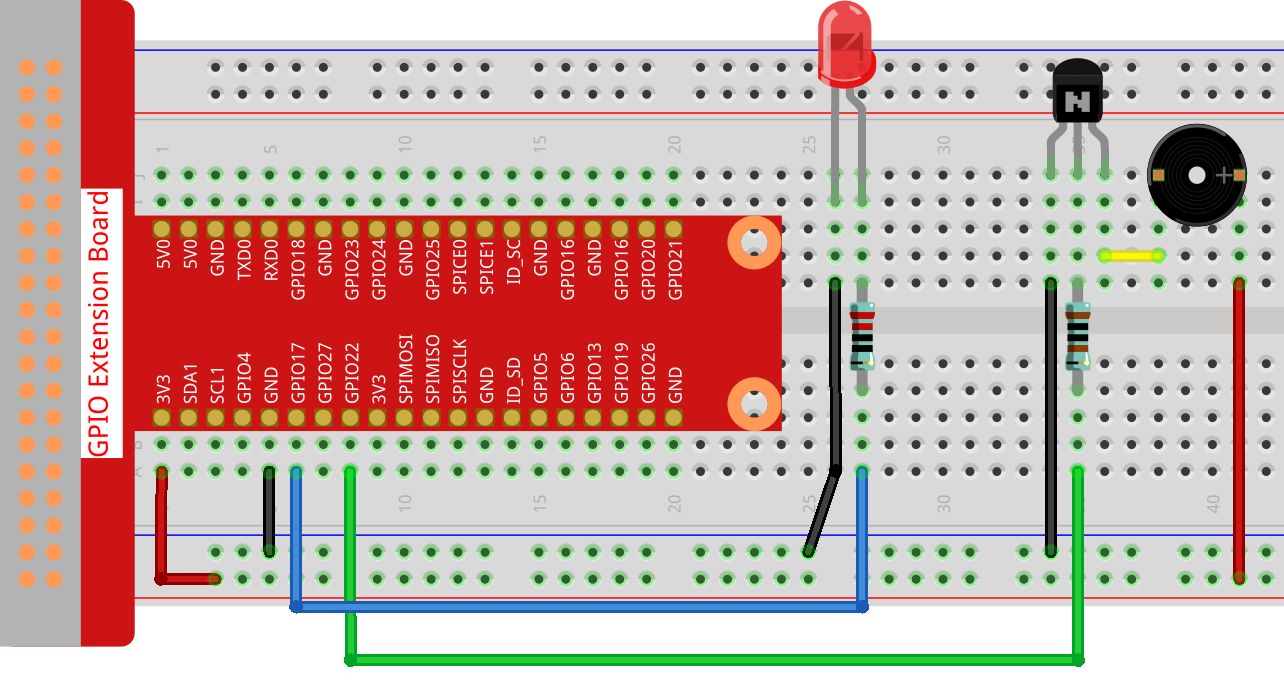
Step 1: Build the circuit. (Pay attention to poles of the buzzer: The one with + label is the positive pole and the other is the negative.)

Step 2: Open the code file.
cd ~/raphael-kit/c/3.1.10/
Step 3: Compile the code.
gcc 3.1.10_MorseCodeGenerator.c -lwiringPi
Step 4: Run the executable file above.
sudo ./a.out
After the program runs, type a series of characters, and the buzzer and the LED will send the corresponding Morse code signals.
Note
If it does not work after running, or there is an error prompt: "wiringPi.h: No such file or directory", please refer to Install and Check the WiringPi.
Code Explanation
struct MORSE{
    char word;
    unsigned char *code;
};

struct MORSE morseDict[]=
{
    {'A',"01"}, {'B',"1000"}, {'C',"1010"}, {'D',"100"}, {'E',"0"},
    {'F',"0010"}, {'G',"110"}, {'H',"0000"}, {'I',"00"}, {'J',"0111"},
    {'K',"101"}, {'L',"0100"}, {'M',"11"}, {'N',"10"}, {'O',"111"},
    {'P',"0110"}, {'Q',"1101"}, {'R',"010"}, {'S',"000"}, {'T',"1"},
    {'U',"001"}, {'V',"0001"}, {'W',"011"}, {'X',"1001"}, {'Y',"1011"},
    {'Z',"1100"},{'1',"01111"}, {'2',"00111"}, {'3',"00011"}, {'4',"00001"},
    {'5',"00000"},{'6',"10000"}, {'7',"11000"}, {'8',"11100"}, {'9',"11110"},
    {'0',"11111"},{'?',"001100"}, {'/',"10010"}, {',',"110011"}, {'.',"010101"},
    {';',"101010"},{'!',"101011"}, {'@',"011010"}, {':',"111000"}
};
This structure MORSE is the dictionary of the Morse code, containing characters A-Z, numbers 0-9 and marks “?” “/” “:” “,” “.” “;” “!” “@” .
char *lookup(char key,struct MORSE *dict,int length)
{
    for (int i=0;i<length;i++)
    {
        if(dict[i].word==key){
            return dict[i].code;
        }
    }
}
The function lookup() works by “checking the dictionary”. Define a
key search the same words as key in the structure morseDict
and return the corresponding information— code of the certain
word.
void on(){
    digitalWrite(ALedPin,HIGH);
    digitalWrite(BeepPin,HIGH);
}
Create a function on() to start the buzzer and the LED.
void off(){
    digitalWrite(ALedPin,LOW);
    digitalWrite(BeepPin,LOW);
}
The function off() turns off the buzzer and the LED.
void beep(int dt){
    on();
    delay(dt);
    off();
    delay(dt);
}
Define a function beep() to make the buzzer and the LED emit sounds and
blink in a certain interval of dt.
void morsecode(char *code){
    int pause = 250;
    char *point = NULL;
    int length = sizeof(morseDict)/sizeof(morseDict[0]);
    for (int i=0;i<strlen(code);i++)
    {
        point=lookup(code[i],morseDict,length);
        for (int j=0;j<strlen(point);j++){
            if (point[j]=='0')
            {
                beep(pause/2);
            }else if(point[j]=='1')
            {
                beep(pause);
            }
            delay(pause);
        }
    }
}
The function morsecode() is used to process the Morse code of input
characters by making the “1” of the code keep emitting sounds or lights
and the “0”shortly emit sounds or lights, ex., input “SOS”, and there
will be a signal containing three short three long and then three short
segments “ · · · - - - · · · ”.
int toupper(int c)
{
    if ((c >= 'a') && (c <= 'z'))
        return c + ('A' - 'a');
    return c;
}
char *strupr(char *str)
{
    char *orign=str;
    for (; *str!='\0'; str++)
        *str = toupper(*str);
return orign;
}
Before coding, you need to unify the letters into capital letters.
void main(){
    setup();
    char *code;
    int length=8;
    code = (char*)malloc(sizeof(char)*length);
    while (1){
        printf("Please input the messenger:");
        scanf("%s",code);
        code=strupr(code);
        printf("%s\n",code);
        morsecode(code);
    }
}
When you type the relevant characters with the keyboard,
code=strupr(code) will convert the input letters to their capital form.
Printf() then prints the clear text on the computer screen, and the
morsecod() function causes the buzzer and the LED to emit Morse code.
Note that the length of the input character mustn’t exceed the length (can be revised).
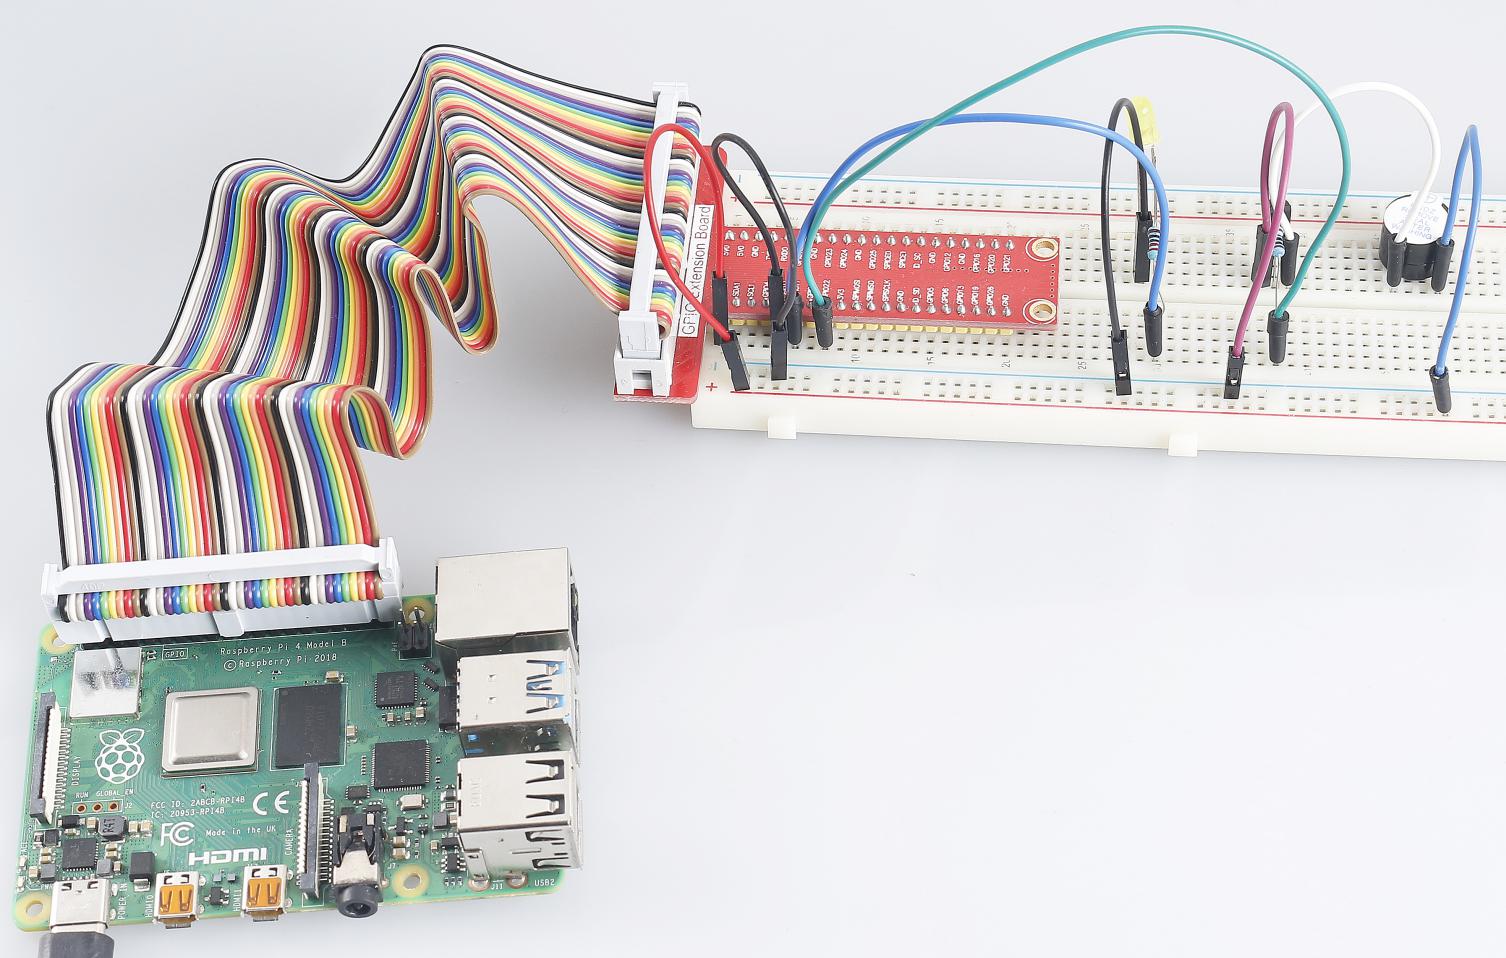
Phenomenon Picture
