Note
Hello, welcome to the SunFounder Raspberry Pi & Arduino & ESP32 Enthusiasts Community on Facebook! Dive deeper into Raspberry Pi, Arduino, and ESP32 with fellow enthusiasts.
Why Join?
Expert Support: Solve post-sale issues and technical challenges with help from our community and team.
Learn & Share: Exchange tips and tutorials to enhance your skills.
Exclusive Previews: Get early access to new product announcements and sneak peeks.
Special Discounts: Enjoy exclusive discounts on our newest products.
Festive Promotions and Giveaways: Take part in giveaways and holiday promotions.
👉 Ready to explore and create with us? Click [here] and join today!
1.2 Install and Introduce Thonny IDE
To program Pico with MicroPython, you need an integrated development environment (IDE), here we recommend Thonny. Python 3.7 is pre-installed in Thonny, so all you need to do is install it.
Download from Web
Before you can start to program Pico with MicroPython, you need an integrated development environment (IDE), here we recommend Thonny. Thonny comes with Python 3.7 built in, just one simple installer is needed and you’re ready to learn programming.
Note
Since the Raspberry Pi Pico interpreter only works with Thonny version 3.3.3 or later, you can skip this chapter if you have it; otherwise, please update or install it.
You can download it by visiting the Thonny website. Once open the page, you will see a light gray box in the upper right corner, click on the link that applies to your operating system.

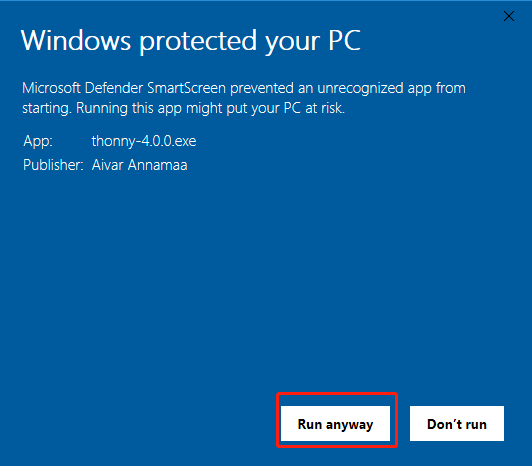
The installers have been signed with a new certificate which hasn’t built up its reputation yet. You may need to click through your browser warning (e.g. choose “Keep” instead of “Discard” in Chrome) and Windows Defender warning (More info ⇒ Run anyway).
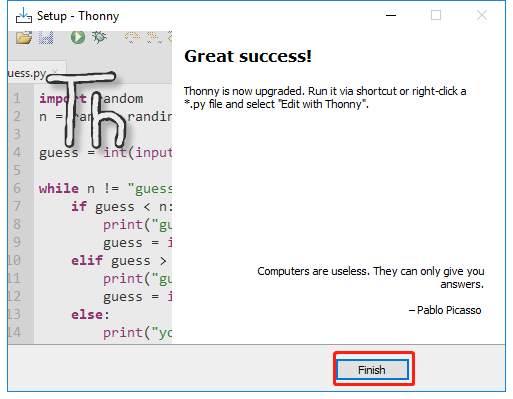
Next, click Next and Install to finish installing Thonny.
Thonny IDE Introduction
Ref: realpython
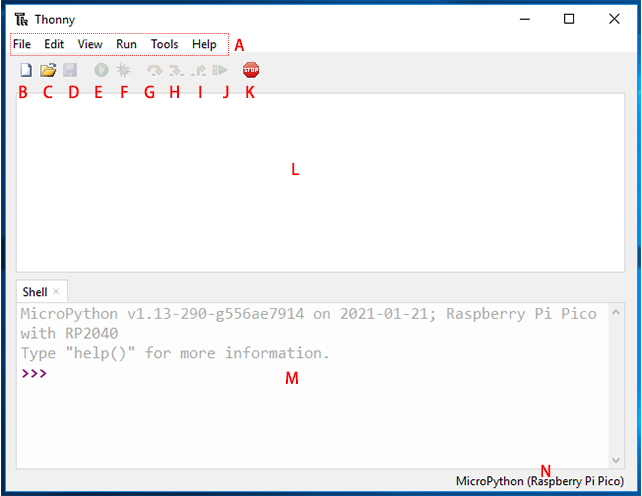
A: The menu bar containing New, Save, Edit, View, Run, Debug, etc.
B: This paper icon allows you to create a new file.
C: If your Raspberry Pi Pico is already plugged into your computer, you can open files that already exist on your computer or Pico.
D: Click on the floppy disk icon to save the code. You can also choose whether to save the code to your computer or the Raspberry Pi Pico.
E: The play icon allows you to run the code. Before running the code, save it if you have not already done so.
F: The Debug icon allows you to debug your code. When writing code, you will inevitably encounter errors. There are many forms of errors, including incorrect syntax and logical errors. Debugging is the tool for finding and investigating errors.
Note
When MicroPython (Raspberry Pi Pico) is selected as the interpreter, the Debug tool cannot be used.
To debug your code, select the interpreter as the default interpreter and save it to your computer after debugging.
You can now save the debugged code to your Raspberry Pi Pico by selecting the MicroPython (Raspberry Pi Pico) interpreter again, clicking the save as button, and clicking the save button again.
When you click on the Degug icon, you can run the program step by step using the G, H, and I arrow icons. When you click on each arrow, a yellow highlighted bar will appear to indicate which Python line or section is being evaluated.
G: Take a big step, which means jumping to the next line or block of code.
H: Take a small step means expressing each component in depth.
I: Exit out of the debugger.
J: Click it to return from debug mode to play mode.
K: Use the stop icon to stop running code.
L: Script Area, where you can write your Python code.
M: Python Shell, where you can type a single command, and when you press the Enter key, the single command will run and provide information about the running program. This is also known as REPL, which means “Read, Evaluate, Print, and Loop.”
N: Interpreter, where the current version of Python used to run your program is displayed, can be changed manually to another version by clicking on it.
Note
NO MicroPython(Raspberry Pi Pico) Interpreter Option ?
Make sure your Pico is plugged into your computer via a USB cable.
The Raspberry Pi Pico interpreter is only available in version 3.3.3 or higher version of Thonny. If you are running an older version, please update.