1.4 Download and Upload the Code
Download the Code
Download the relevant code from the link below.
Or check out the code at Euler Kit - GitHub
Upload the Libraries to Pico
In some projects, you will need additional libraries. So here we upload these libraries to Raspberry Pi Pico first, and then we can run the code directly later.
Click View -> Files in the top navigation bar of Thonny IDE.

Go to the folder where you downloaded the code package before, and then go to the
micropython/folder.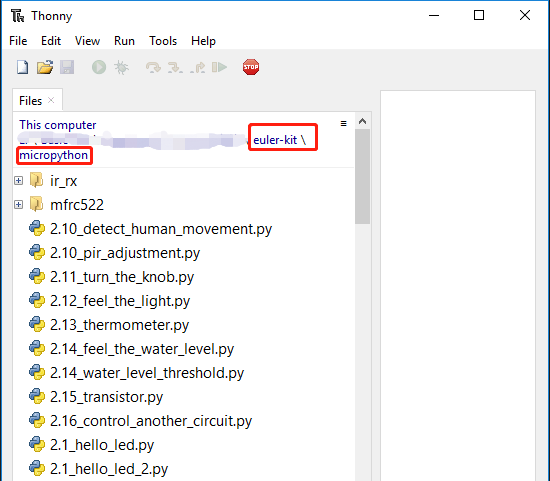
Select “MicroPython (Raspberry Pi Pico)” from the interpreter selection button in the bottom right corner, but make sure that your Raspberry Pi Pico is connected to your computer via a Micro USB cable.
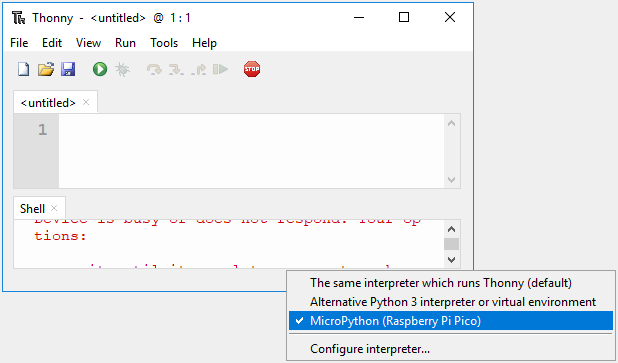
The drive Raspberry Pi Pico/ will appear, and the next step is to upload all the code and library files to it.
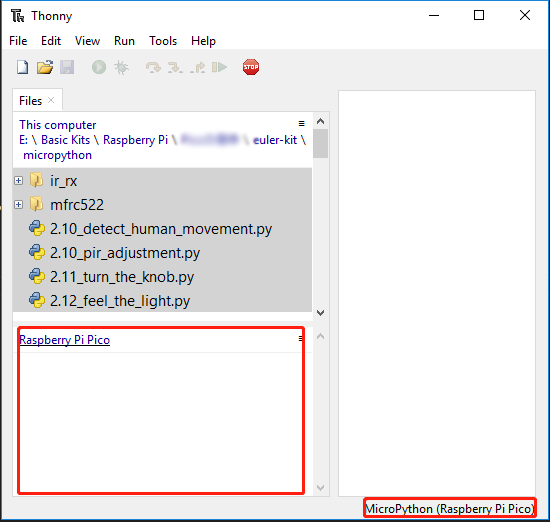
Each project has its own .py file with serial numbers. To avoid increasing Pico’s usage, only select
.pyfiles and folders without serial numbers.It will take a while for the file to upload after clicking Upload to.
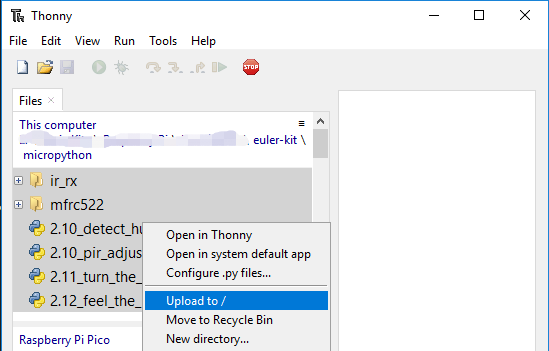
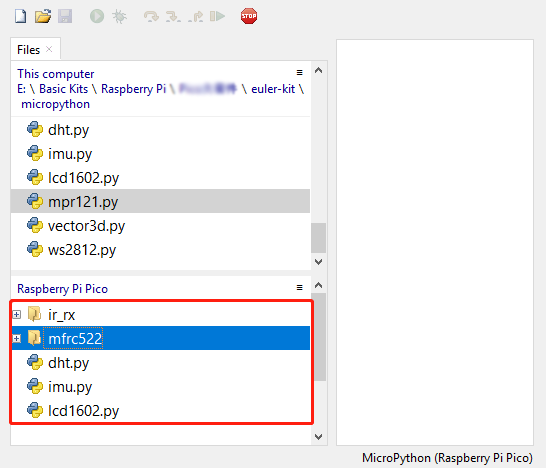
Now you will see the files you just uploaded inside your drive
Raspberry Pi Pico.