13. Grayscale
In this project, you will learn how to read and calibrate the Omni Grayscale Module on the bottom of the Zeus Car.
How to do?
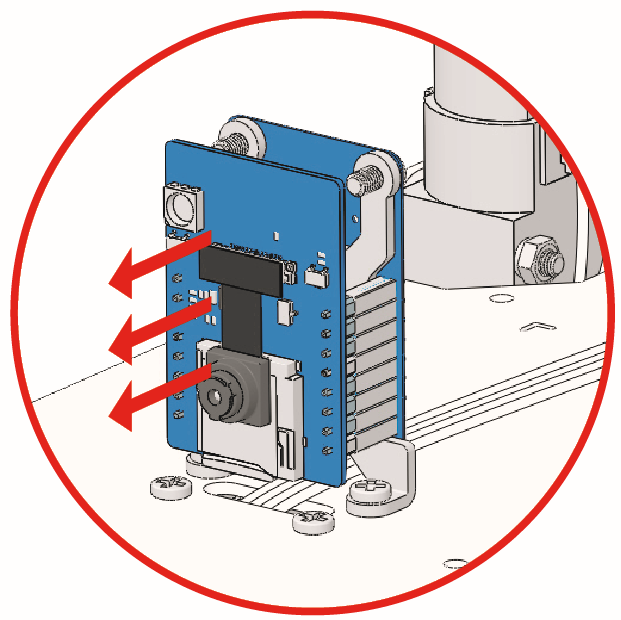
The ESP32-CAM and the Arduino board share the same RX (receive) and TX (transmit) pins. So, when you’re uploading code, you’ll need to first disconnect the ESP32-CAM to avoid any conflicts or potential issues.
Open the
13_hc165_and_grayscale.inofile under the path ofzeus-car-main\examples\13_hc165_and_grayscale.After the code is uploaded successfully, slide the power switch to ON to start the Zeus Car.
Note
Do not unplug the USB in this step, because you need to check the data of the Omni Grayscale Module on your computer.
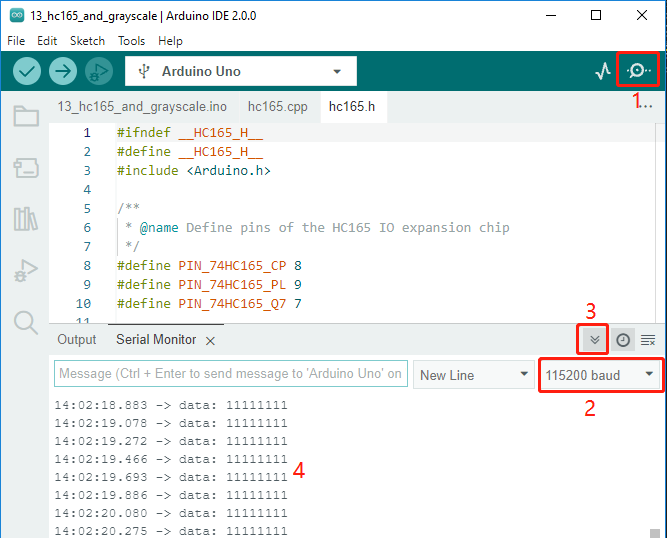
Open the serial monitor and make sure the current baud rate is set to 115200. It is recommended to click on the Toggle Autoscroll icon so that you can see the latest printed data.

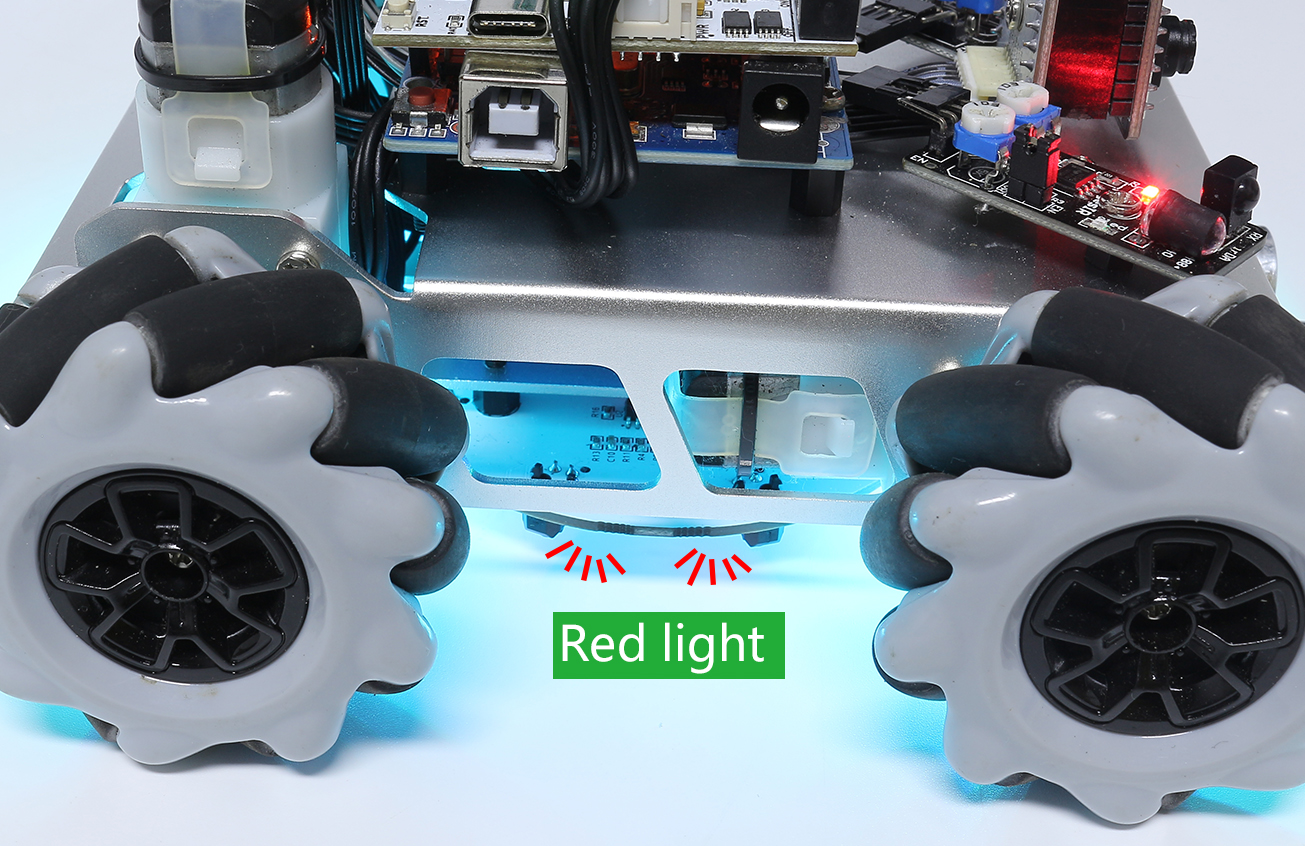
Turn the car over and you will be able to see the Serial Monitor print out
data: 11111111.If you cover one of the probes on the module with your hand, you will see the value in the corresponding position change to
0.For example, if you cover the
U11probe, you will seedata: 01111111.
Calibrate the Omni Grayscale module.
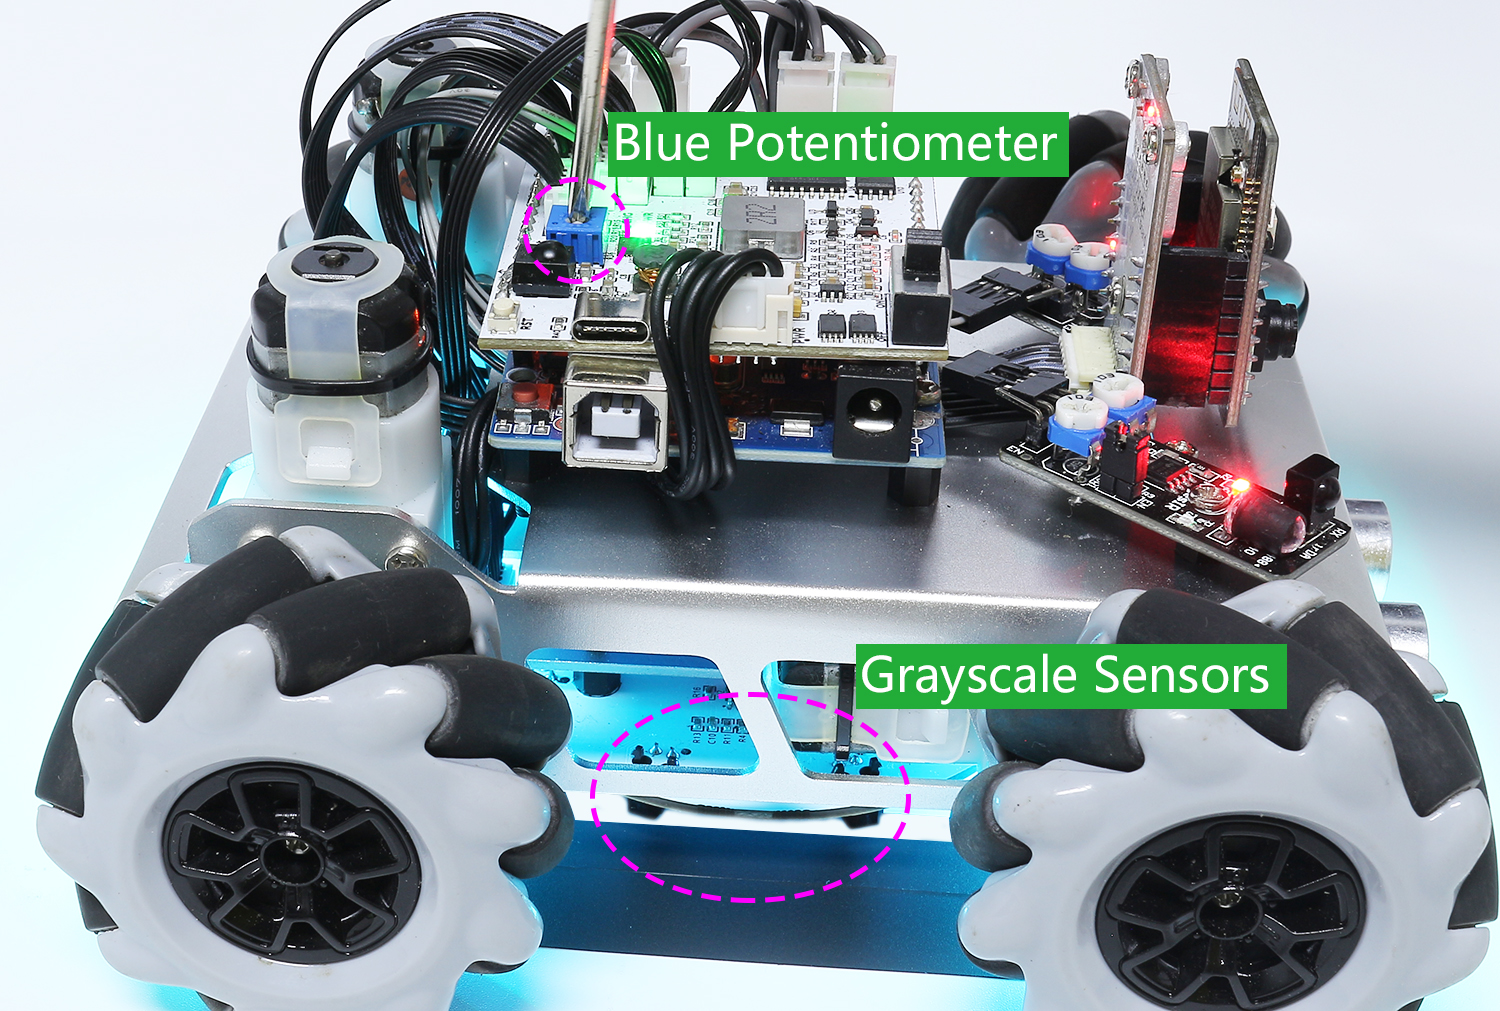
Since each subfloor has different grayscale values, the factory-set grayscale threshold may not be appropriate for your current environment, so you will need to calibrate this module before use. It is recommended that you need to calibrate it whenever the floor color changes a lot.
Place the Zeus Car on white surface and turn the potentiometer until the gray sensor light is just illuminated.

Now let the two greyscale sensors on the side be located just between the black line and white surface, and slowly turn the potentiometer until the signal indicator just goes off.

You can move repeatedly over the the black line and white surface to make sure that the lights of the greyscale sensor are off when they are between the the black line and white surface and on when they are on the white surface, indicating that the module is successfully calibrated.
