6. Car Light
In this project, you will be able to use the remote control to control the RGB light strips on the bottom of the car, making them display different colors.
How to do?
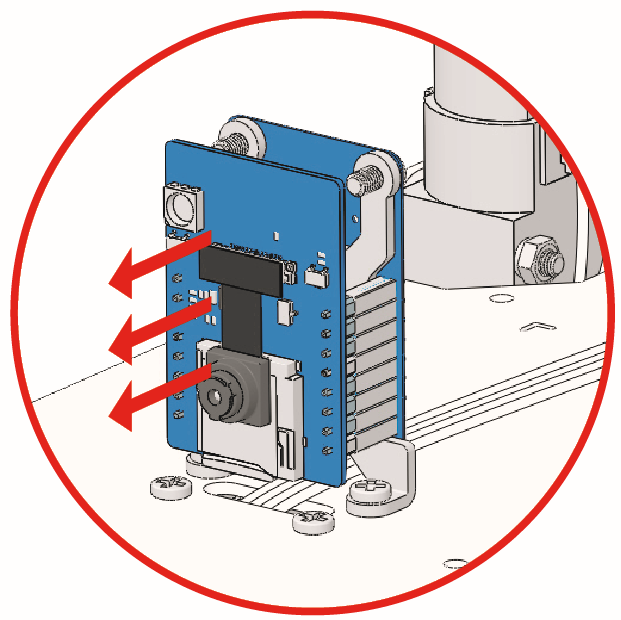
The ESP32-CAM and the Arduino board share the same RX (receive) and TX (transmit) pins. So, when you’re uploading code, you’ll need to first disconnect the ESP32-CAM to avoid any conflicts or potential issues.
Open the
6_car_light.inofile under the path ofzeus-car-main\examples\6_car_light.After the code is uploaded successfully, slide the power switch to ON to start the Zeus Car.
Now you can use the numbers 1 to 9 on the remote control to control the car to light up different colors, press 0 to turn off, press
 to let the car perform a color cycle. Key 1 to 9 corresponding to the color is: red, orange, yellow, green, cyan, blue, purple, pink, white.
