16. AI Detection from APP
In this project, we will use an app - SunFounder Controller to view real-time video streaming, as well as use the AI detection features on your mobile device, such as face and pose detection.
SunFounder Controller is an application that allows users to customize the controller for controlling their robot or as an IoT platform. 11 kinds of show and control widgets are integrated in this APP, such as Button, Joystick, Gauge, and Radar. The controller page has 17 areas from A~Q, you can place different widgets to customize your own controller.
Now take a look at how to use the APP in a simple way.
How to do?
The ESP32-CAM and the Arduino board share the same RX (receive) and TX (transmit) pins. So, when you’re uploading code, you’ll need to first disconnect the ESP32-CAM to avoid any conflicts or potential issues.
Open the
16_ai_detection_from_app.inofile under the path ofzeus-car-main\examples\16_ai_detection_from_app.After the code is uploaded successfully, you can plug in the ESP32-CAM and then slide the power switch to ON to start the Zeus Car.
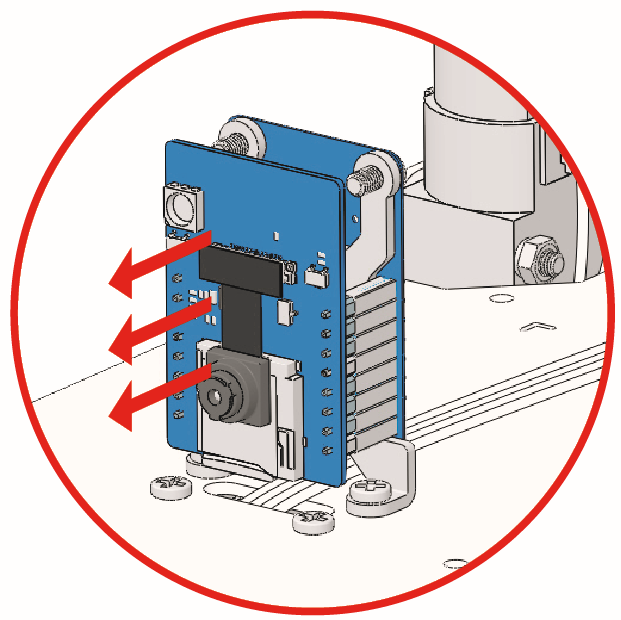
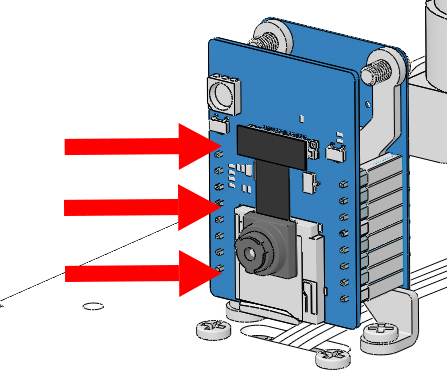
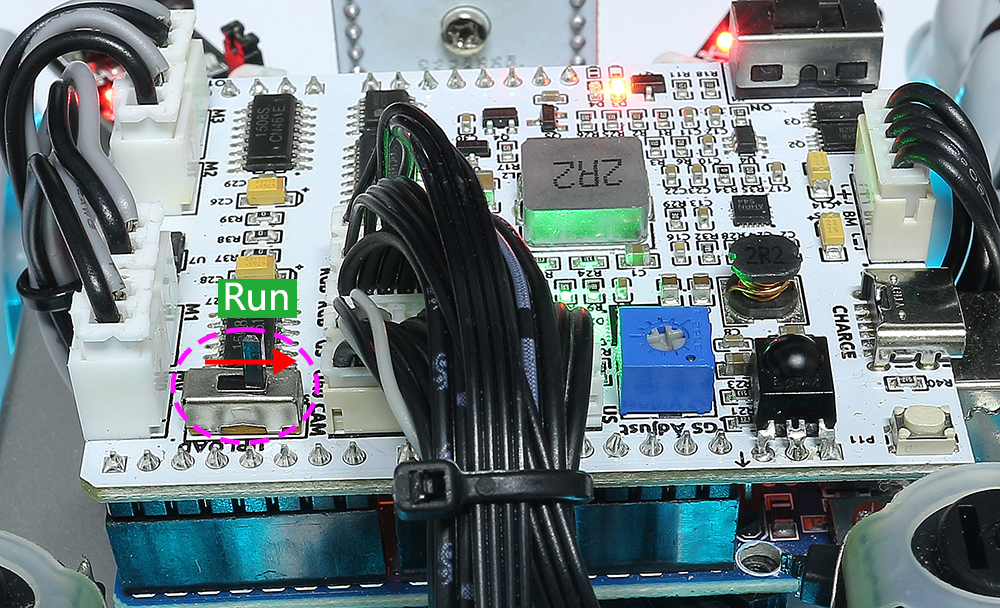
Toggle the Upload Switch to the side of Run (right side on this diagram) to start the ESP32 CAM.
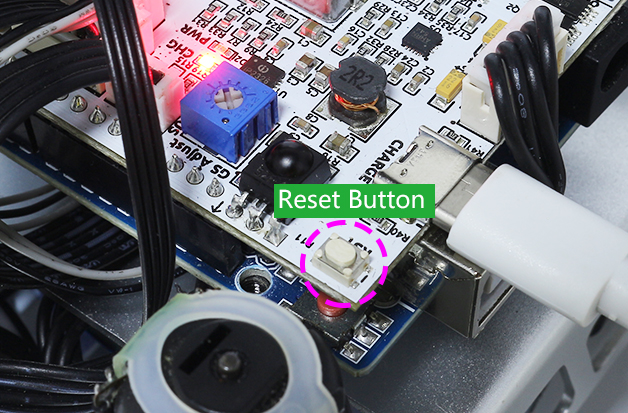
Press the reset button to get the Arduino board’s program running again.
Now, install SunFounder Controller from APP Store(iOS) or Google Play(Android) to your mobile device.
Connect to
Zeus_CarWLAN.Find
Zeus_Caron the WLAN of the mobile phone (tablet), enter the password12345678and connect to it.
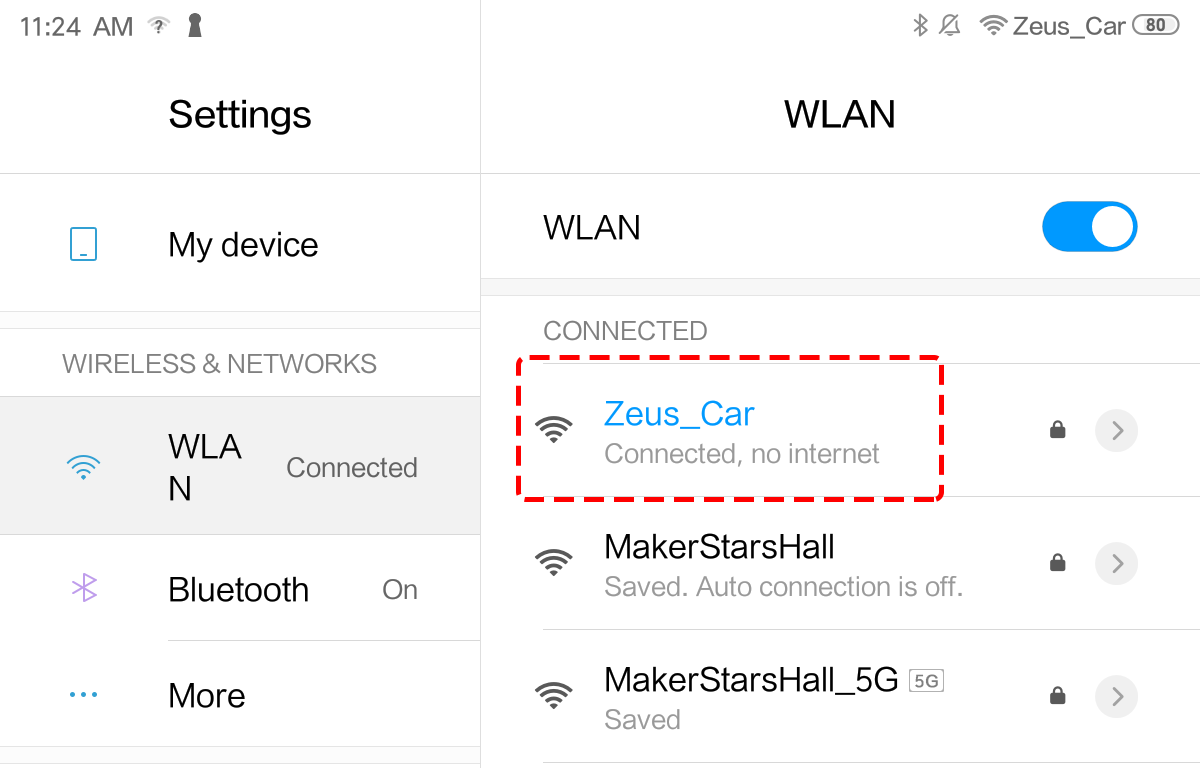
The default connection mode is AP mode. So after you connect, there will be a prompt telling you that there is no Internet access on this WLAN network, please choose to continue connecting.

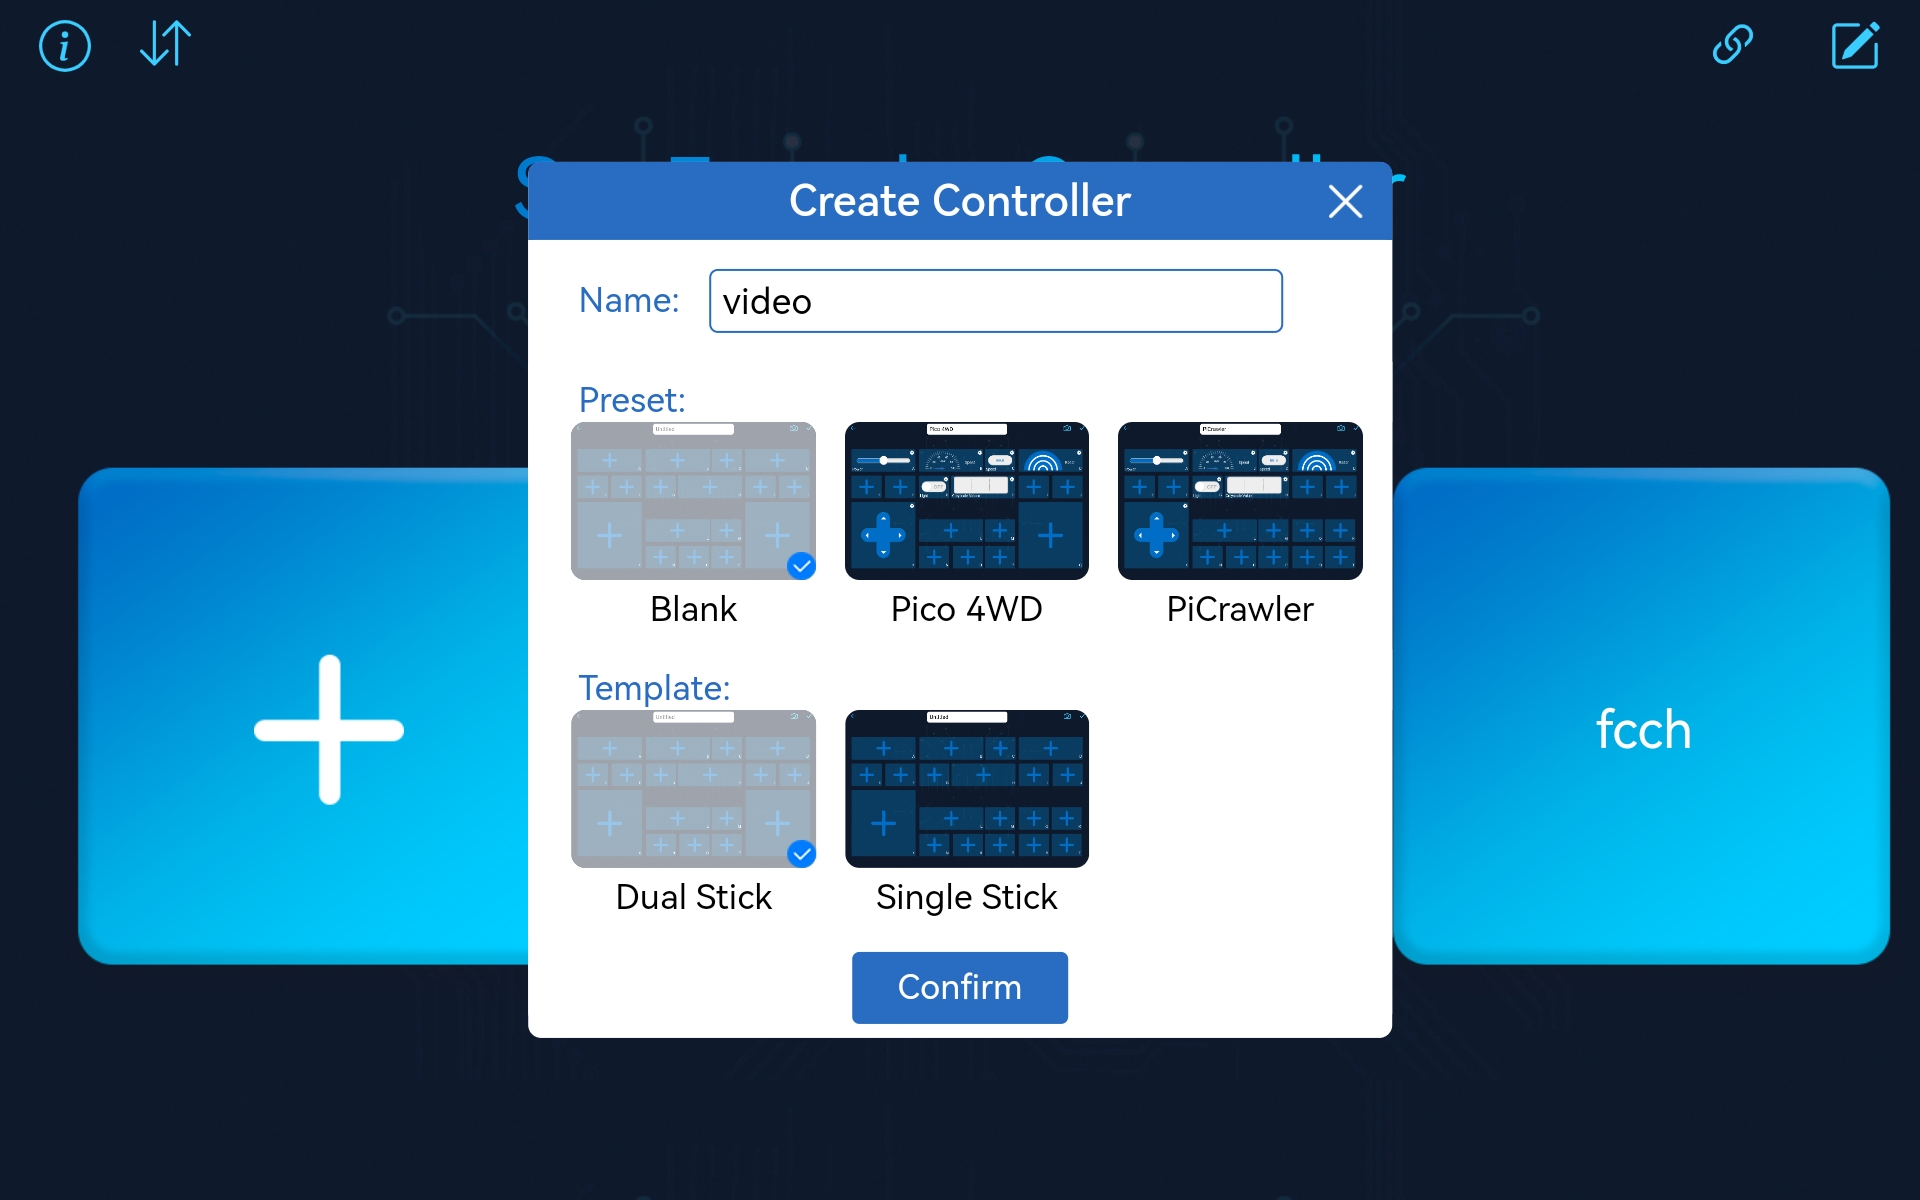
Then open the APP and create a controller.
To add a controller on SunFounder Controller, click the + icon.

Select the Blank and Dual Stick template and give it a name.
As you are now inside the controller, click the
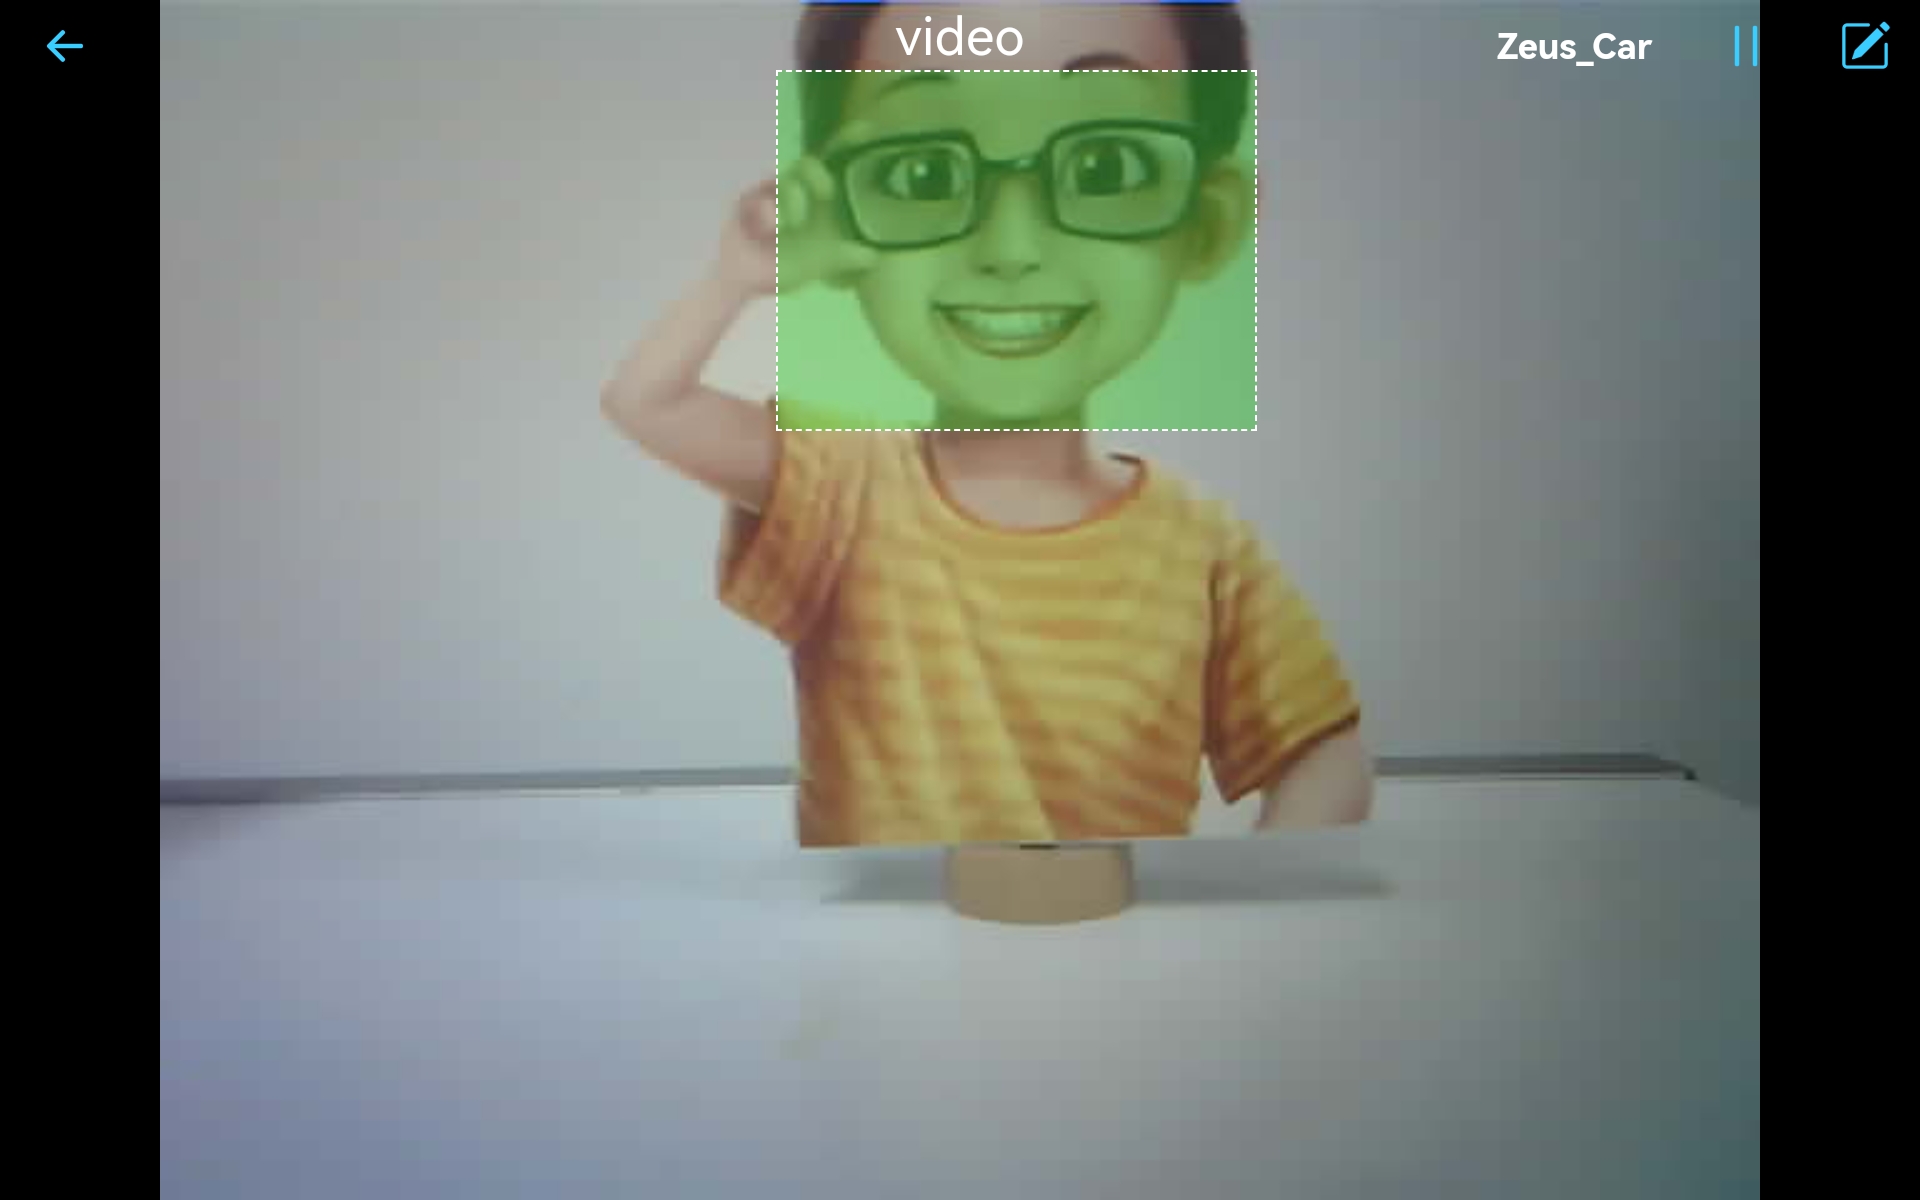
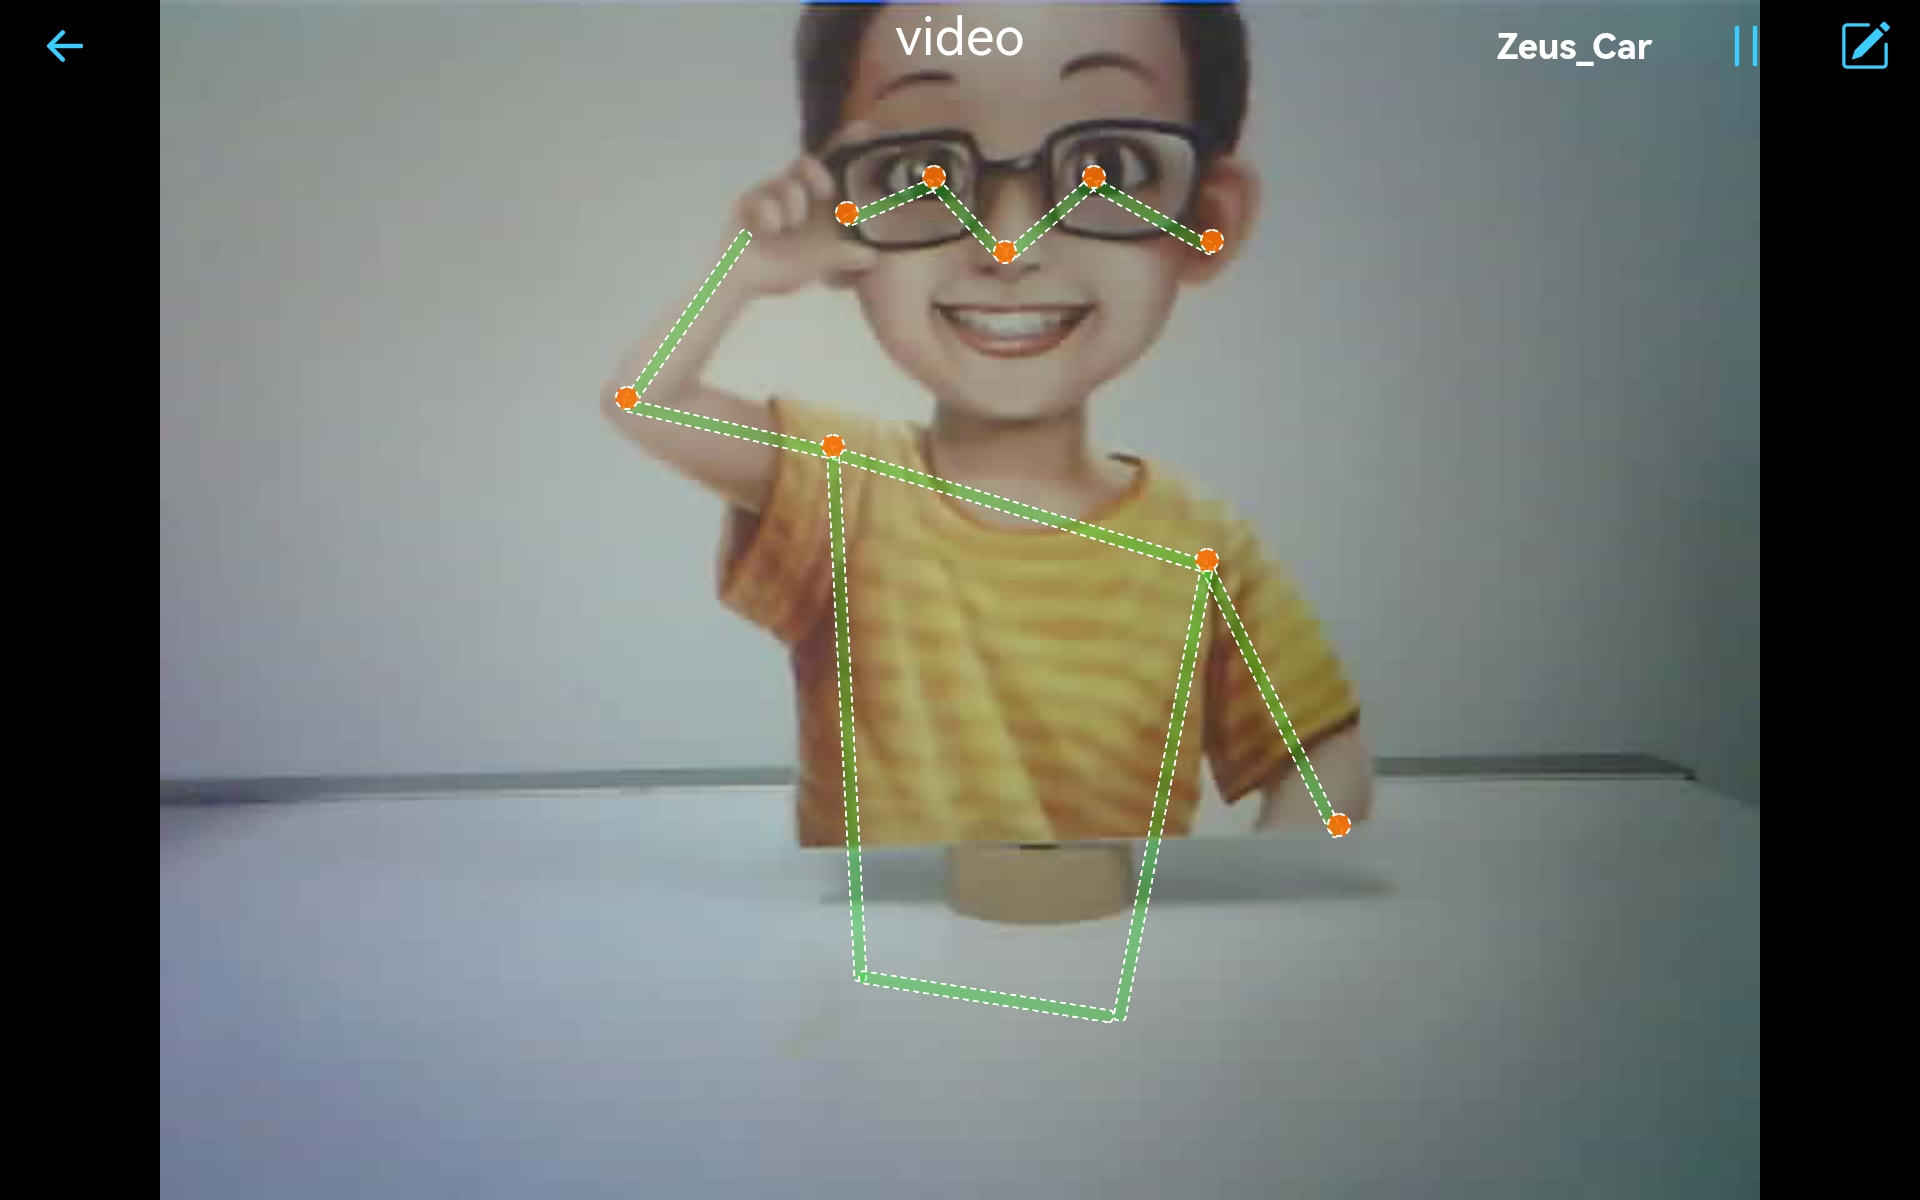
 icon to enable the AI detection feature. You will find both Face Detection and Pose Detection options.
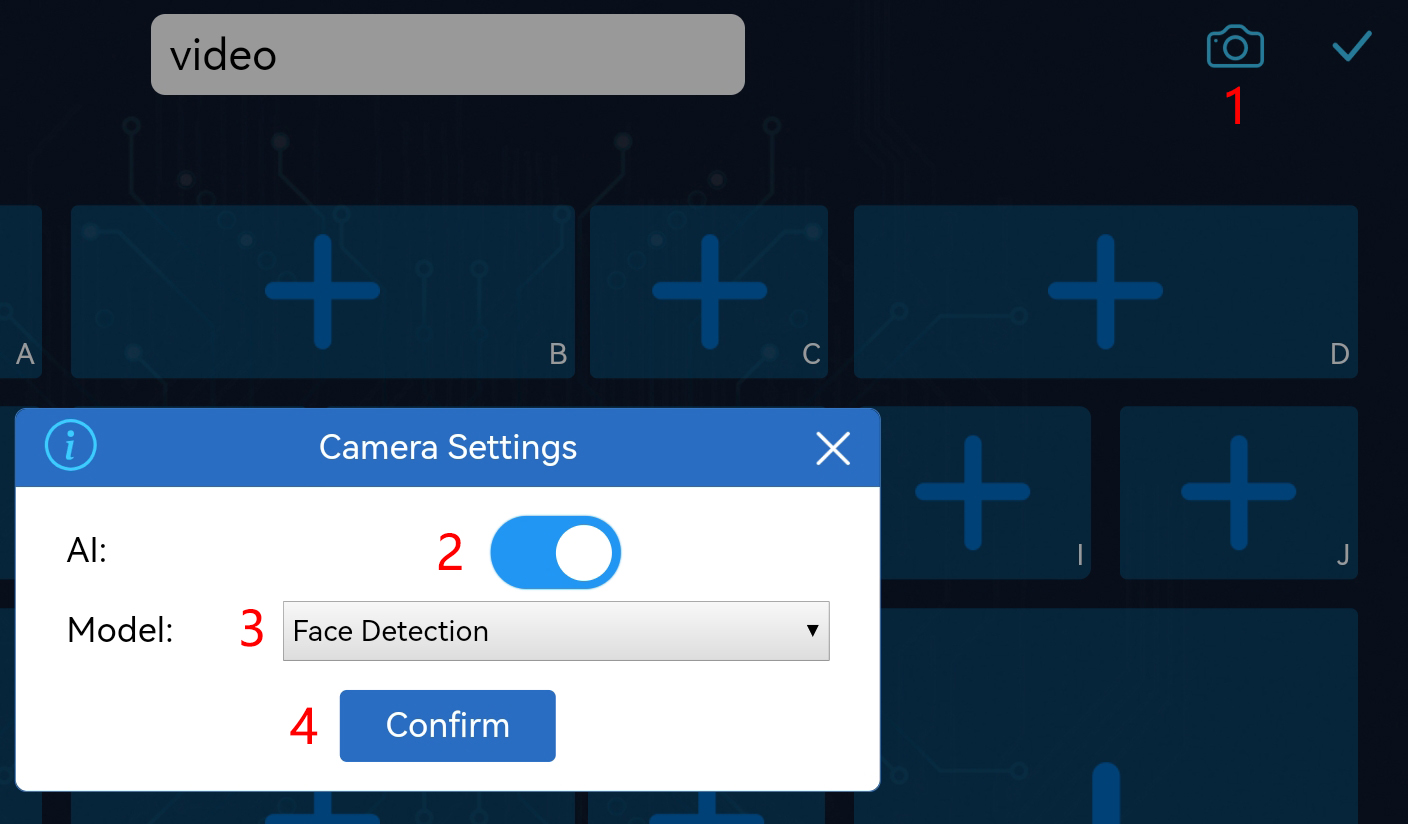
Save all settings by clicking on the
 button. As no widgets have been selected, the screen is completely black.
The next step is to connect the Zeus Car to your device via the
 button. Wait a few seconds and
 Zeus_Car(IP)will appear, click on it to connect.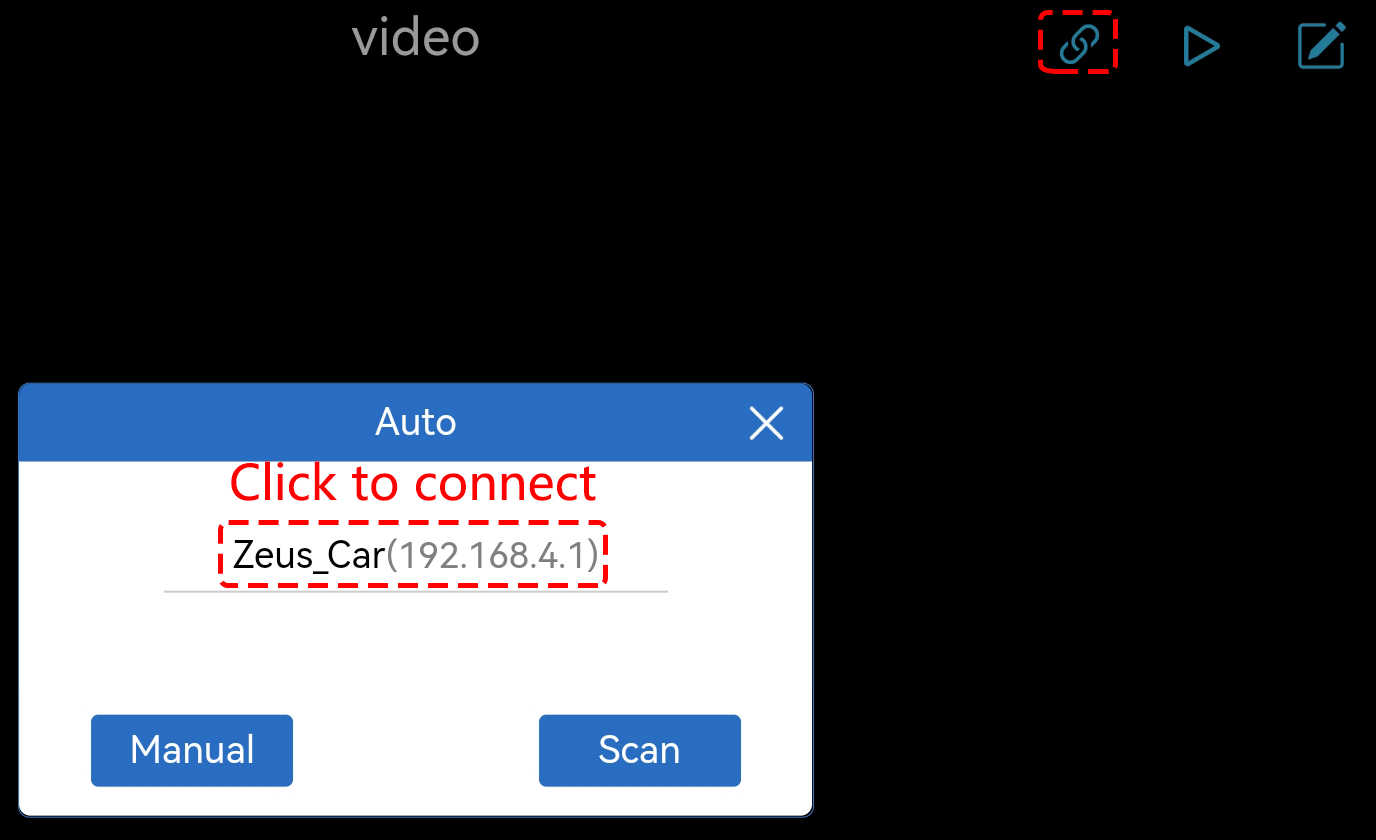
Note
Please make sure your Wi-Fi is connected to
Zeus_Car, if you are not seeing the above message for a long time.
Run the Controller.
