Note
Hello, welcome to the SunFounder Raspberry Pi & Arduino & ESP32 Enthusiasts Community on Facebook! Dive deeper into Raspberry Pi, Arduino, and ESP32 with fellow enthusiasts.
Why Join?
Expert Support: Solve post-sale issues and technical challenges with help from our community and team.
Learn & Share: Exchange tips and tutorials to enhance your skills.
Exclusive Previews: Get early access to new product announcements and sneak peeks.
Special Discounts: Enjoy exclusive discounts on our newest products.
Festive Promotions and Giveaways: Take part in giveaways and holiday promotions.
👉 Ready to explore and create with us? Click [here] and join today!
17. APP Control
In the previous project we simply viewed the footage taken by the camera and used the AI detection function in the SunFounder Controller.
In this project, we will try to control the movement and direction of the Zeus Car using the joystick widget in the app, so now let’s see how it works.
Note
Please install SunFounder Controller from APP Store(iOS) or Google Play(Android).
How to do?
The ESP32-CAM and the Arduino board share the same RX (receive) and TX (transmit) pins. So, when you’re uploading code, you’ll need to first disconnect the ESP32-CAM to avoid any conflicts or potential issues.

Open the
17_app_control.inofile under the path ofzeus-car-main\examples\17_app_control.After the code is uploaded successfully, you can plug in the ESP32-CAM and then slide the power switch to ON to start the Zeus Car.

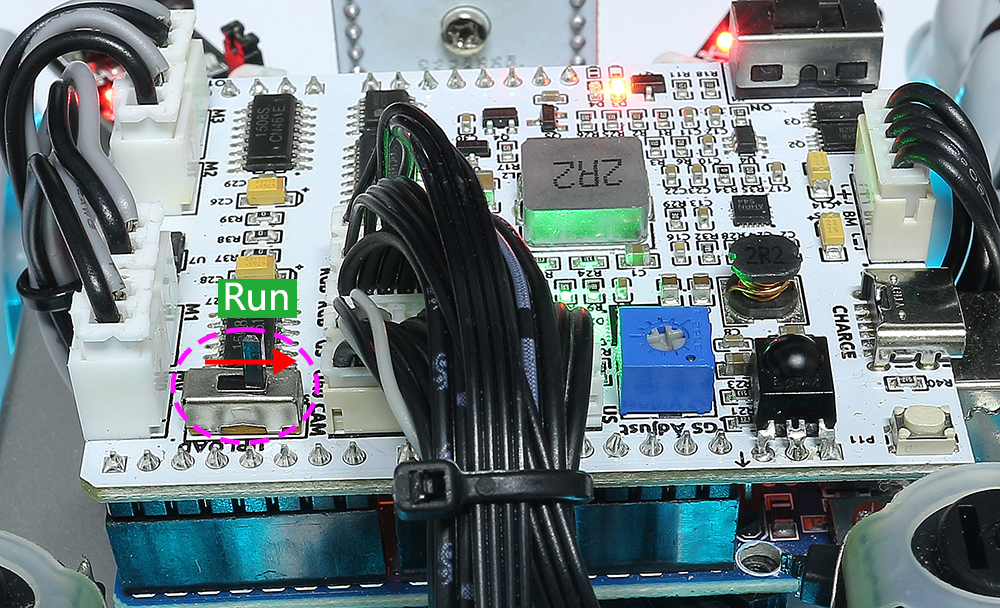
Toggle the Upload Switch to the side of Run (right side on this diagram) to start the ESP32 CAM.
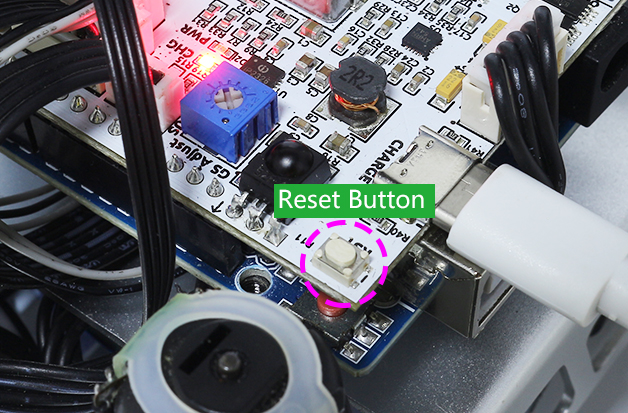
Press the reset button to get the Arduino board’s program running again.
Connect to
Zeus_CarWLAN.Find
Zeus_Caron the WLAN of the mobile phone (tablet), enter the password12345678and connect to it.

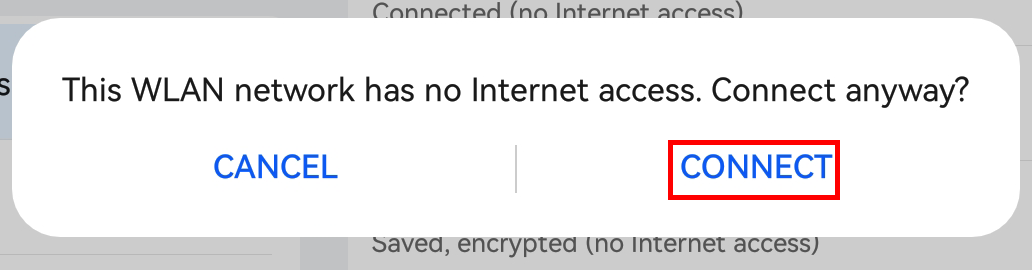
The default connection mode is AP mode. So after you connect, there will be a prompt telling you that there is no Internet access on this WLAN network, please choose to continue connecting.
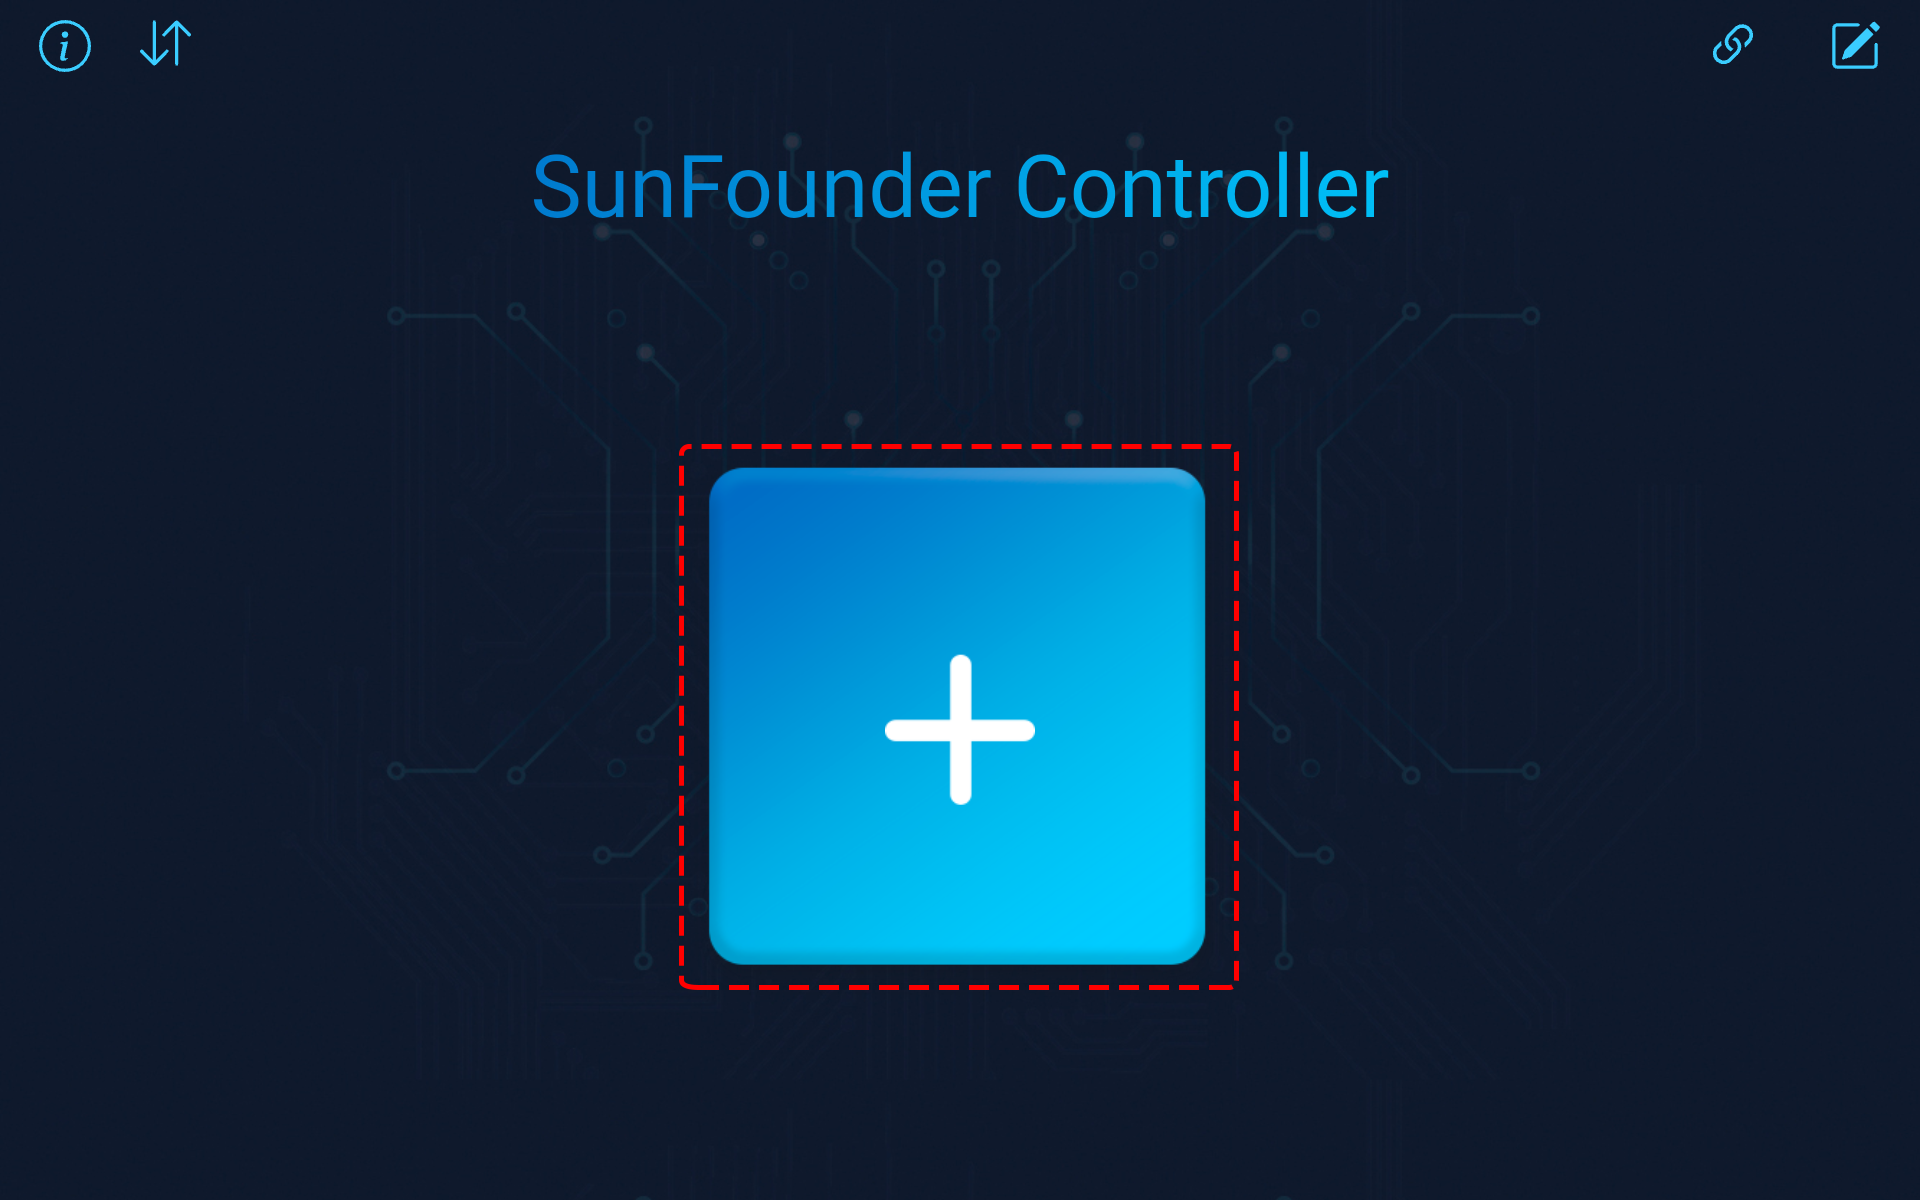
Create a controller.
To add a controller on SunFounder Controller, click the + icon.
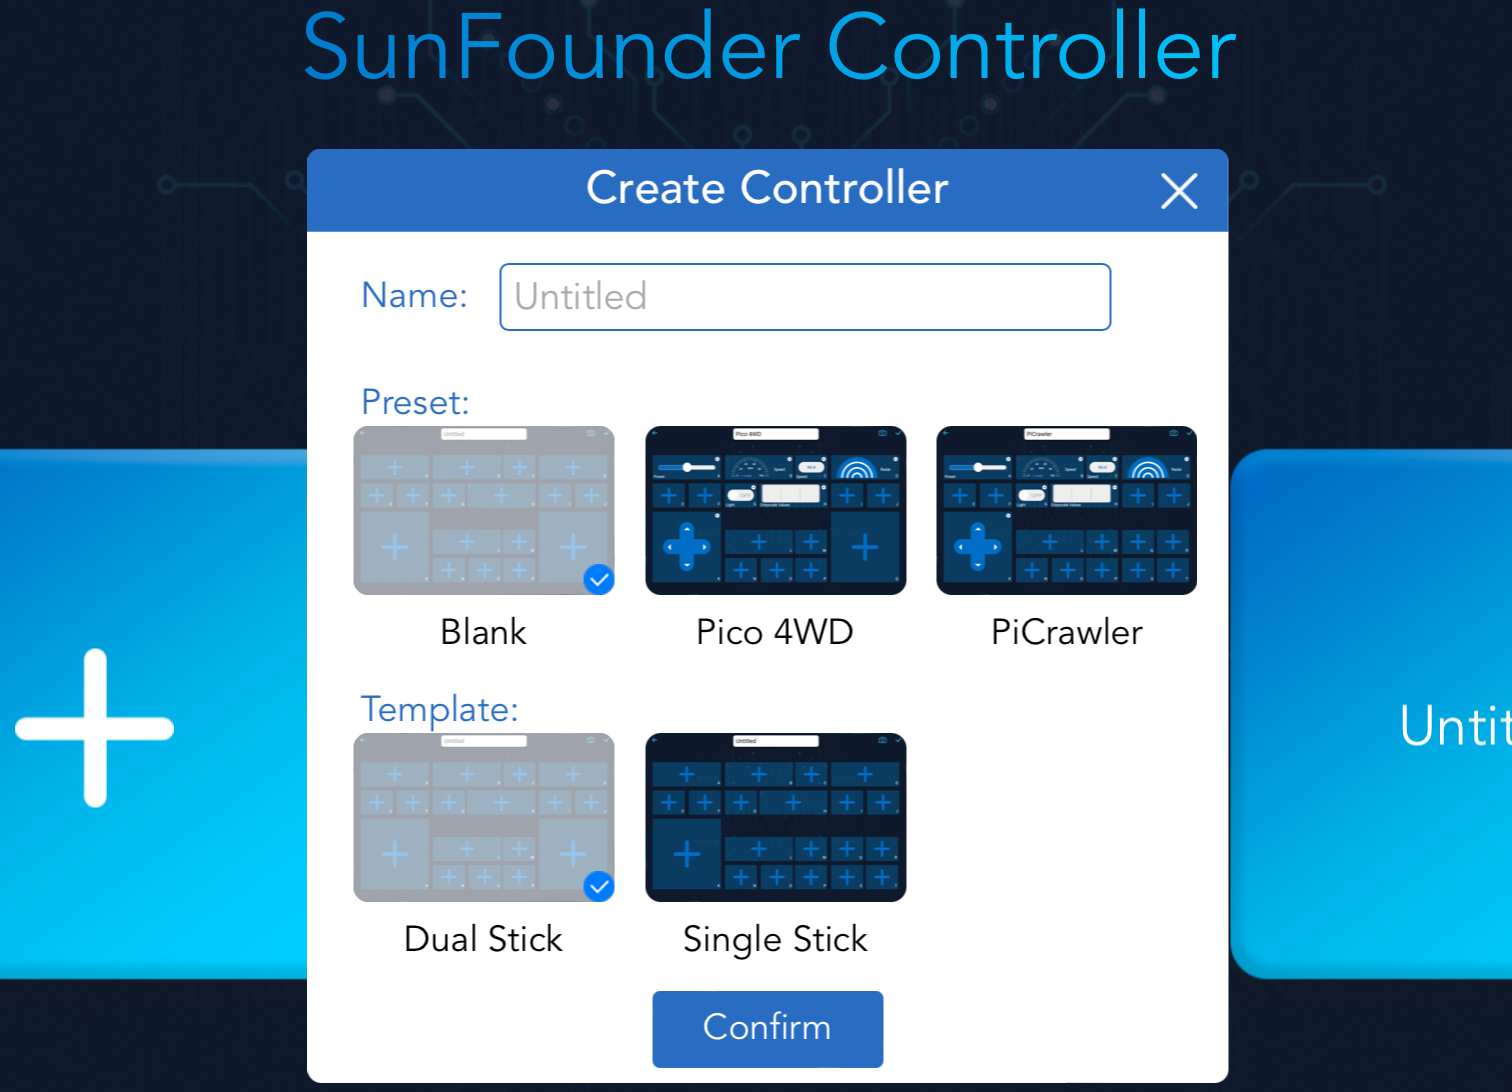
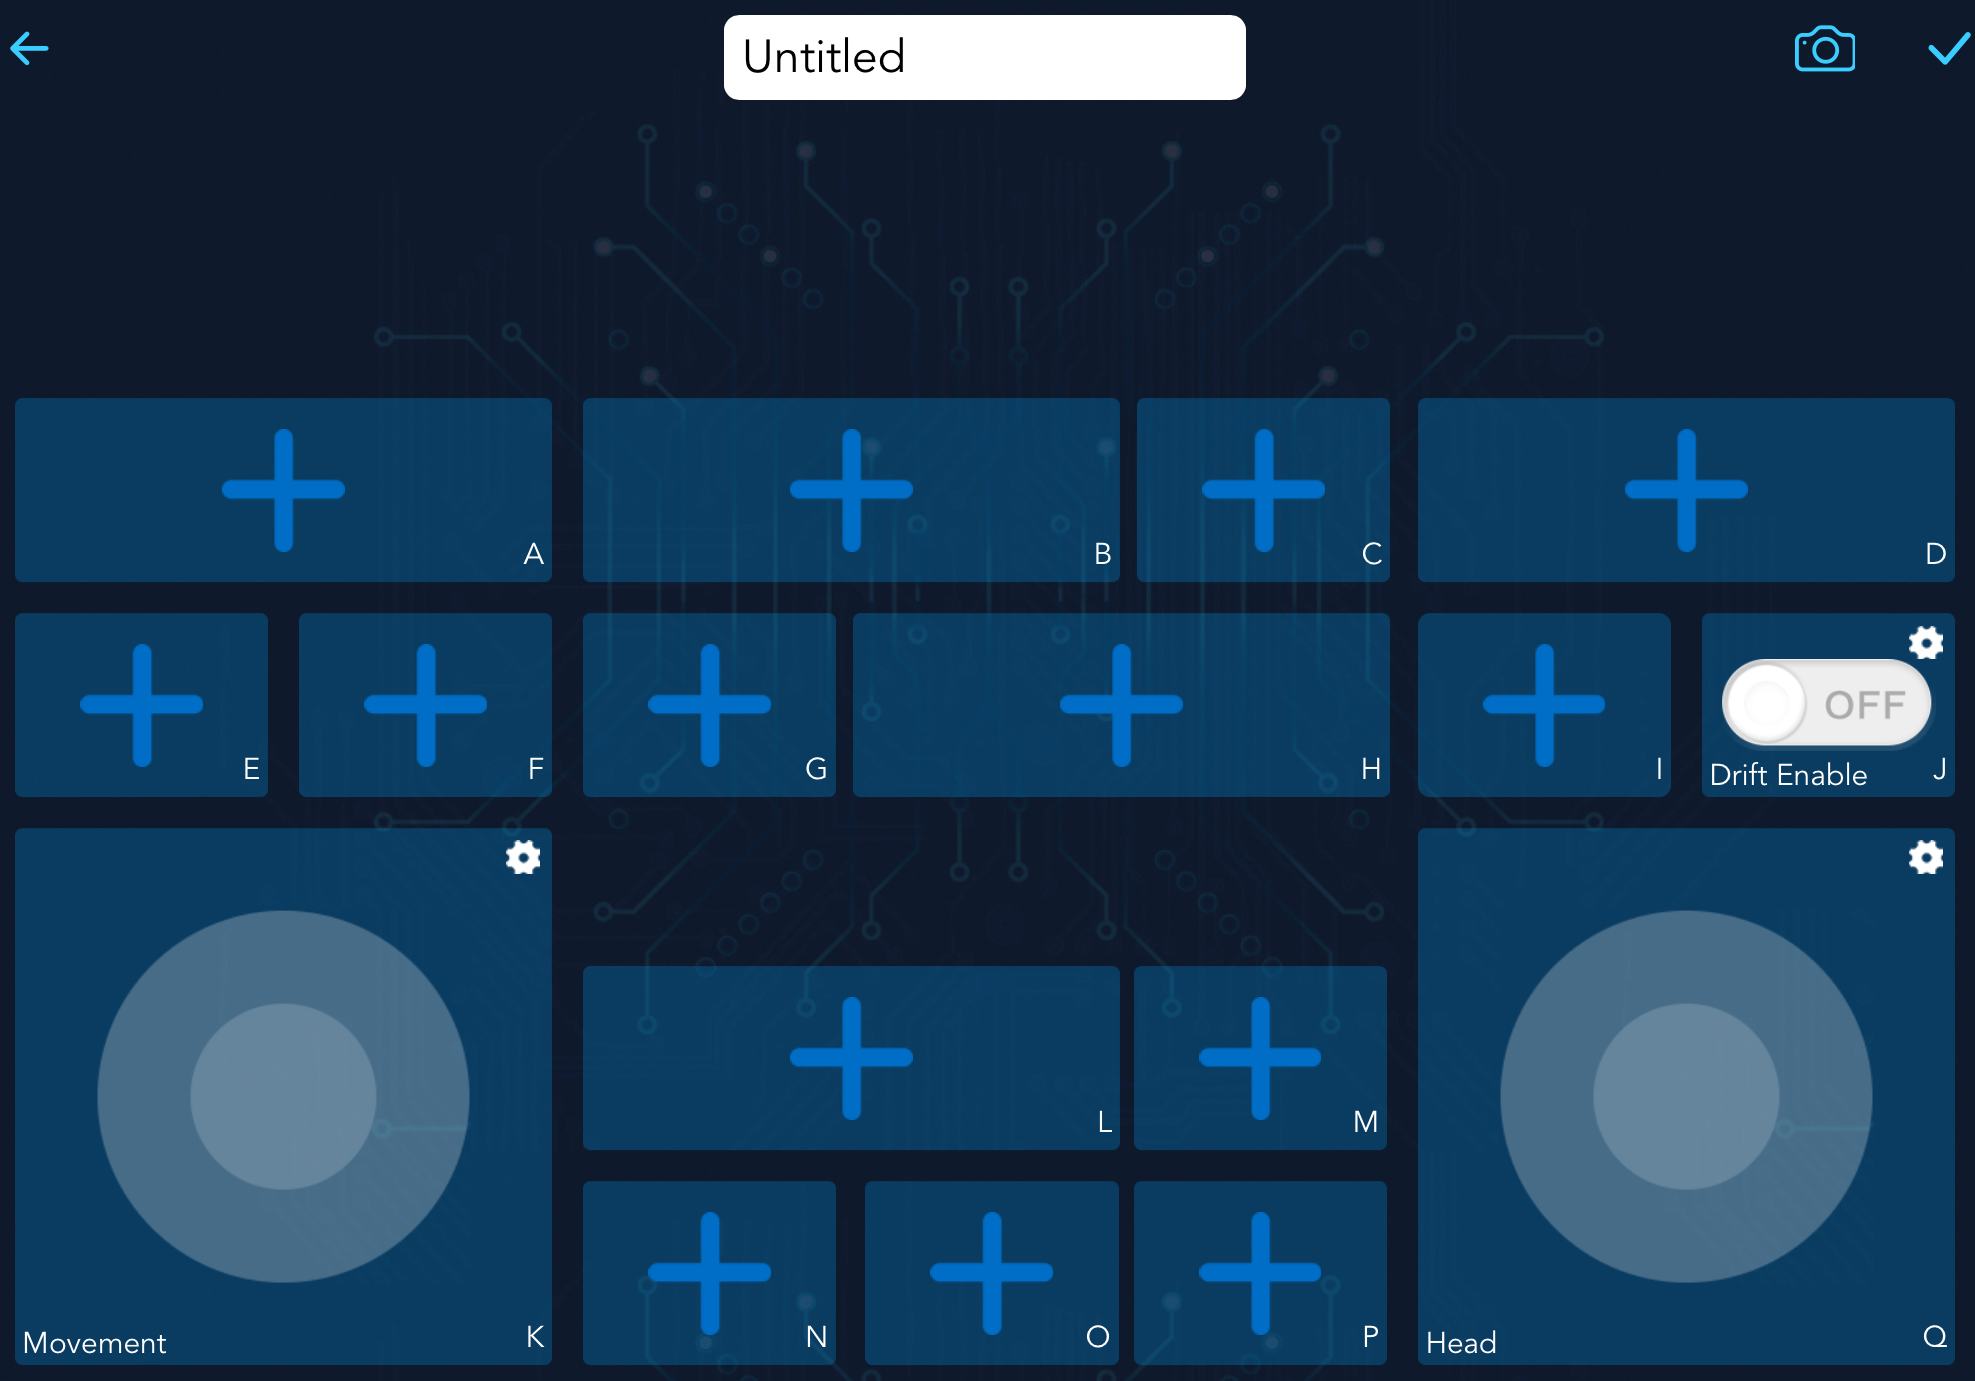
There are preset controllers for some products in the Preset section. But here we choose a Blank and Dual Stick template.
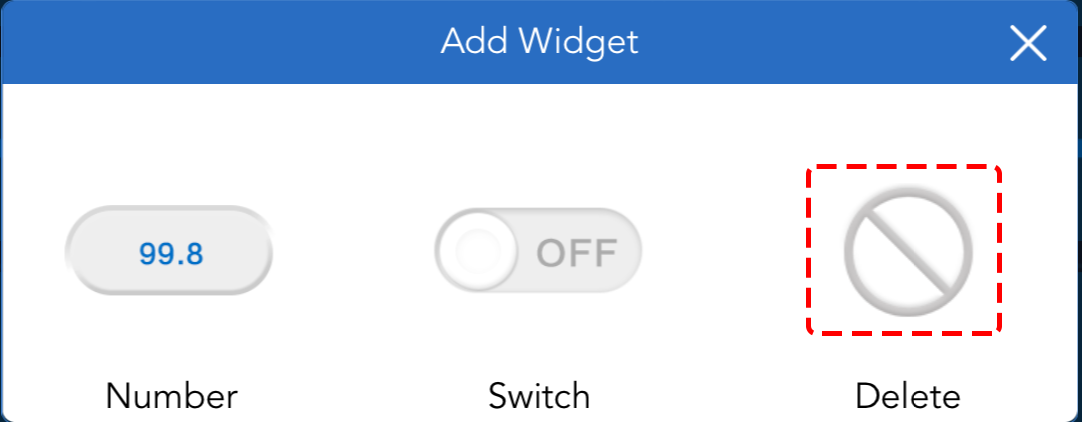
Click the + icon in the J area and select a Switch widget. You may need to slide to the left to see the widget.

Note
If you think you selected the wrong widget, you can click on it again and use the Delete button to remove it.
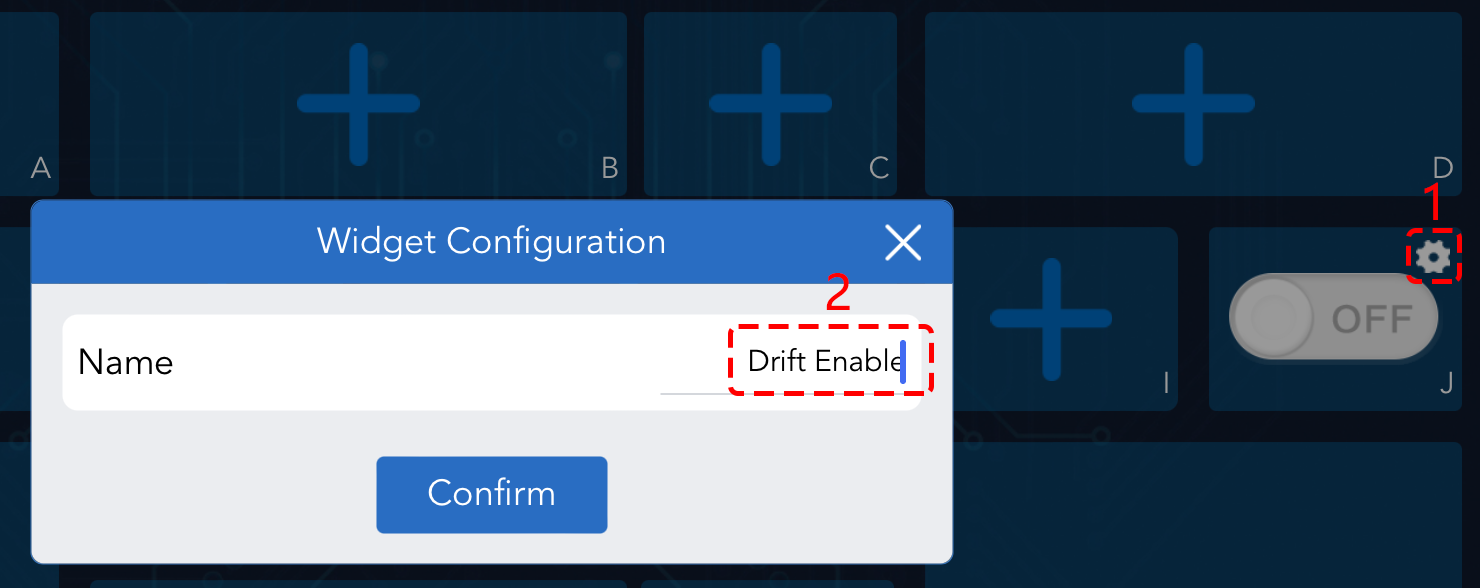
Click the Settings icon in the upper right corner to give it a name.
Select a Joystick widget in the K and Q area and give name to both widgets. Then use the
 button to save the controller.
The next step is to connect the Zeus Car to your device via the
 button. Wait a few seconds and
 Zeus_Car(IP)will appear, click on it to connect.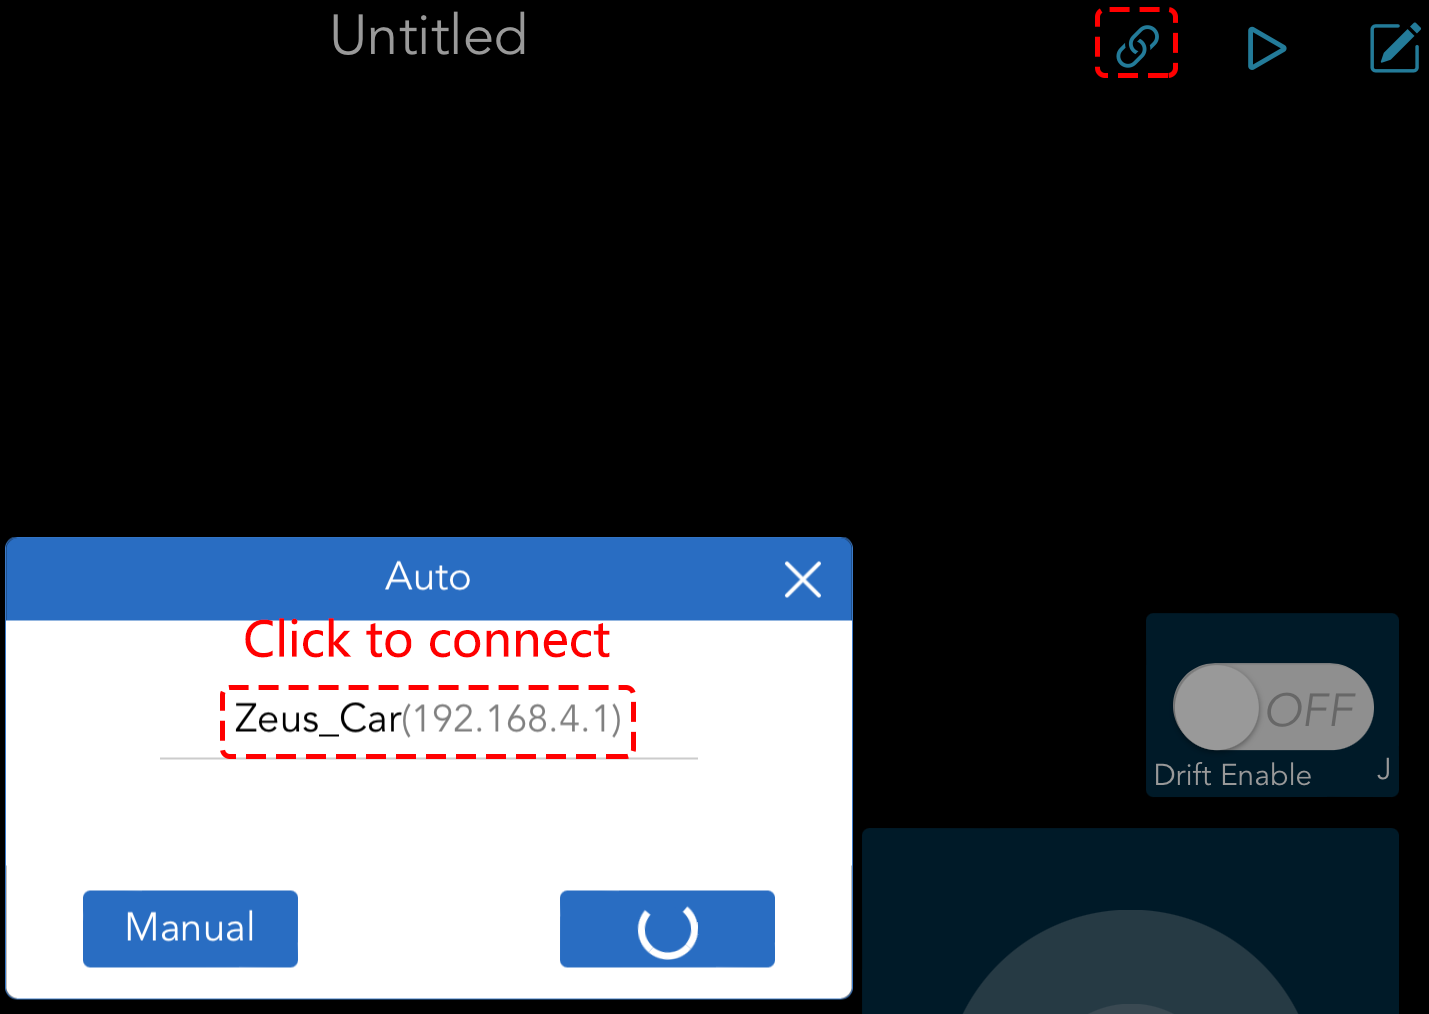
Note
Please make sure your Wi-Fi is connected to
Zeus_Car, if you are not seeing the above message for a long time.
Run the Controller.
After the “Connected Successfully” message appears, click the
 button, then the camera footage will appear on the app, and now you can control your Zeus Car with these widgets.
The functions of the three widgets are referenced as follows
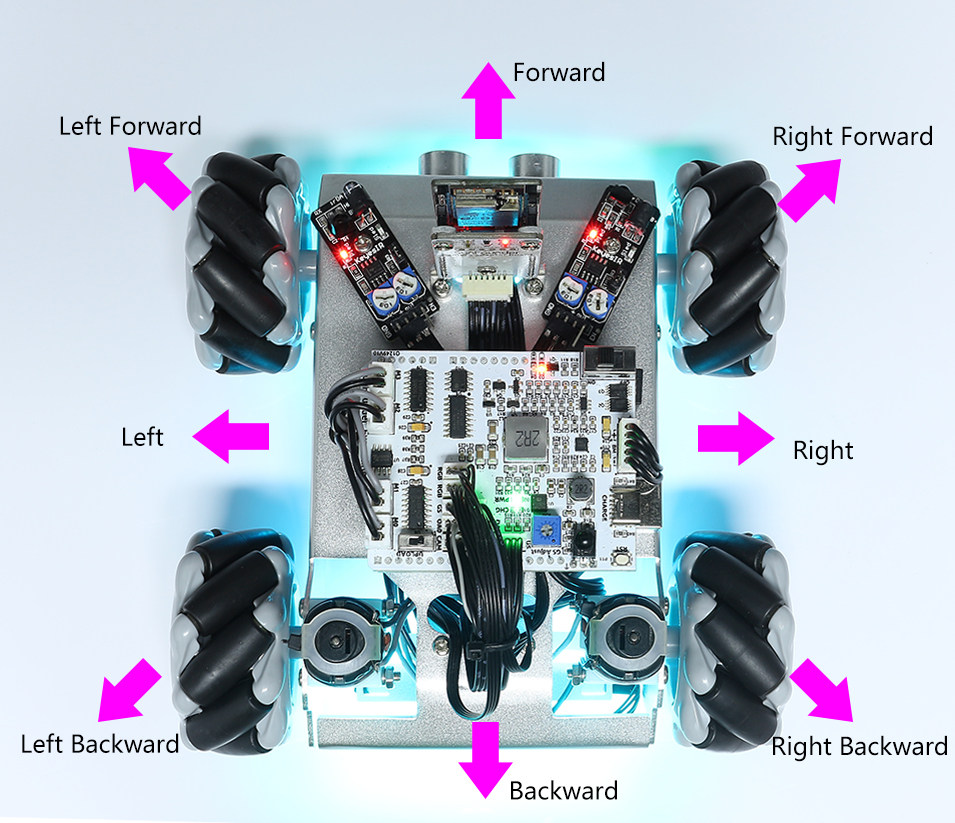
Move in All Directions(K)
The Zeus Car will move in the appropriate direction when you swipe the
 widget.
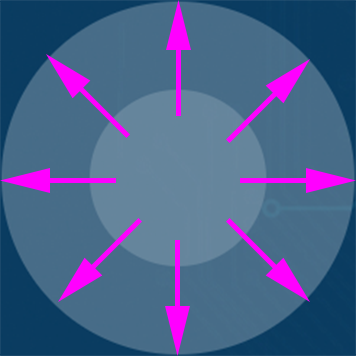
The car moves once every time you slide, so if you don’t release your hand all the time, the car keeps moving.
Drift Enable(J)
Click the
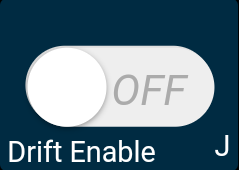 button to enable the drift function.
By sliding the
 widget counterclockwise, you will see Zeus Car drift to the right. Upon releasing the hand, the car will stop at its current position.
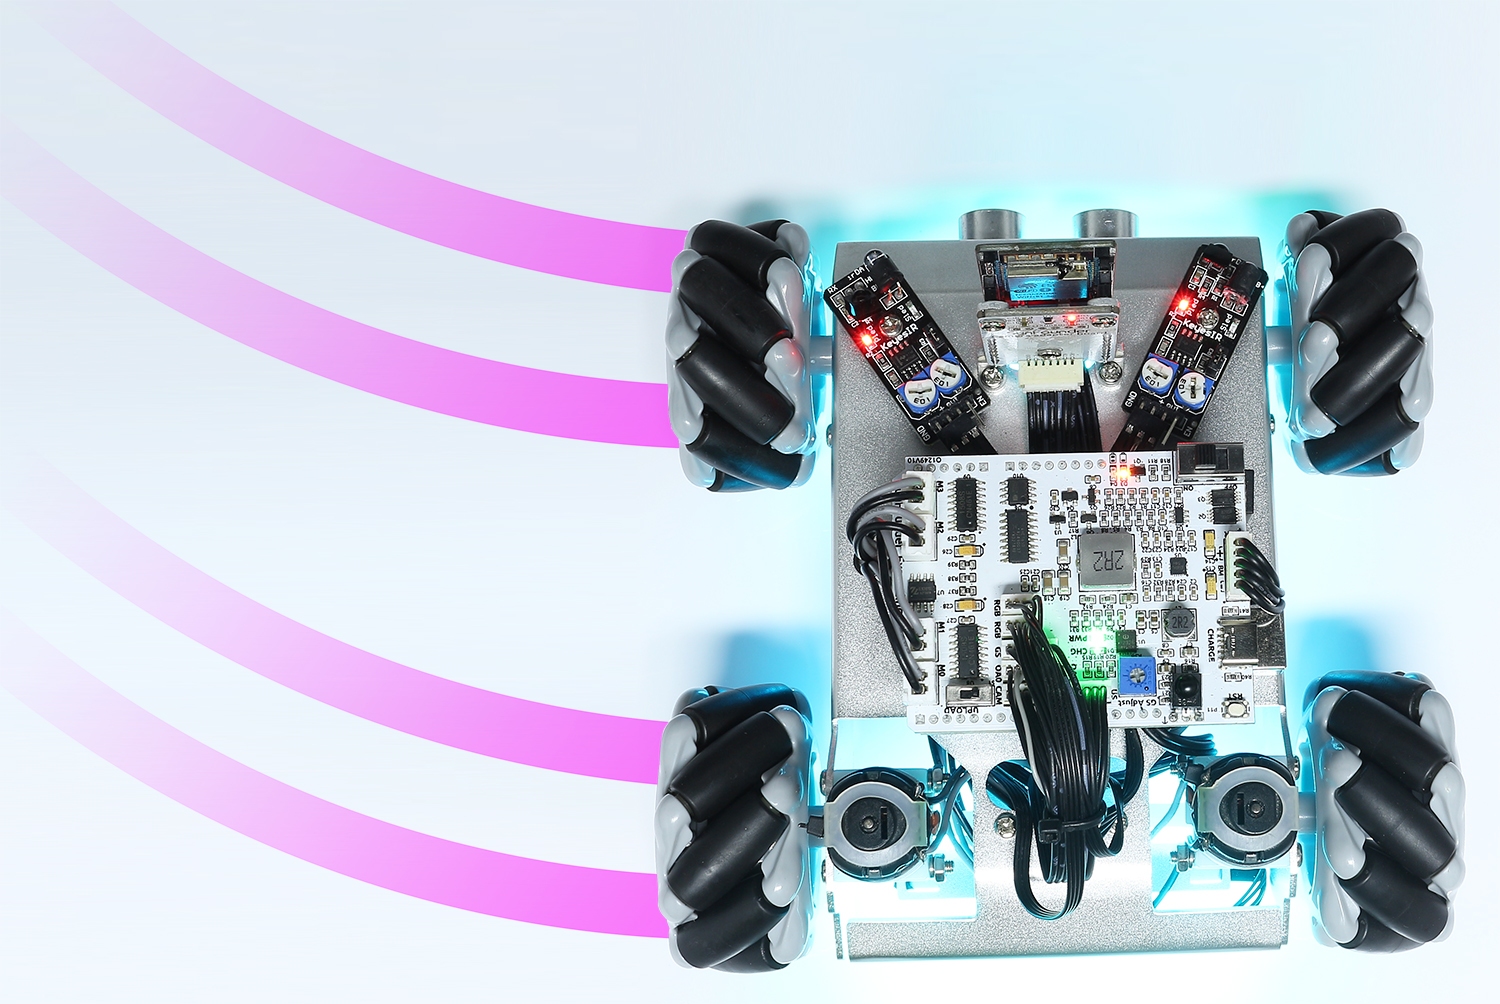
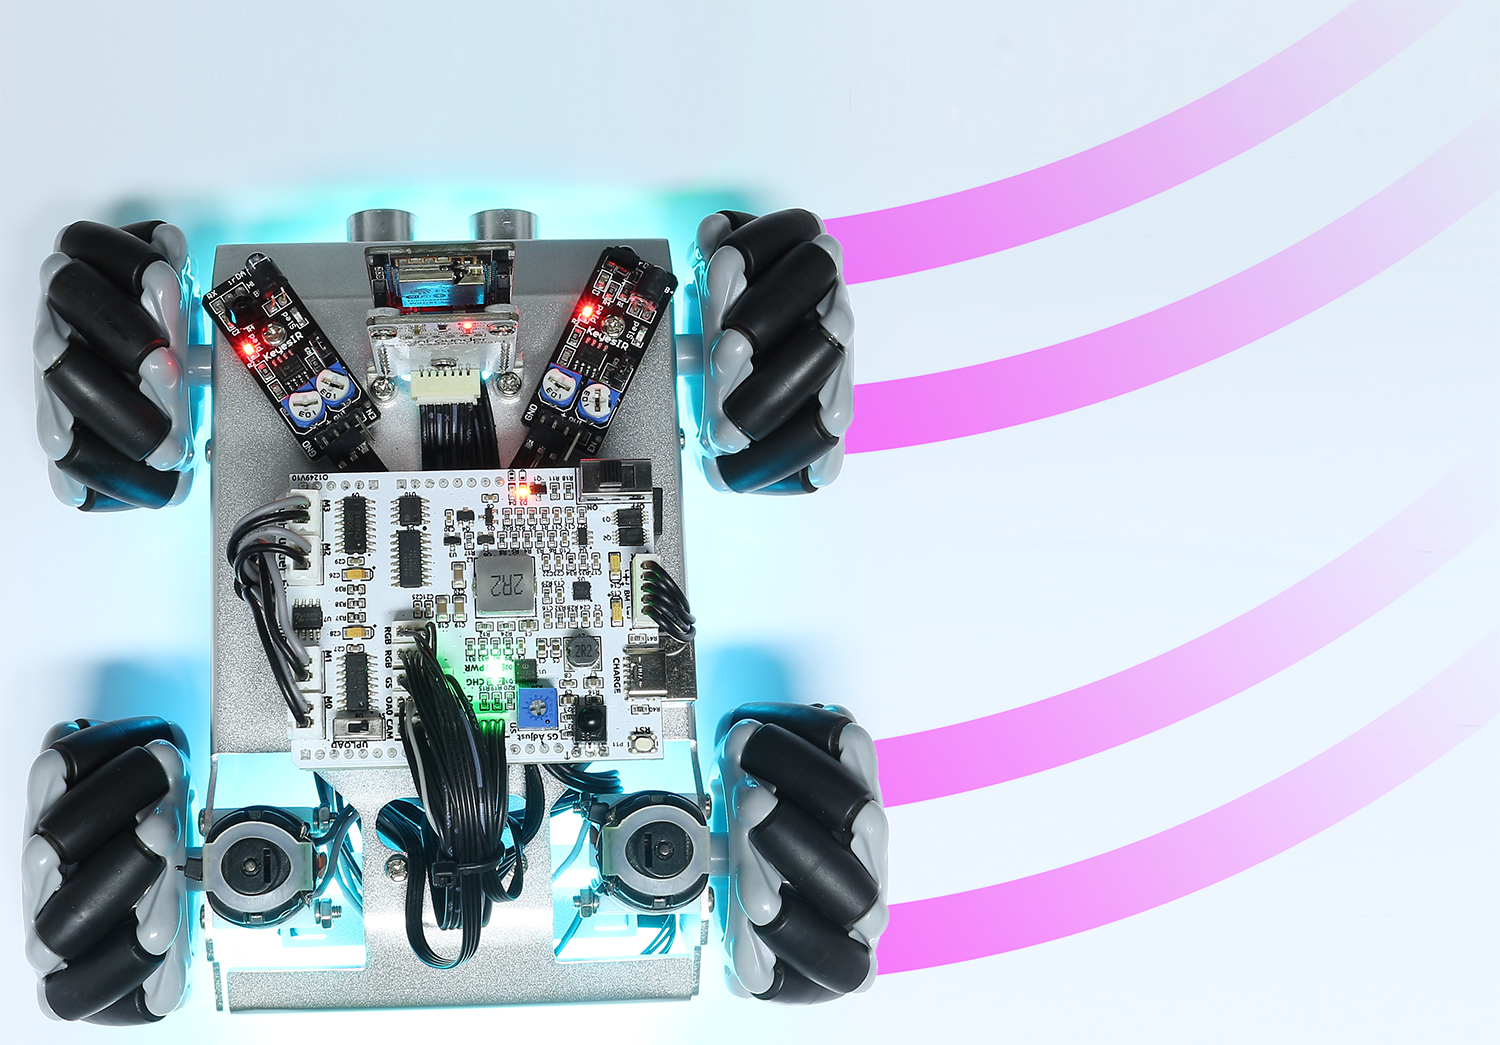
Similarly, if you slide the
widget clockwise, the Zeus Car will drift to the left and stop in the current position.
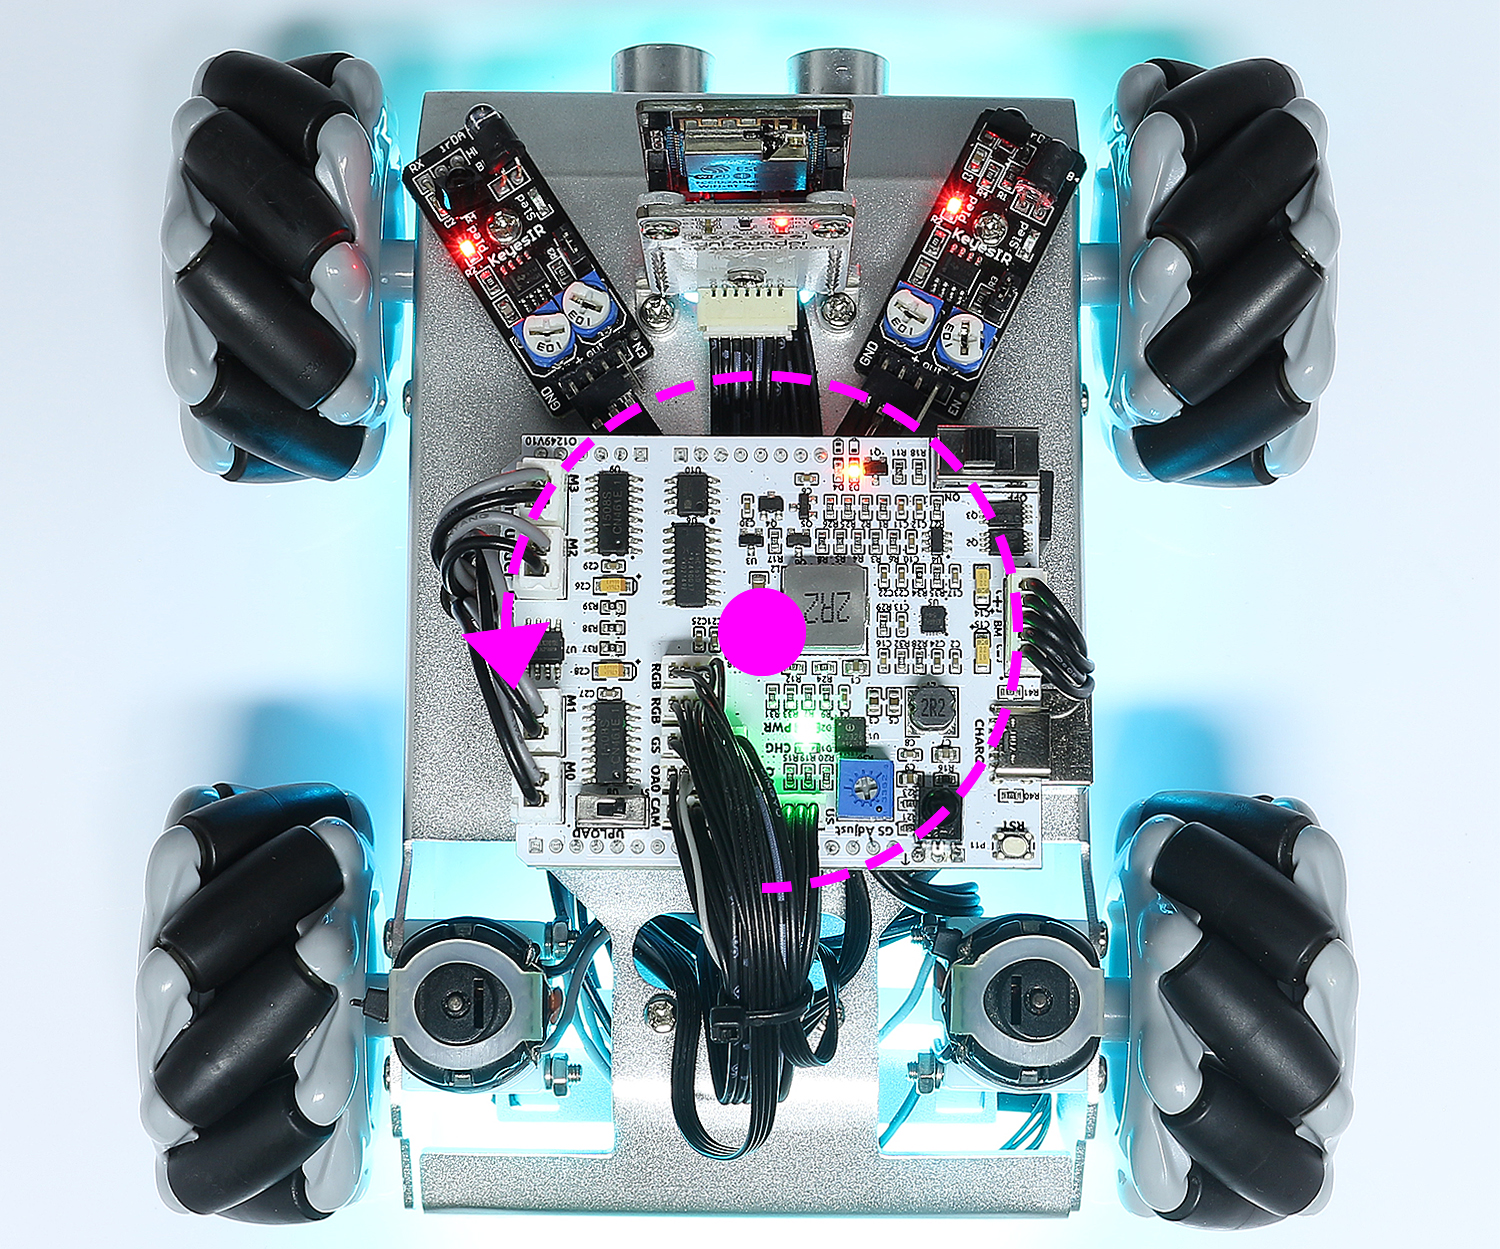
Control the Drection(Q)
When the
button is on, the widget is used to make the Zeus Car drift left and right.When the
widget is off, the widget is used to control the direction of the car’s head.By sliding the
widget counterclockwise, the car will also rotate counterclockwise. Upon releasing the hand, the head of the car will back to the original direction.
Similarly the car will rotate clockwise with the
widget and return to the original direction when released.