Note
Hello, welcome to the SunFounder Raspberry Pi & Arduino & ESP32 Enthusiasts Community on Facebook! Dive deeper into Raspberry Pi, Arduino, and ESP32 with fellow enthusiasts.
Why Join?
Expert Support: Solve post-sale issues and technical challenges with help from our community and team.
Learn & Share: Exchange tips and tutorials to enhance your skills.
Exclusive Previews: Get early access to new product announcements and sneak peeks.
Special Discounts: Enjoy exclusive discounts on our newest products.
Festive Promotions and Giveaways: Take part in giveaways and holiday promotions.
👉 Ready to explore and create with us? Click [here] and join today!
3.1.4 Smart Fan(MCP3008)
Note
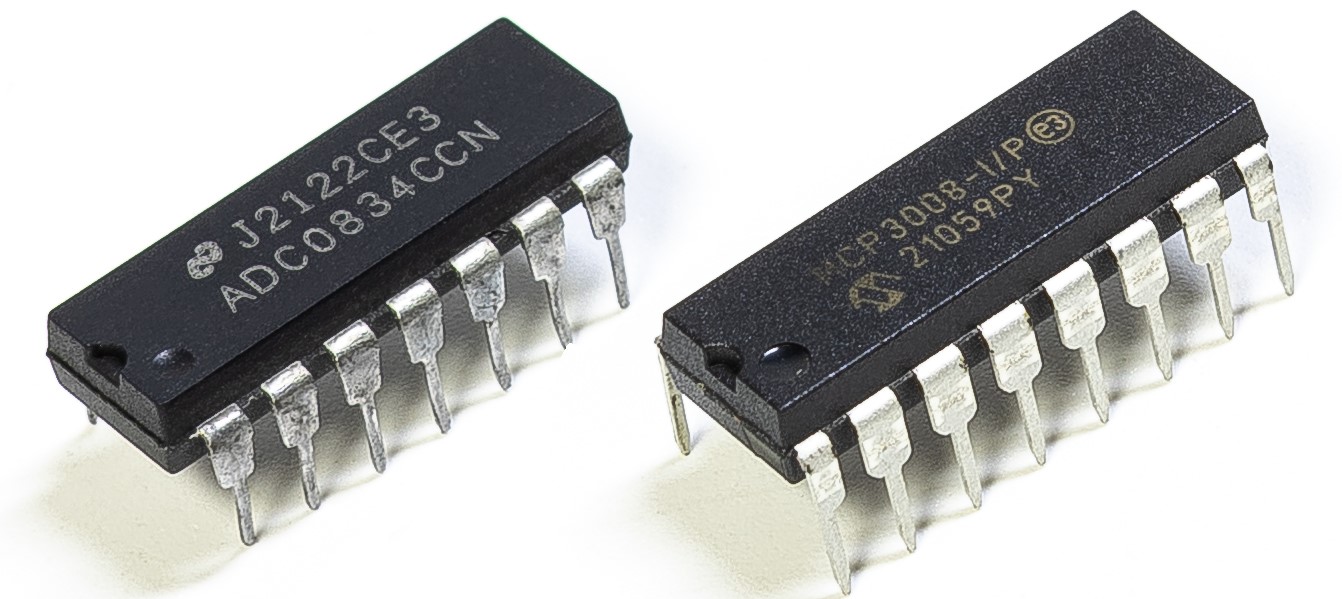
Depending on your kit version, please identify whether you have ADC0834 or MCP3008 and proceed with the matching section.
Introduction
In this project, we will use motors, buttons and thermistors to make a manual + automatic smart fan whose wind speed is adjustable.
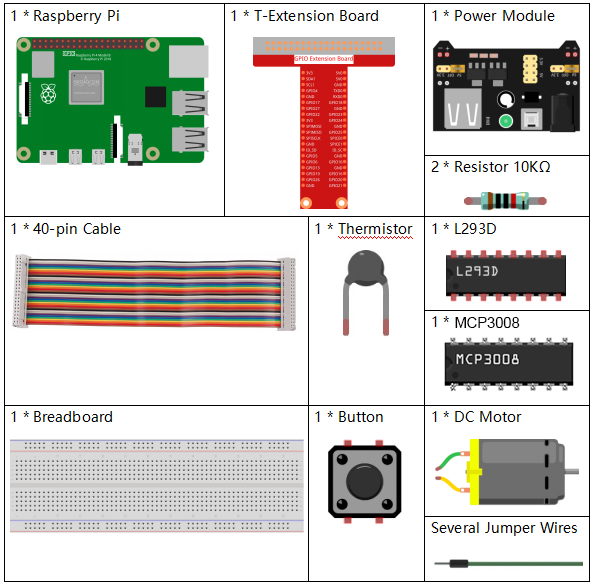
Required Components
In this project, we need the following components.
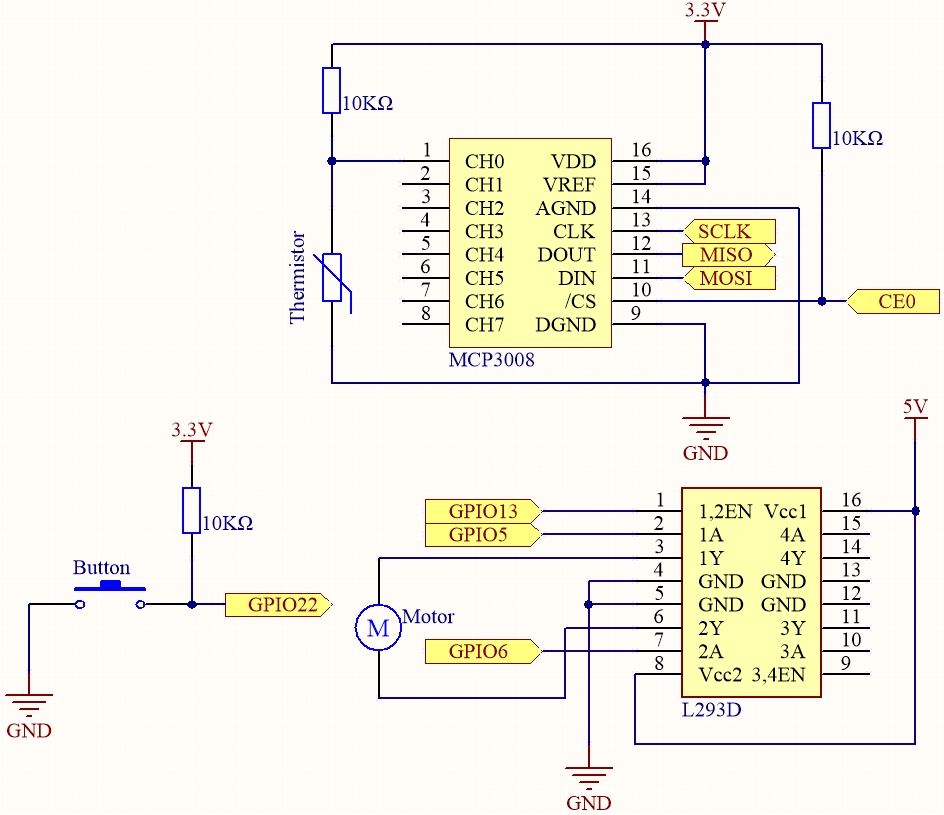
Schematic Diagram
T-Board Name |
physical |
wiringPi |
BCM |
SPICE0 |
Pin 24 |
10 |
8 |
SPIMOSI |
Pin 19 |
12 |
10 |
SPIMISO |
Pin 21 |
13 |
9 |
SPISCLK |
Pin 23 |
14 |
11 |
GPIO22 |
Pin 15 |
3 |
22 |
GPIO5 |
Pin 29 |
21 |
5 |
GPIO6 |
Pin 31 |
22 |
6 |
GPIO13 |
Pin 33 |
23 |
13 |
Experimental Procedures
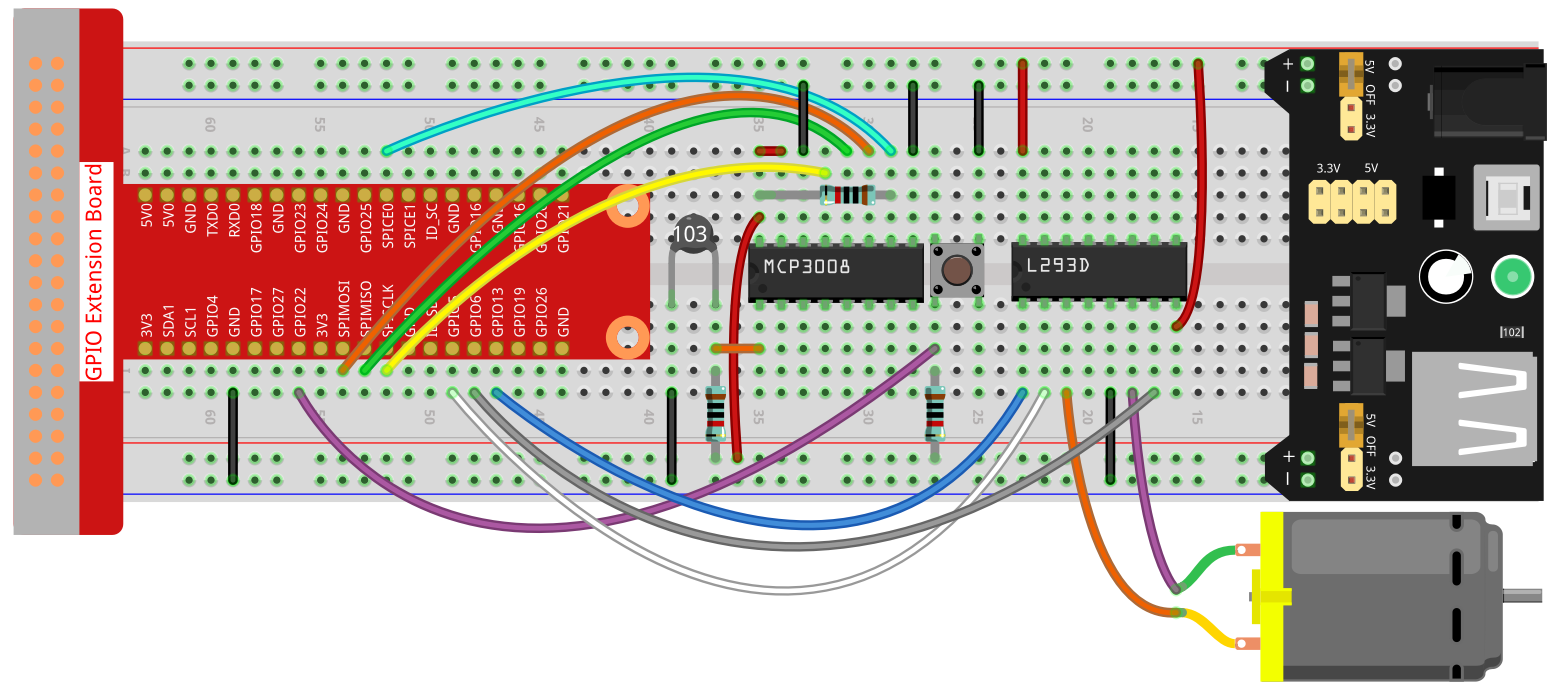
Step 1: Build the circuit.
Note
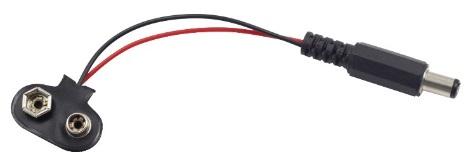
The power module can apply a 9V battery with the 9V Battery Buckle in the kit. Insert the jumper cap of the power module into the 5V bus strips of the breadboard.
Step 2: Get into the folder of the code.
cd ~/davinci-kit-for-raspberry-pi/c/3.1.4-2/
Step 3: Compile.
gcc 3.1.4_SmartFan.c -o SmartFan -lwiringPi -lm
Step 4: Run the executable file above.
./SmartFan
As the code runs, start the fan by pressing the button. Every time you press, 1 speed grade is adjusted up or down. There are 5 kinds of speed grades: 0~4. When set to the 4th speed grade and you press the button, the fan stops working with a 0 wind speed.
Once the temperature goes up or down for more than 2℃, the speed automatically gets 1-grade faster or slower.
Note
If it does not work after running, or there is an error prompt: "wiringPi.h: No such file or directory", please refer to Install and Check the WiringPi.
Code
#include <wiringPi.h>
#include <wiringPiSPI.h>
#include <stdio.h>
#include <softPwm.h>
#include <math.h>

#define SPI_CHANNEL 0
#define SPI_SPEED   1000000
#define MotorPin1   21
#define MotorPin2   22
#define MotorEnable 23
#define BtnPin      3

int read_ADC(int channel)
{
    if (channel < 0 || channel > 7) return -1;

    unsigned char buffer[3];
    buffer[0] = 1;                      // Start bit
    buffer[1] = (8 + channel) << 4;     // Single-ended mode and channel
    buffer[2] = 0;

    wiringPiSPIDataRW(SPI_CHANNEL, buffer, 3);

    int result = ((buffer[1] & 3) << 8) | buffer[2];
    return result;
}

int temperture()
{
    int analogVal = read_ADC(0);
    double Vr = 3.3 * analogVal / 1023.0;  // Use 3.3V as Vref for MCP3008
    double Rt = 10000.0 * Vr / (3.3 - Vr);
    double temp = 1 / (((log(Rt / 10000.0)) / 3950.0) + (1 / (273.15 + 25.0)));
    double cel = temp - 273.15;
    double Fah = cel * 1.8 + 32;
    printf("Celsius: %.2f C  Fahrenheit: %.2f F\n", cel, Fah);
    return (int)cel;
}

int motor(int level)
{
    if (level == 0) {
        digitalWrite(MotorEnable, LOW);
        return 0;
    }
    if (level >= 4) {
        level = 4;
    }
    digitalWrite(MotorEnable, HIGH);
    softPwmWrite(MotorPin1, level * 25);
    return level;
}

void setup()
{
    if (wiringPiSetup() == -1) {
        printf("wiringPi setup failed!\n");
        return;
    }

    if (wiringPiSPISetup(SPI_CHANNEL, SPI_SPEED) == -1) {
        printf("SPI setup failed!\n");
        return;
    }

    softPwmCreate(MotorPin1, 0, 100);
    softPwmCreate(MotorPin2, 0, 100);
    pinMode(MotorEnable, OUTPUT);
    pinMode(BtnPin, INPUT);
}

int main(void)
{
    setup();
    int currentState, lastState = 0;
    int level = 0;
    int currentTemp, markTemp = 0;

    while (1) {
        currentState = digitalRead(BtnPin);
        currentTemp = temperture();

        if (currentTemp <= 0) continue;

        if (currentState == 1 && lastState == 0) {
            level = (level + 1) % 5;
            markTemp = currentTemp;
            delay(500);
        }

        lastState = currentState;

        if (level != 0) {
            if (currentTemp - markTemp <= -2) {
                level = level - 1;
                markTemp = currentTemp;
            }
            if (currentTemp - markTemp >= 2) {
                level = level + 1;
                markTemp = currentTemp;
            }
        }

        level = motor(level);
    }

    return 0;
}
Code Explanation
int read_ADC(int channel)
{
    if (channel < 0 || channel > 7) return -1;

    unsigned char buffer[3];
    buffer[0] = 1;                      // Start bit
    buffer[1] = (8 + channel) << 4;     // Single-ended mode and channel
    buffer[2] = 0;

    wiringPiSPIDataRW(SPI_CHANNEL, buffer, 3);

    int result = ((buffer[1] & 3) << 8) | buffer[2];
    return result;
}
This function is used to read analog input from MCP3008 on the specified channel. It sends a 3-byte SPI command and returns a 10-bit digital value between 0–1023.
int temperture()
{
    int analogVal = read_ADC(0);
    double Vr = 3.3 * analogVal / 1023.0;  // Use 3.3V as Vref for MCP3008
    double Rt = 10000.0 * Vr / (3.3 - Vr);
    double temp = 1 / (((log(Rt / 10000.0)) / 3950.0) + (1 / (273.15 + 25.0)));
    double cel = temp - 273.15;
    double Fah = cel * 1.8 + 32;
    printf("Celsius: %.2f C  Fahrenheit: %.2f F\n", cel, Fah);
    return (int)cel;
}
The temperture() function reads the thermistor analog signal via MCP3008,
calculates voltage, resistance, then converts to Celsius and Fahrenheit using
the thermistor formula (Steinhart–Hart approximation).
int motor(int level)
{
    if (level == 0) {
        digitalWrite(MotorEnable, LOW);
        return 0;
    }
    if (level >= 4) {
        level = 4;
    }
    digitalWrite(MotorEnable, HIGH);
    softPwmWrite(MotorPin1, level * 25);
    return level;
}
This motor() function controls fan speed via PWM.
Level ranges from 0–4, where 0 turns the fan off and each level increases the duty cycle by 25%.
void setup()
{
    if (wiringPiSetup() == -1) {
        printf("wiringPi setup failed!\n");
        return;
    }

    if (wiringPiSPISetup(SPI_CHANNEL, SPI_SPEED) == -1) {
        printf("SPI setup failed!\n");
        return;
    }

    softPwmCreate(MotorPin1, 0, 100);
    softPwmCreate(MotorPin2, 0, 100);
    pinMode(MotorEnable, OUTPUT);
    pinMode(BtnPin, INPUT);
}
The setup() function initializes WiringPi, sets up SPI, configures PWM
and GPIO pins needed for motor control and button input.
int main(void)
{
    setup();
    int currentState, lastState = 0;
    int level = 0;
    int currentTemp, markTemp = 0;

    while (1) {
        currentState = digitalRead(BtnPin);
        currentTemp = temperture();

        if (currentTemp <= 0) continue;

        if (currentState == 1 && lastState == 0) {
            level = (level + 1) % 5;
            markTemp = currentTemp;
            delay(500);
        }

        lastState = currentState;

        if (level != 0) {
            if (currentTemp - markTemp <= -2) {
                level = level - 1;
                markTemp = currentTemp;
            }
            if (currentTemp - markTemp >= 2) {
                level = level + 1;
                markTemp = currentTemp;
            }
        }

        level = motor(level);
    }

    return 0;
}
The main() function contains the program loop:
Constantly checks button state and reads current temperature.
On button press, fan level increases (cycles 0–4) and saves temperature.
If temperature changes by ±2°C, it auto-adjusts fan speed accordingly.
Calls
motor(level)to update PWM output based on current level.