2.20 Catching Starfish
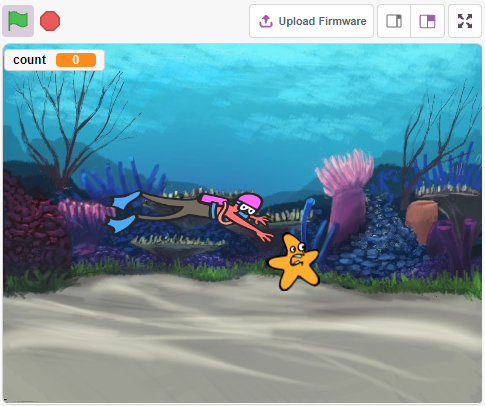
Here, let’s make a game to catch starfish. At the start of the script, a starfish is swimming comfortably on the stage, and a diver is also swimming to the right and left. You need to control the depth of the water level sensor module in the water in order to let the diver on the stage catch the starfish, and for each starfish caught, the count will be increased by 1.
Build the Circuit
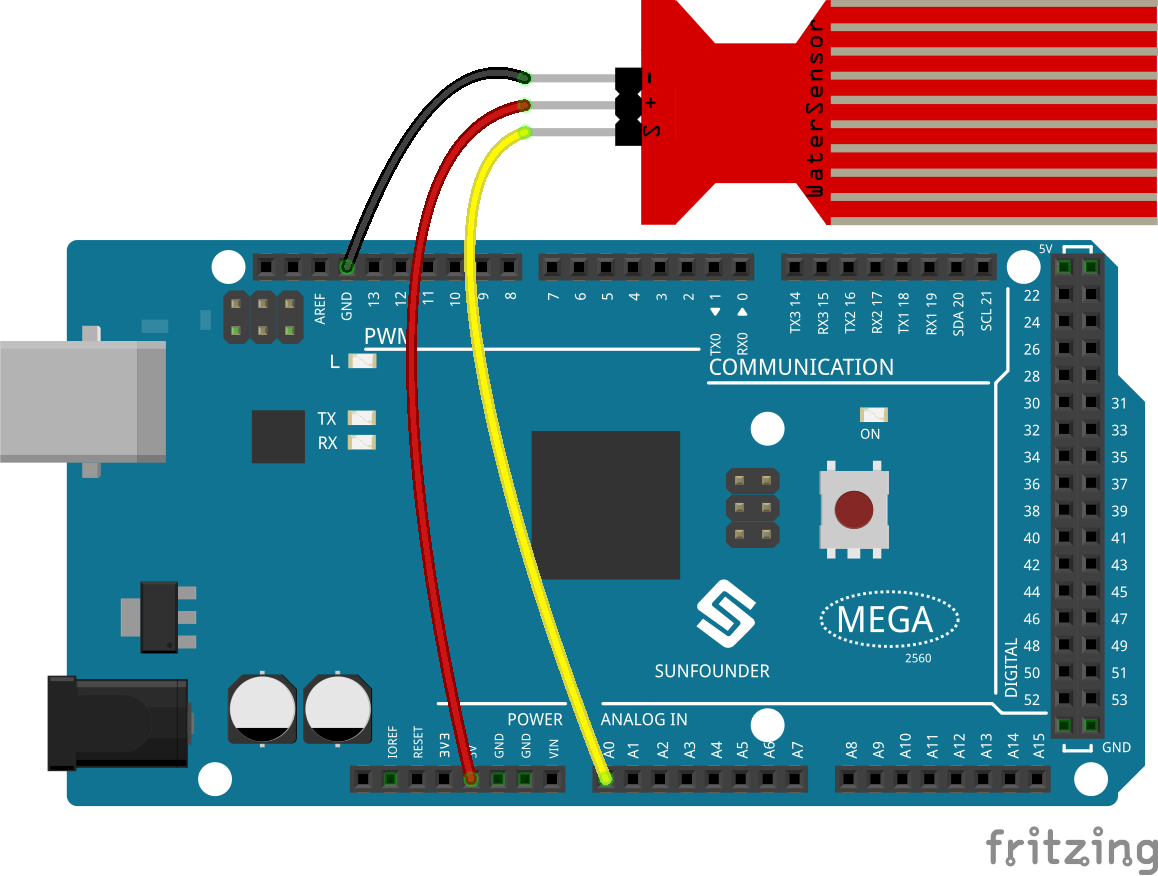
The Water Level Sensor module is an easy-to-use, compact and cost effective water level/drop detection sensor that measures the water level by a series of exposed parallel wire traces to determine the size of the water drop/volume.
The more water the sensor is immersed in, the greater the value of the S pin output.
Now build the circuit according to the diagram below.
Programming
1. Select sprites and backdrop
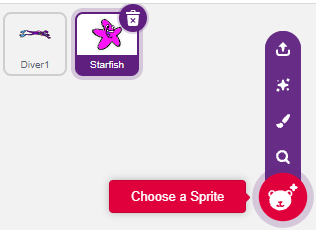
Delete the default sprite, select the Diver1 and Starfish sprite.
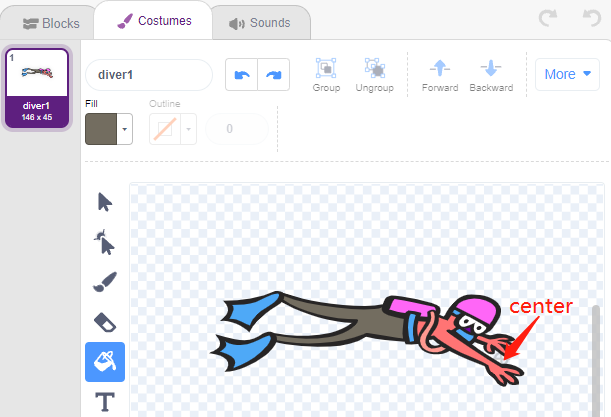
Go to Diver1’s Costumes page and use the Fill tool to fill in the colors you like.
Note
You will need to fill both arms of Diver1 with a unique color that will not find the same on the stage.
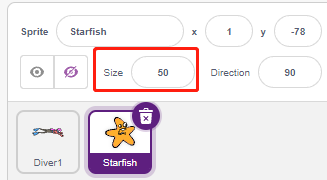
Reduce the size of the Starfish sprite, you can also modify its color as you like.
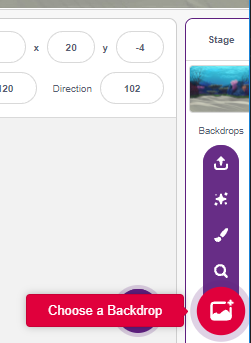
Select an Underwater1 backdrop.
2. Scripting the Diver1 sprite
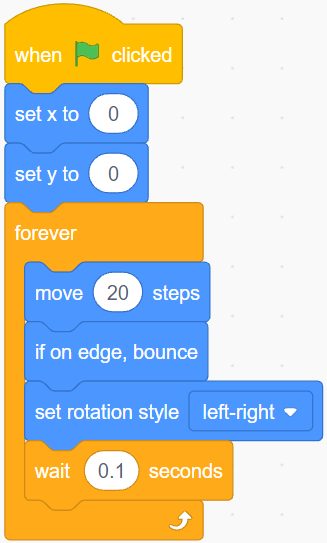
Set the initial position of the Diver1 sprite and have it swim back and forth across the stage.
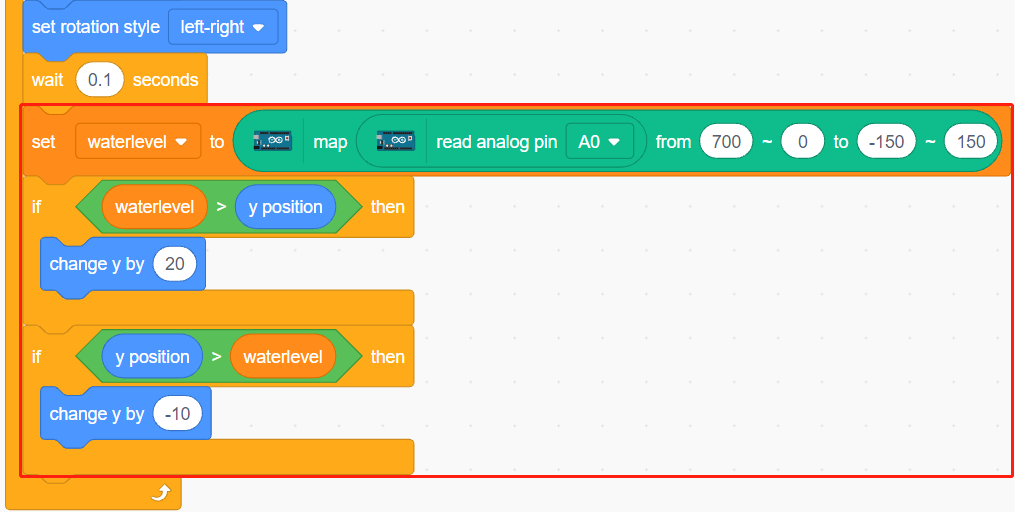
The deeper you put the water level sensor in, the greater the value you get as a way to determine the depth (y coordinate) that the Diver1 sprite swims.
Read A0 (the value of the water level sensor) and map its range to the y-coordinate of the stage as a way to get a new y-coordinate.
If new_y is greater than the current Y coordinate, let it move up to the new_y position.
If new_y is less than the current Y coordinate, let it move down to the new_y position
3. Scripting the Starfish sprite
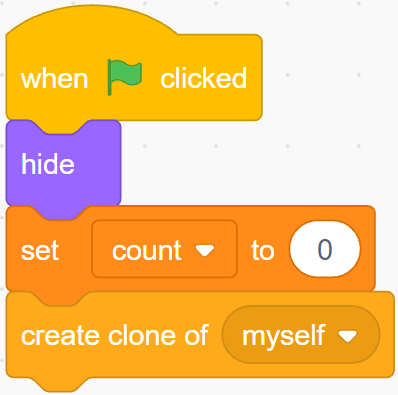
When the script starts, first hide Starfish sprite and then clone it.
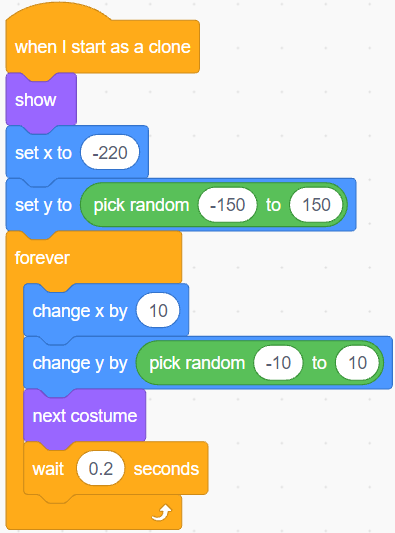
When appearing as a clone, set its movement effect.
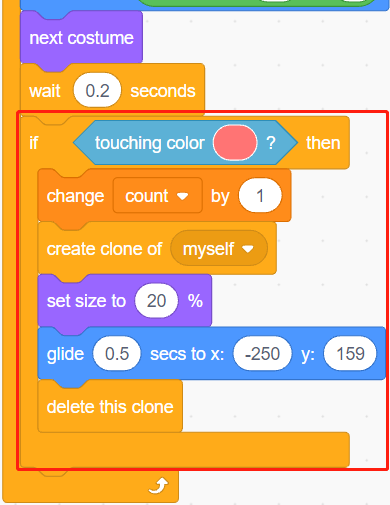
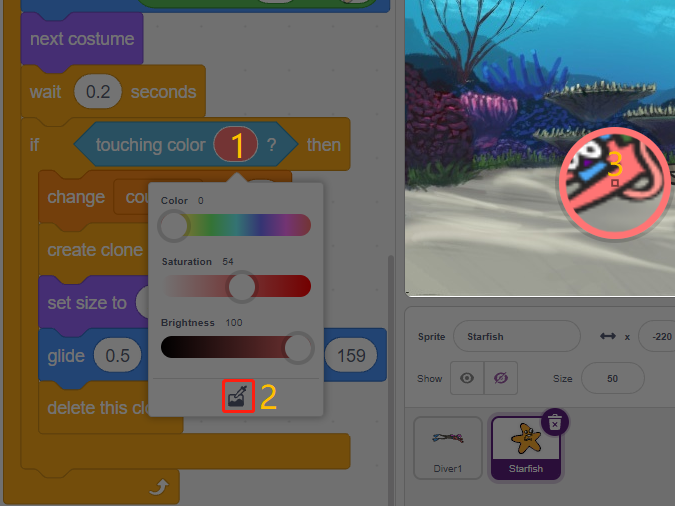
When it touches red (the color of Diver1’s two arms), which means it is caught by Diver1 sprite, the following effect is made.
Adds 1 to the value of the variable count.
A score animation is displayed (shrinks by 20%, moves quickly to the position of the scoreboard and disappears).
At the same time, a new starfish is cloned and the game continues.
Note
You need to click on the color area in the [Touch color] block, and then select the eyedropper tool to pick up the red color of the Diver1 sprite on the stage. If you choose a color arbitrarily, this [Touch color] block will not work.
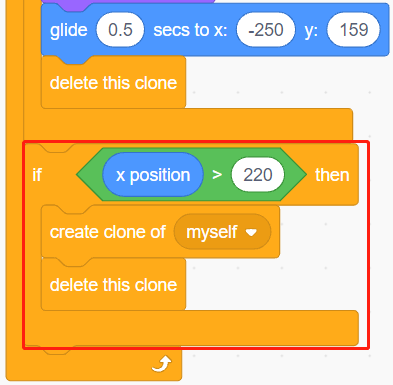
When the Starfish’s clone swims to the far right, delete the clone and clone it again.
