Lesson 1 Display by I2C LCD1602
Introduction
As we all know, though LCD and some other displays greatly enrich the man-machine interaction, they share a common weakness. When they are connected to a controller, multiple IOs will be occupied of the controller which has no so many outer ports. Also it restricts other functions of the controller. Therefore, LCD1602 with an I2C bus is developed to solve the problem.
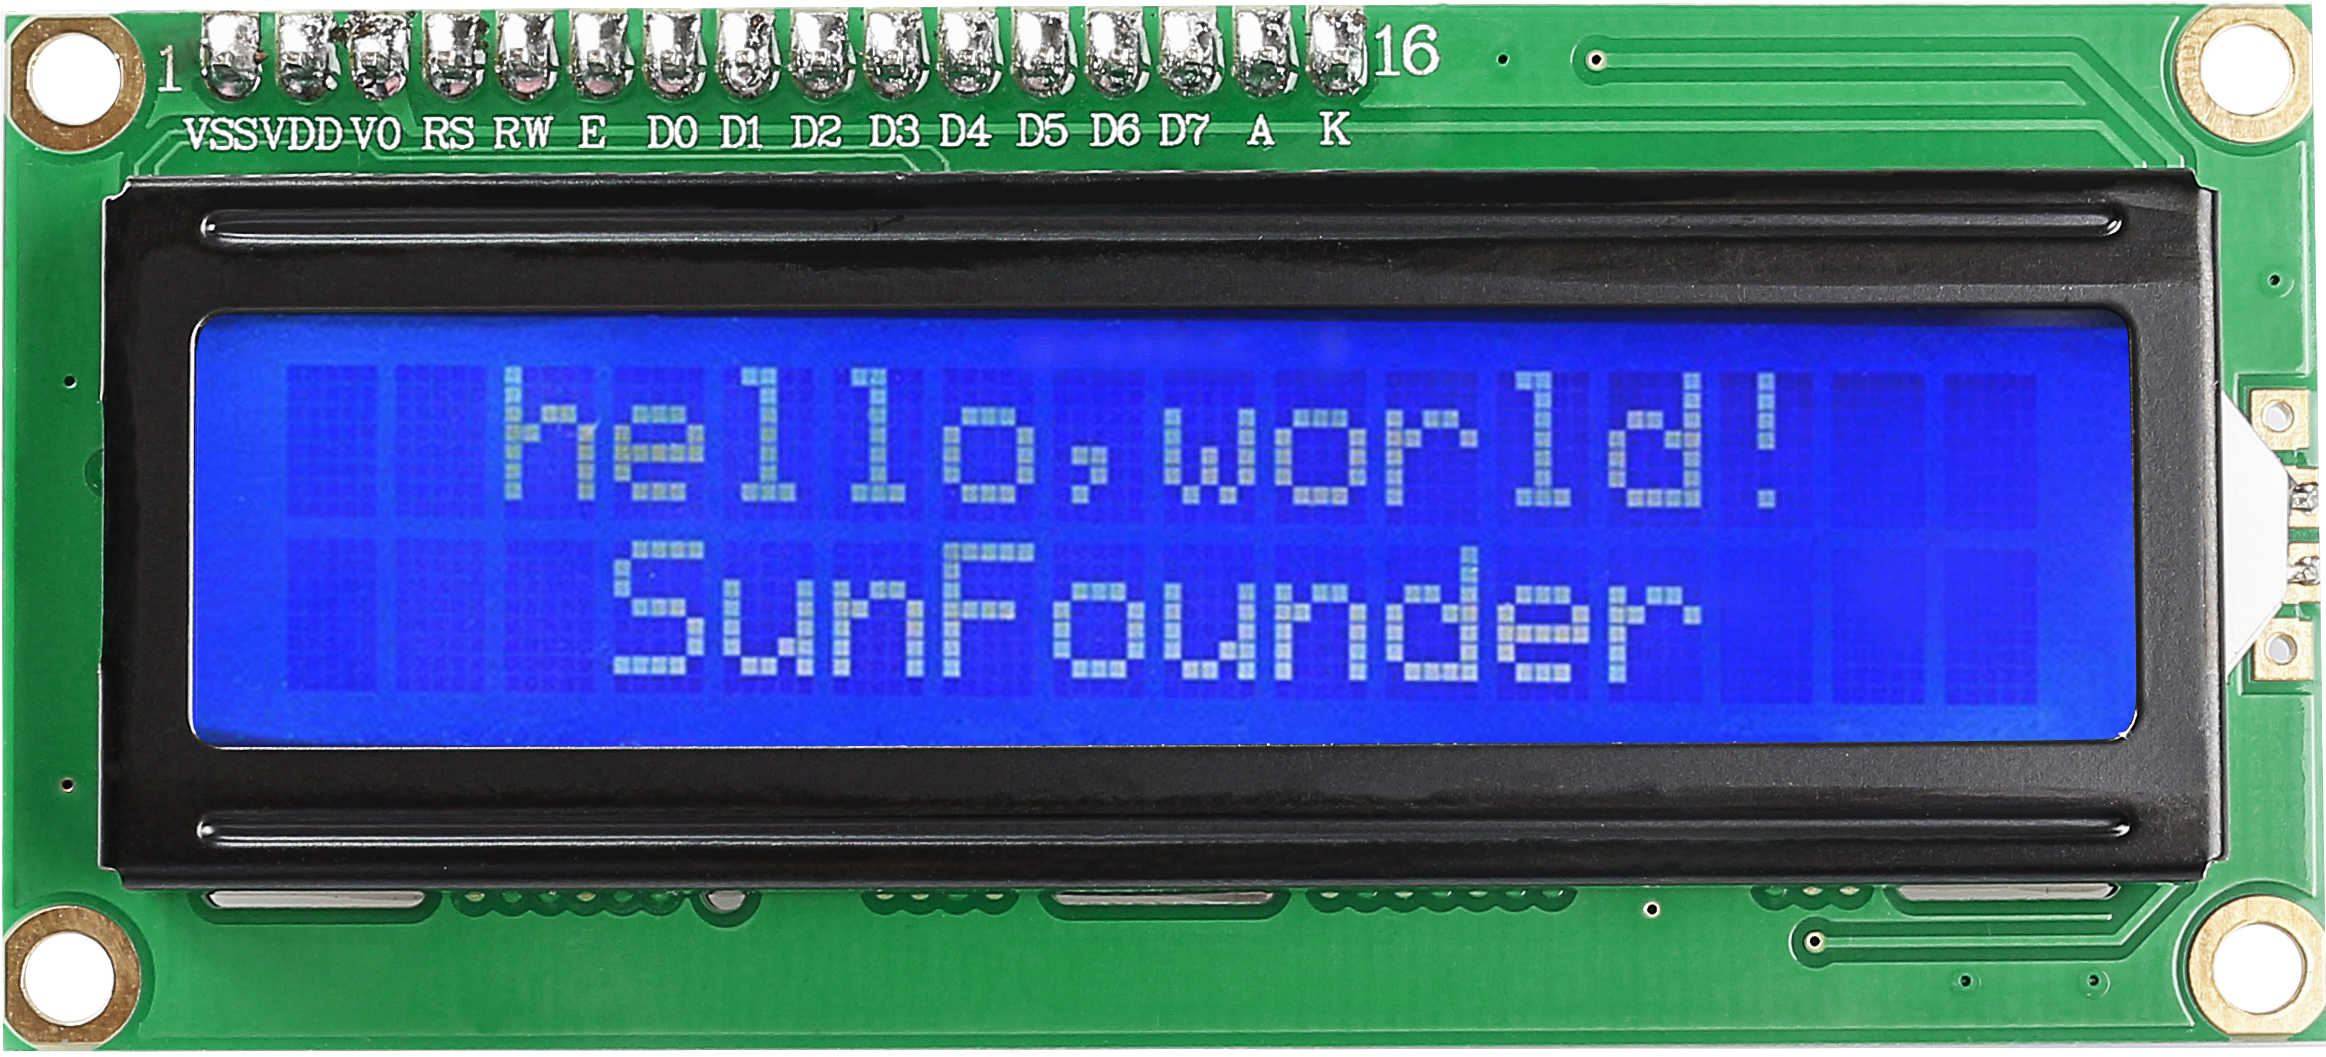
The blue potentiometer on the I2C LCD1602 (see the figure below) is used to adjust the backlight for better display. I²C uses only two bidirectional open-drain lines, Serial Data Line (SDA) and Serial Clock Line (SCL), pulled up with resistors. Typical voltages used are +5 V or +3.3 V although systems with other voltages are permitted.
Components
1 * SunFounder Uno board
1 * I2C LCD1602 module
1 * USB cable
1 * 4-Pin Dupont wire (M to F)
Principle
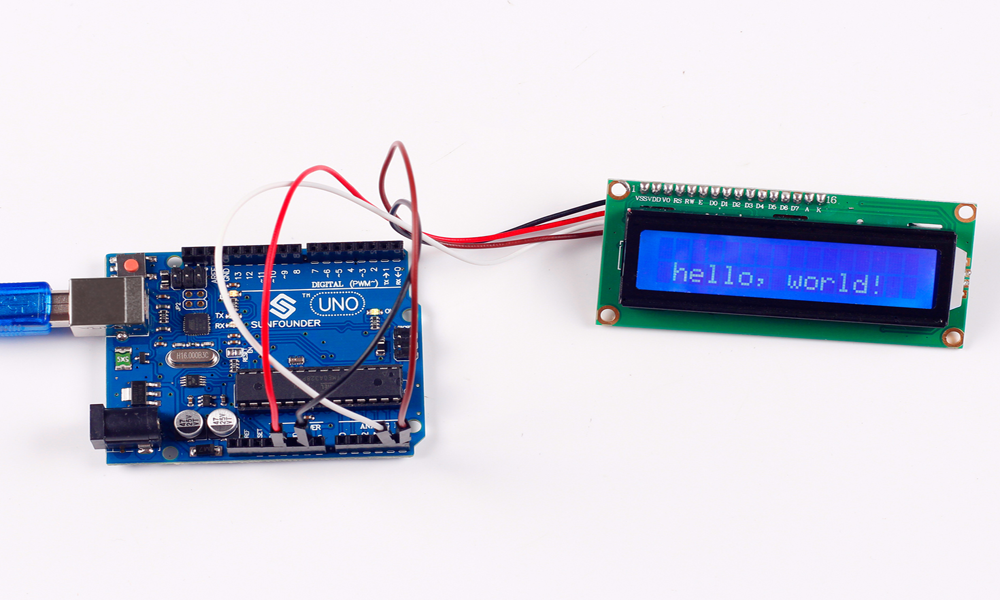
In this experiment, we will let I2C LCD1602 display “SunFounder” and “hello, world” by programming.
Experimental Procedures
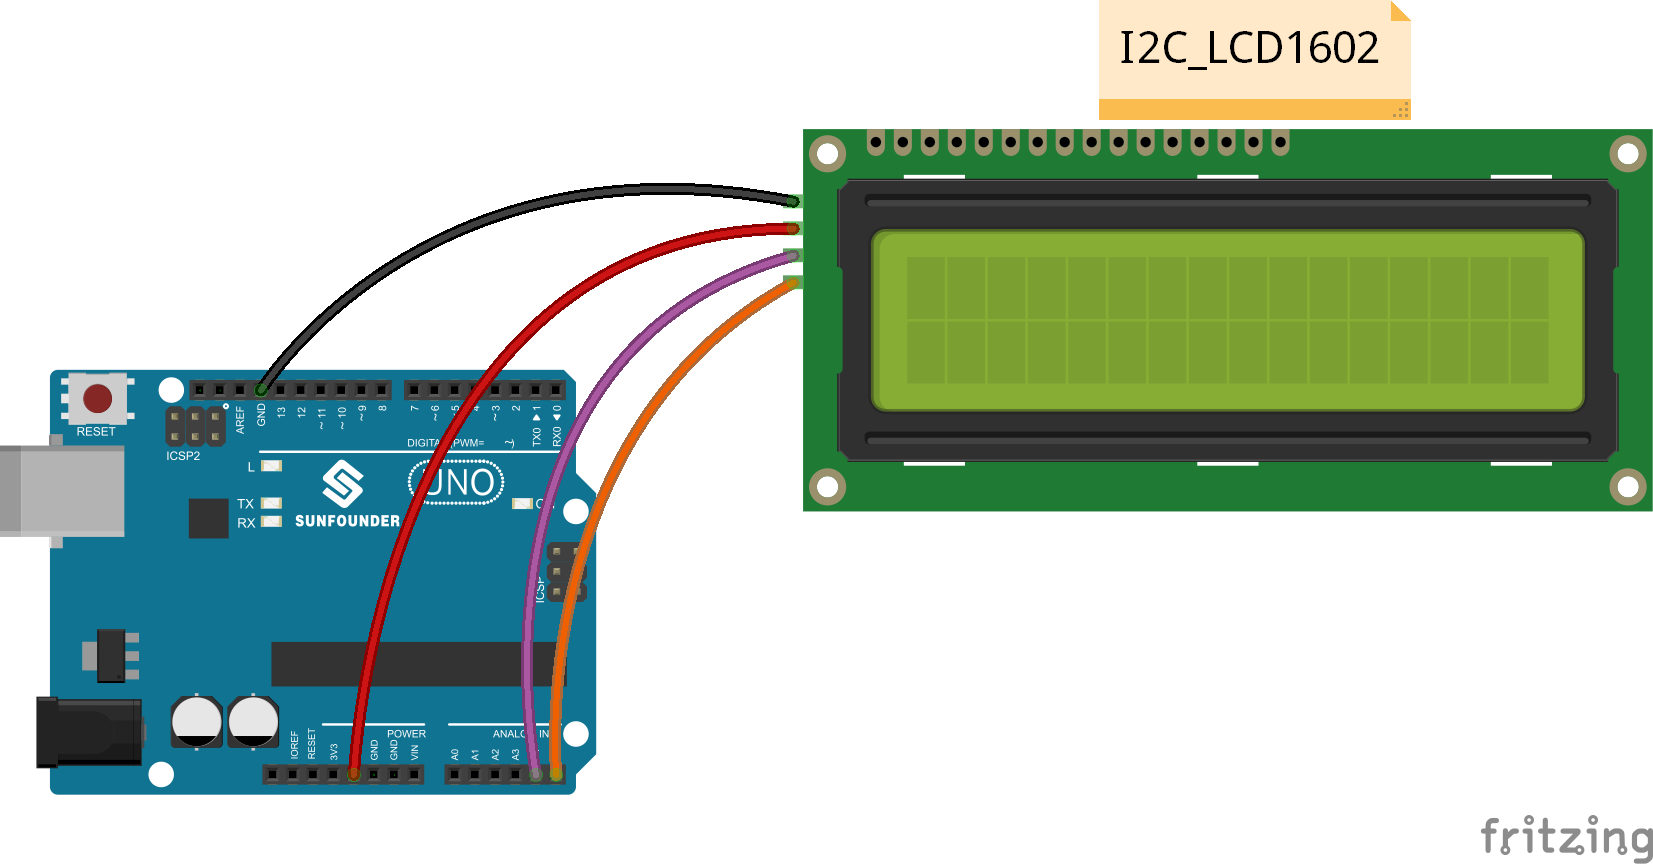
Step 1: Build the circuit
I2C LCD1602 |
SunFounder Uno/ Mega2560 |
GND |
GND |
VCC |
5V |
SDA |
A4 (Uno)/Pin 20 (Mega2560) |
SCL |
A5 (Uno)/Pin 21 (Mega2560) |
Note
The I2C LCD1602 is connected to Mega2560 differently compared with being done to Uno. PLEASE follow the wiring above.
Step 2: Open the code file
In the folder Sensor Kit V2.0 for Arduino you just downloaded and unzipped, you can see the folder for the corresponding lesson which includes two folders: code (the sketch) and circuit (Fritzing file). Go to the code folder and find the .ino file (.ino is the format of the sketch). Then double click to open it. You can also open an empty .ino file and type in the code we provide.
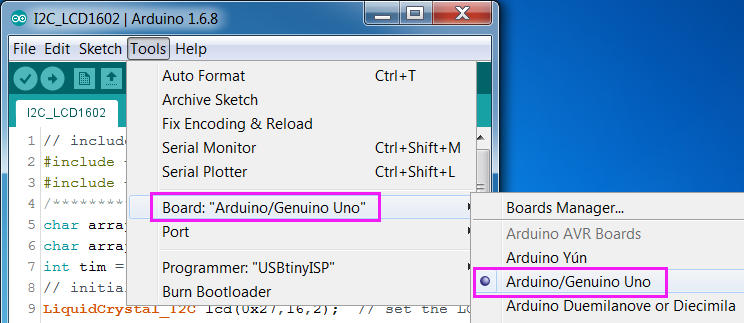
Step 3: Select the Board and Port
Before uploading the code, you need to select the Board and Port.
Click Tools ->Board and select Arduino/Genuino Uno. If your board is Mega2560, then select Arduino/Genuino Uno Mega or Mega2560.
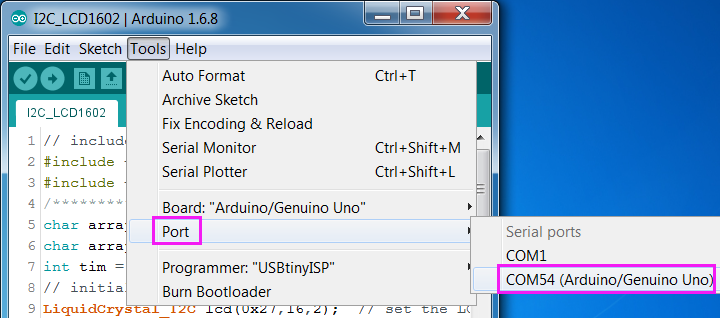
Then select Tools ->Port. Your port should be different from mine.
Step 4: Upload the sketch to the SunFounder Uno board
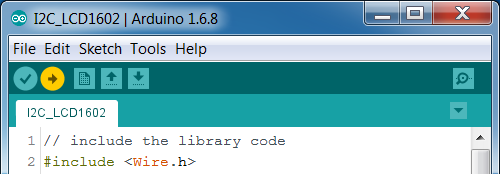
Click the Upload icon to upload the code to the control board.
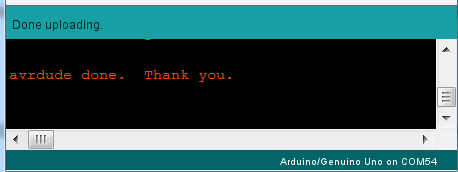
If “Done uploading” appears at the bottom of the window, it means the sketch has been successfully uploaded.
Code
You should now see your I2C LCD1602 display the flowing characters: “SunFounder” and “hello, world”.