注釈
こんにちは!SunFounder Raspberry Pi & Arduino & ESP32 Enthusiasts Communityへようこそ!Raspberry Pi、Arduino、ESP32について、他の愛好者と一緒にさらに深く学びましょう。
参加する理由
専門家のサポート: 購入後の問題や技術的な課題を、コミュニティやチームのサポートで解決できます。
学びと共有: ヒントやチュートリアルを交換して、スキルを向上させましょう。
特別なプレビュー: 新製品の発表や先行公開に早期アクセスできます。
特別割引: 新製品に対して限定割引を楽しめます。
祝祭プロモーションとプレゼント: プレゼントや祝祭プロモーションに参加できます。
👉 私たちと一緒に探求し、創造する準備はできましたか?[ここ]をクリックして、今すぐ参加しましょう!
5. コンピュータビジョン
このプロジェクトでは、コンピュータビジョンの分野に正式に進出します!
コードを実行する
cd ~/picrawler/examples
sudo python3 5_display.py
画像の表示
コードが実行されると、ターミナルに以下のプロンプトが表示されます:
No desktop !
* Serving Flask app "vilib.vilib" (lazy loading)
* Environment: production
WARNING: Do not use the development server in a production environment.
Use a production WSGI server instead.
* Debug mode: off
* Running on http://0.0.0.0:9000/ (Press CTRL+C to quit)
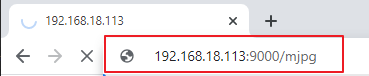
その後、ブラウザで http://<your IP>:9000/mjpg を入力して、ビデオ画面を表示できます。例えば、 http://192.168.18.113:9000/mjpg です。
プログラムが実行された後、最終的に以下の情報が表示されます:
関数を呼び出すためにキーを入力してください!
q: 写真を撮る1: 色検出:赤2: 色検出:オレンジ3: 色検出:黄色4: 色検出:緑5: 色検出:青6: 色検出:紫0: 色検出をオフにするr: QRコードをスキャンするf: 顔検出をON/OFFするs: 検出したオブジェクトの情報を表示する
プロンプトに従って、対応する機能を有効にしてください。
写真を撮る
ターミナルで
qを入力し。カメラが現在見ている画像が保存されます(色検出機能が有効な場合、保存された画像にもマークボックスが表示されます)。これらの写真はRaspberry Piの~/Pictures/PiCrawler/ディレクトリから確認できます。 また、ツール(例: FileZilla ソフトウェア )を使用して、写真をPCに転送できます。色検出
1~6の数字を入力すると、「赤、オレンジ、黄色、緑、青、紫」のいずれかの色が検出されます。0を入力すると、色検出がオフになります。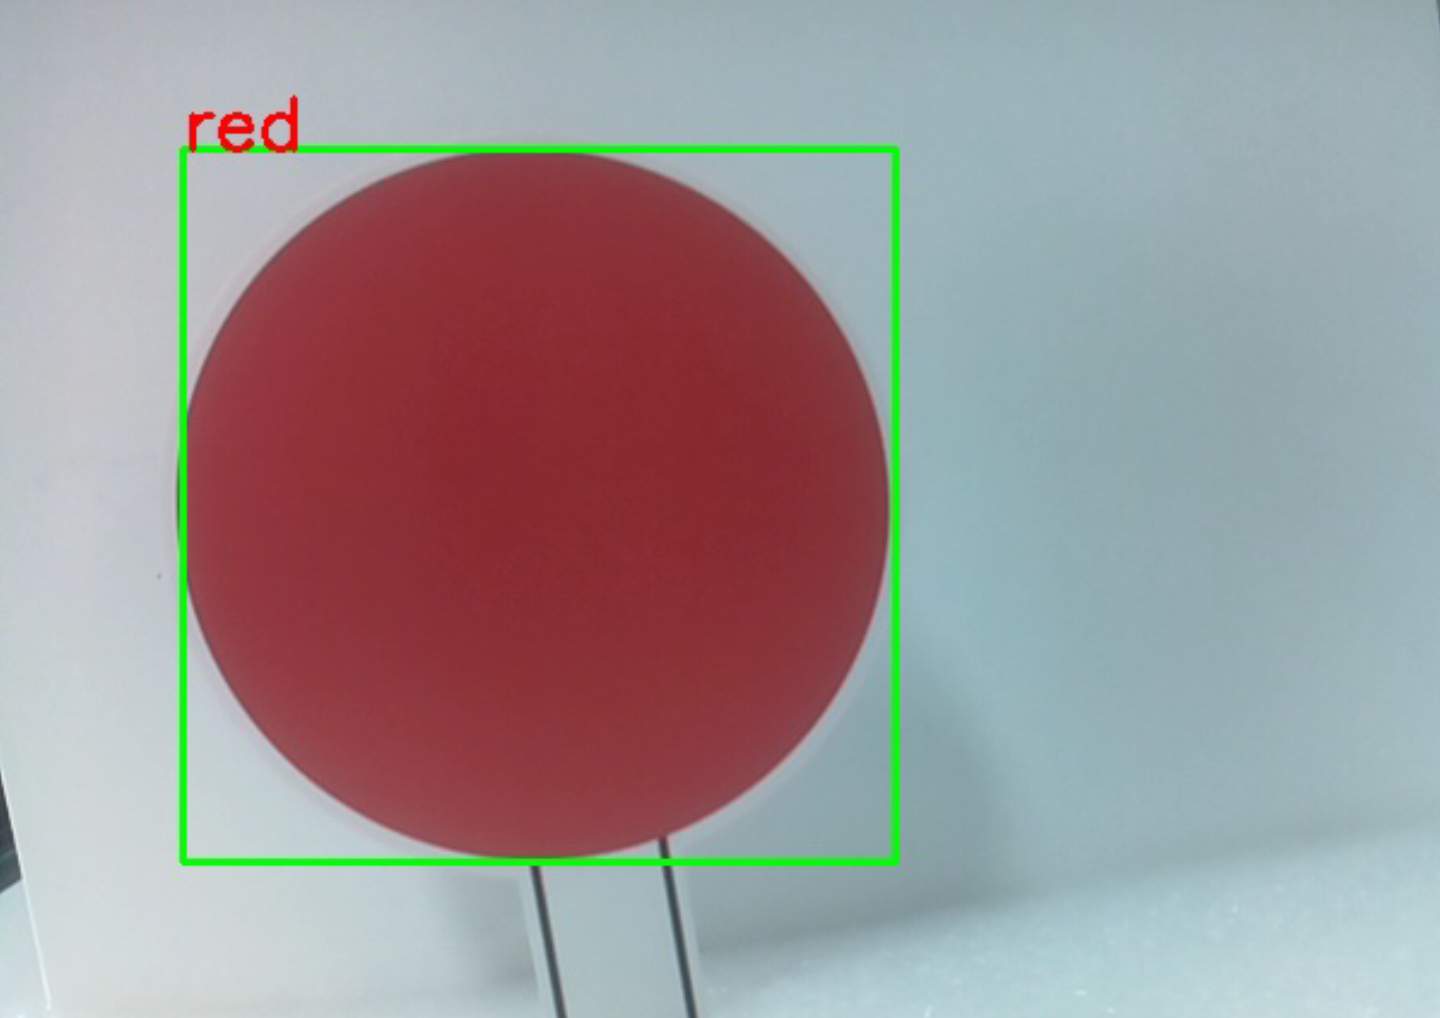
注釈
色検出用のPDFカラーカードは、
こちらからダウンロードして印刷できます。顔検出
ターミナルで
fを入力して、顔検出をONにします。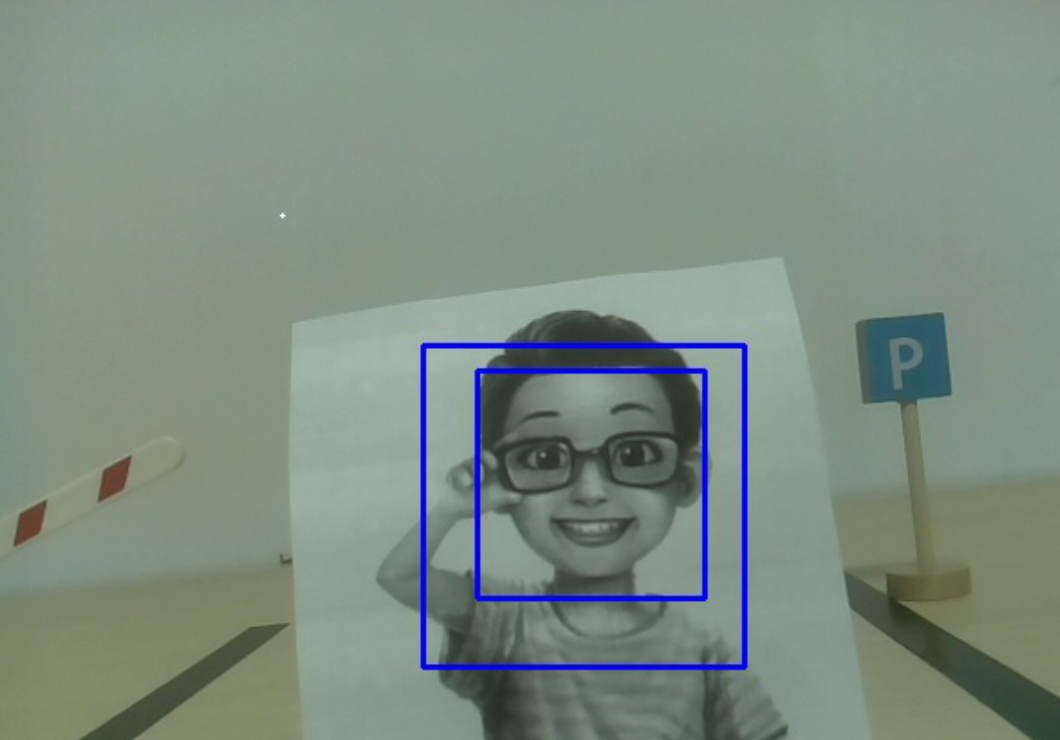
QRコード検出
rを入力して、QRコード認識を有効にします。QRコードが認識されるまで、他の操作はできません。QRコードのデコード情報はターミナルに表示されます。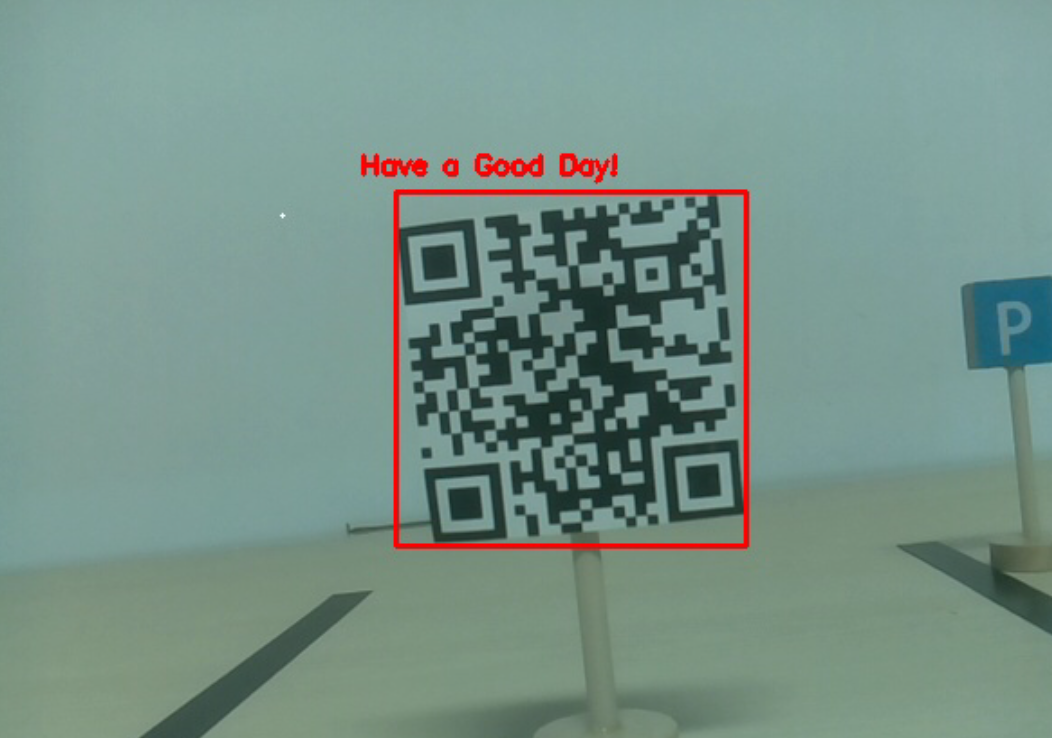
情報表示
sを入力すると、顔検出(および色検出)のターゲット情報がターミナルに表示されます。これには、検出された物体の中心座標(X、Y)やサイズ(幅、高さ)が含まれます。
コード
from vilib import Vilib
from time import sleep, time, strftime, localtime
import threading
import readchar
from os import getlogin

USERNAME = getlogin()
PICTURE_PATH = f"/home/{USERNAME}/Pictures/"

flag_face = False
flag_color = False
qr_code_flag = False

MANUAL = '''
Press a key to call the function:
    q: Take photo
    1: Color detect : red
    2: Color detect : orange
    3: Color detect : yellow
    4: Color detect : green
    5: Color detect : blue
    6: Color detect : purple
    0: Switch off Color detect
    r: Scan the QR code (toggle)
    f: Switch ON/OFF face detect
    s: Display detected object information
    Ctrl+C: Quit
'''

color_list = ['close', 'red', 'orange', 'yellow', 'green', 'blue', 'purple']

def face_detect(flag):
    print("Face Detect:", flag)
    Vilib.face_detect_switch(flag)

def qrcode_detect():
    global qr_code_flag
    Vilib.qrcode_detect_switch(True)
    print("Waiting for QR code...")

    text = None
    while qr_code_flag:
        temp = Vilib.detect_obj_parameter.get('qr_data', "None")
        if temp != "None" and temp != text:
            text = temp
            print("QR code:", text)
        sleep(0.2)

    Vilib.qrcode_detect_switch(False)

def take_photo():
    _time = strftime('%Y-%m-%d-%H-%M-%S', localtime(time()))
    name = f'photo_{_time}'
    Vilib.take_photo(name, PICTURE_PATH)
    print(f'Photo saved as {PICTURE_PATH}{name}.jpg')

def object_show():
    global flag_color, flag_face

    if flag_color:
        if Vilib.detect_obj_parameter.get('color_n', 0) == 0:
            print('Color Detect: None')
        else:
            x = Vilib.detect_obj_parameter.get('color_x')
            y = Vilib.detect_obj_parameter.get('color_y')
            w = Vilib.detect_obj_parameter.get('color_w')
            h = Vilib.detect_obj_parameter.get('color_h')
            print("[Color Detect] Coordinate:", (x, y), "Size:", (w, h))

    if flag_face:
        if Vilib.detect_obj_parameter.get('human_n', 0) == 0:
            print('Face Detect: None')
        else:
            x = Vilib.detect_obj_parameter.get('human_x')
            y = Vilib.detect_obj_parameter.get('human_y')
            w = Vilib.detect_obj_parameter.get('human_w')
            h = Vilib.detect_obj_parameter.get('human_h')
            print("[Face Detect] Coordinate:", (x, y), "Size:", (w, h))

def main():
    global flag_face, flag_color, qr_code_flag
    qrcode_thread = None

    Vilib.camera_start(vflip=False, hflip=False)
    Vilib.display(local=True, web=True)
    print(MANUAL)

    try:
        while True:
            key = readchar.readkey().lower()

            if key == 'q':
                take_photo()

            elif key in '0123456':
                index = int(key)
                if index == 0:
                    flag_color = False
                    Vilib.color_detect('close')
                else:
                    flag_color = True
                    Vilib.color_detect(color_list[index])
                print('Color detect:', color_list[index])

            elif key == 'f':
                flag_face = not flag_face
                face_detect(flag_face)

            elif key == 'r':
                qr_code_flag = not qr_code_flag
                if qr_code_flag:
                    if qrcode_thread is None or not qrcode_thread.is_alive():
                        qrcode_thread = threading.Thread(target=qrcode_detect, daemon=True)
                        qrcode_thread.start()
                else:
                    print('QRcode Detect: close')

            elif key == 's':
                object_show()

            sleep(0.05)

    except KeyboardInterrupt:
        print("\nQuit.")

    finally:
        # Stop QR thread and switches
        qr_code_flag = False
        try:
            Vilib.qrcode_detect_switch(False)
        except Exception:
            pass

        try:
            Vilib.color_detect('close')
        except Exception:
            pass

        try:
            Vilib.face_detect_switch(False)
        except Exception:
            pass

        # Close camera
        try:
            Vilib.camera_close()
        except Exception:
            pass

if __name__ == "__main__":
    main()
仕組み
最初に注目すべき関数は以下です。この2つの関数でカメラを起動できます。
Vilib.camera_start()
Vilib.display()
「オブジェクト検出」に関連する関数:
Vilib.face_detect_switch(True): 顔検出のON/OFF切り替えVilib.color_detect(color): 色検出用、同時に1色のみ検出できます。入力可能な色は、"red","orange","yellow","green","blue","purple"ですVilib.color_detect_switch(False): 色検出のOFFVilib.qrcode_detect_switch(False): QRコード検出のON/OFF切り替え、QRコードのデコード情報を返します。Vilib.gesture_detect_switch(False): ジェスチャー検出のON/OFF切り替えVilib.traffic_sign_detect_switch(False): 交通標識検出のON/OFF切り替え
ターゲットで検出された情報は、 detect_obj_parameter = Manager().dict() 辞書に保存されます。
メインプログラムでは、次のように利用できます:
Vilib.detect_obj_parameter['color_x']
辞書のキーとその使用方法は以下の通りです:
color_x: 検出された色ブロックの中心座標のx値、範囲は0〜320color_y: 検出された色ブロックの中心座標のy値、範囲は0〜240color_w: 検出された色ブロックの幅、範囲は0〜320color_h: 検出された色ブロックの高さ、範囲は0〜240color_n: 検出された色ブロックの数human_x: 検出された顔の中心座標のx値、範囲は0〜320human_y: 検出された顔の中心座標のy値、範囲は0〜240human_w: 検出された顔の幅、範囲は0〜320human_h: 検出された顔の高さ、範囲は0〜240human_n: 検出された顔の数traffic_sign_x: 検出された交通標識の中心座標x値、範囲は0〜320traffic_sign_y: 検出された交通標識の中心座標y値、範囲は0〜240traffic_sign_w: 検出された交通標識の幅、範囲は0〜320traffic_sign_h: 検出された交通標識の高さ、範囲は0〜240traffic_sign_t: 検出された交通標識の内容、値のリストは ['stop','right','left','forward']gesture_x: 検出されたジェスチャーの中心座標x値、範囲は0〜320gesture_y: 検出されたジェスチャーの中心座標y値、範囲は0〜240gesture_w: 検出されたジェスチャーの幅、範囲は0〜320gesture_h: 検出されたジェスチャーの高さ、範囲は0〜240gesture_t: 検出されたジェスチャーの内容、値のリストは ["paper","scissor","rock"]qr_date: 検出中のQRコードの内容qr_x: 検出中のQRコードの中心座標x値、範囲は0〜320qr_y: 検出中のQRコードの中心座標y値、範囲は0〜240qr_w: 検出中のQRコードの幅、範囲は0〜320qr_h: 検出中のQRコードの高さ、範囲は0〜320