Lesson 15 Humiture Sensor
Introduction
The digital temperature and humidity sensor DHT11 is a composite sensor that contains a calibrated digital signal output of temperature and humidity. The technology of a dedicated digital modules collection and the temperature and humidity sensing technology are applied to ensure that the product has high reliability and excellent long-term stability.
The sensor includes a resistive sense of wet component and an NTC temperature measurement device, and is connected with a high-performance 8-bit microcontroller.
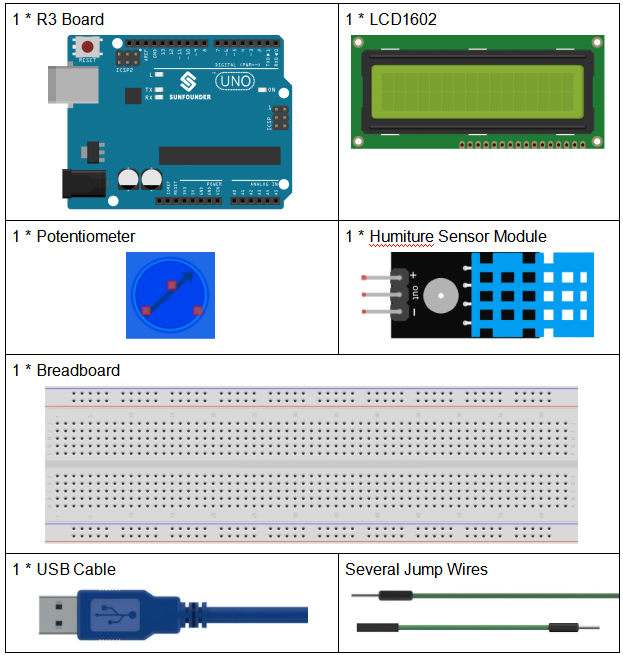
Components

Schematic Diagram

Experimental Procedures
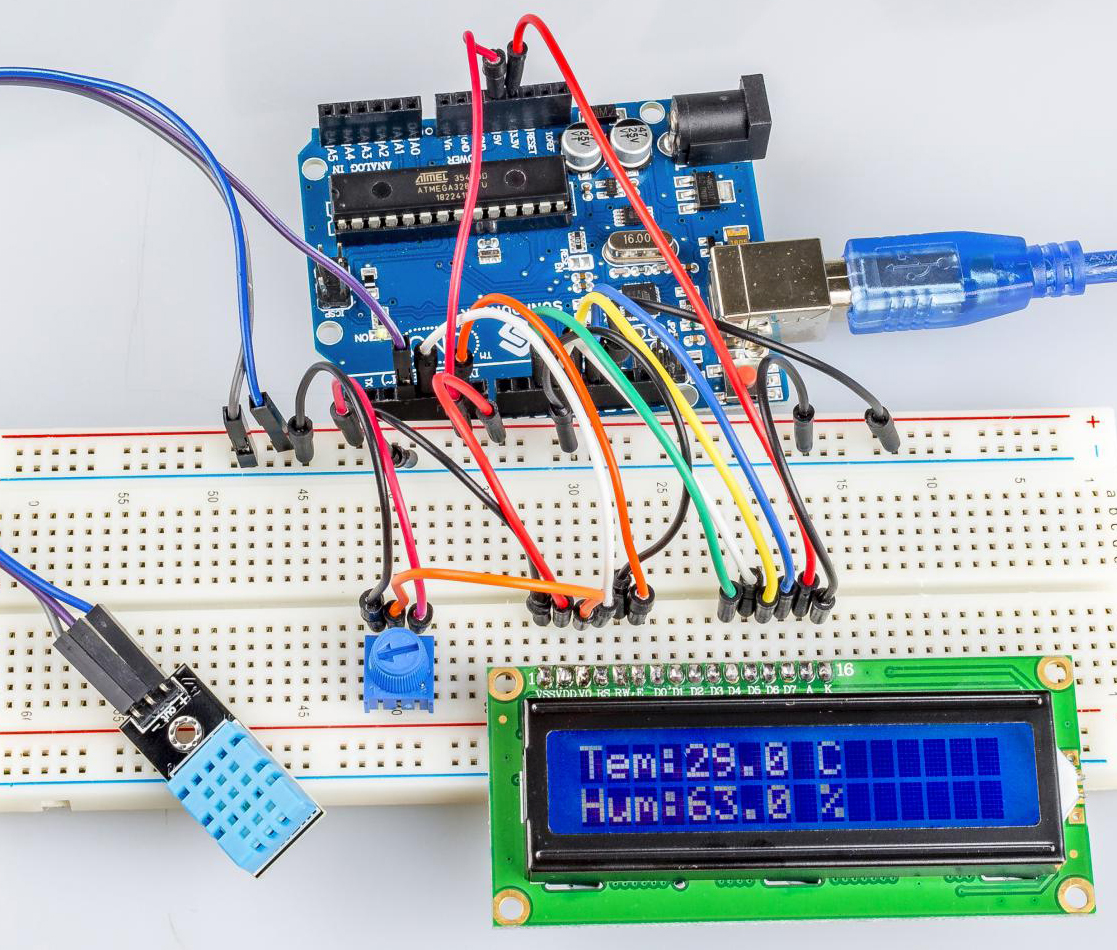
Step 1: Build the circuit.

Step 2: Open the code file.
Step 3: Select the Board and Port.
Step 4: Upload the sketch to the board.
Note
The
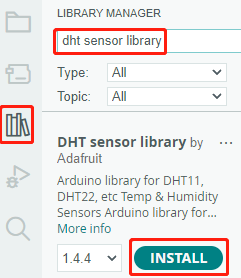
DHT sensor librarylibrary is used here, you can install it from the Library Manager.
Now, you can see the value of the current humidity and temperature displayed on the LCD.

Code
Code Analysis
Includes the
DHT.hlibrary, which provides functions to interact with the DHT sensors. Then, set the pin and type for the DHT sensor.#include "DHT.h" #include <LiquidCrystal.h> // LiquidCrystal lcd(4, 6, 10, 11, 12, 13); // initialize the LCD1602 #define DHTPIN 3 // Set the pin connected to the DHT11 data pin #define DHTTYPE DHT11 // DHT 11 DHT dht(DHTPIN, DHTTYPE);
Initializes the LCD1602, the serial monitor and the DHT sensor.
void setup() {
    lcd.begin(16, 2);    // set up the LCD's number of columns and rows:
    Serial.begin(9600);  //set the baud bit to 9600bps
    dht.begin();
}
In the
loop()function, read temperature and humidity values from the DHT11 sensor, and print them to the LCD1602.void loop() { // Wait a few seconds between measurements. delay(2000); // Reading temperature or humidity takes about 250 milliseconds! // Sensor readings may also be up to 2 seconds 'old' (it's a very slow sensor) float humidity = dht.readHumidity(); // Read temperature as Celsius (the default) float temperture = dht.readTemperature(); // Check if any reads failed and exit early (to try again). if (isnan(humidity) || isnan(temperture)) { Serial.println("Failed to read from DHT sensor!"); return; } // DISPLAY DATA lcd.setCursor(0, 0); lcd.print("Tem:"); lcd.print(temperature, 1); //print the temperature on lcd lcd.print(" C"); lcd.setCursor(0, 1); lcd.print("Hum:"); lcd.print(humidity, 1); //print the humidity on lcd lcd.print(" %"); delay(200); //wait a while }
The
dht.readHumidity()function is called to read the humidity value from the DHT sensor.The
dht.readTemperature()function is called to read the temperature value from the DHT sensor.The
isnan()function is used to check if the readings are valid. If either the humidity or temperature value is NaN (not a number), it indicates a failed reading from the sensor, and an error message is printed.