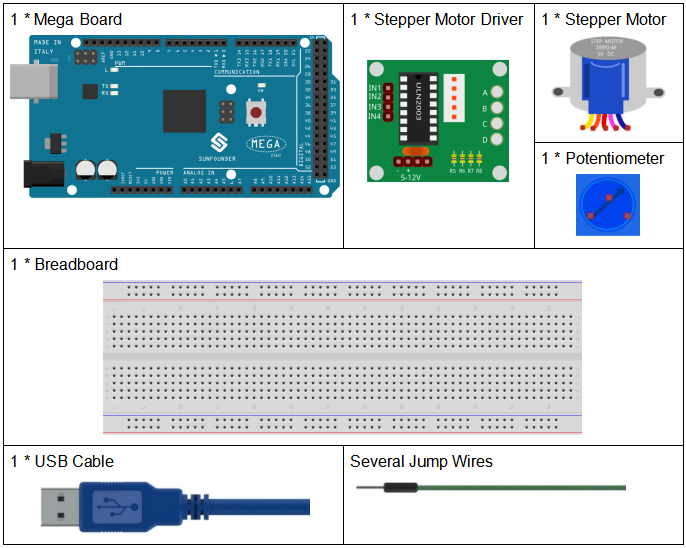
Lesson 19 Stepper Motor
Introduction
Stepper motors, due to their unique design, can be controlled to a high degree of accuracy without any feedback mechanisms. The shaft of a stepper, mounted with a series of magnets, is controlled by a series of electromagnetic coils that are charged positively and negatively in a specific sequence, precisely moving it forward or backward in small “steps”.
Components

Schematic Diagram
The schematic diagram of the Stepper Motor Driver:

Experimental Procedures
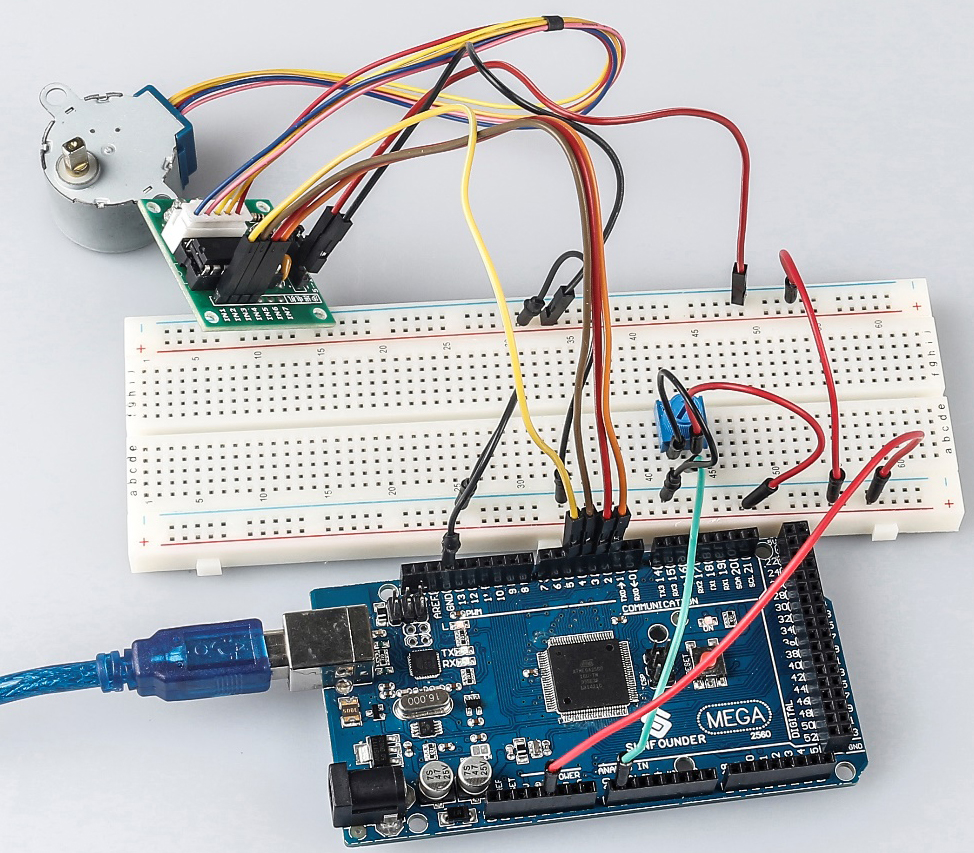
Step 1: Build the circuit
The wiring between Stepper Motor Driver board and Mega 2560 board:
Stepper Motor Driver |
Mega 2560 |
IN1 |
2 |
IN2 |
4 |
IN3 |
3 |
IN4 |
5 |
GND |
GND |
VCC |
5v |

Step 2: Open the code file.
Step 3: Select the Board and Port.
Step 4: Upload the sketch to the board.
Now, you should see the rocker arm of the stepper motor spin clockwise and counterclockwise alternately.

Code
Code Analysis
Initialize the stepper
#include <Stepper.h> //include a head file

//the steps of a circle

#define STEPS 2048

//set steps and the connection with MCU

Stepper stepper(STEPS, 2, 3, 4, 5);

//available to store previous value

int previous = 0;
Include a head file Stepper.h, set the steps to 100 and then initialize the stepper with a function stepper().
Stepper(steps, pin1, pin2, pin3, pin4): This function creates a new instance of the Stepper class that represents a particular stepper motor attached to your Arduino board.
steps: The number of steps in one revolution of your motor. If your
motor gives the number of degrees per step, divide that number into 360
to get the number of steps (e.g. 360 / 3.6 gives 100 steps). (int).
setSpeed() function
//speed of per minute

stepper.setSpeed(15); //set the motor speed in rotations per minute(RPMs)
setSpeed(rpms): Sets the motor speed in rotations per minute (RPMs). This function doesn’t make the motor turn, just sets the speed at which it will when you call step().
Parameters
rpms: the speed at which the motor should turn in rotations per minute - a positive number (long)
loop() function
void loop()

{

//get analog value

int val = analogRead(0); //Read the value of the potentiometer

//current reading minus the reading of history

stepper.step(val - previous); //Turn the motor in val-previous steps

//store as prevous value

previous = val; //the value of potentiometer assignment to variable previous

}
The main program is to read the value of A0 first and then set the number of steps of stepper motor rotation according to the value of A0.
step(steps): Turns the motor a specific number of steps, at a speed determined by the most recent call to setSpeed(). This function is blocking; that is, it will wait until the motor has finished moving to pass control to the next line in your sketch. For example, if you set the speed to, say, 1 RPM and called step(100) on a 100-step motor, this function would take a full minute to run. For better control, keep the speed high and only go a few steps with each call to step().
steps: the number of steps to turn the motor - positive to turn one direction, negative to turn the other (int).