Note
Hello, welcome to the SunFounder Raspberry Pi & Arduino & ESP32 Enthusiasts Community on Facebook! Dive deeper into Raspberry Pi, Arduino, and ESP32 with fellow enthusiasts.
Why Join?
Expert Support: Solve post-sale issues and technical challenges with help from our community and team.
Learn & Share: Exchange tips and tutorials to enhance your skills.
Exclusive Previews: Get early access to new product announcements and sneak peeks.
Special Discounts: Enjoy exclusive discounts on our newest products.
Festive Promotions and Giveaways: Take part in giveaways and holiday promotions.
👉 Ready to explore and create with us? Click [here] and join today!
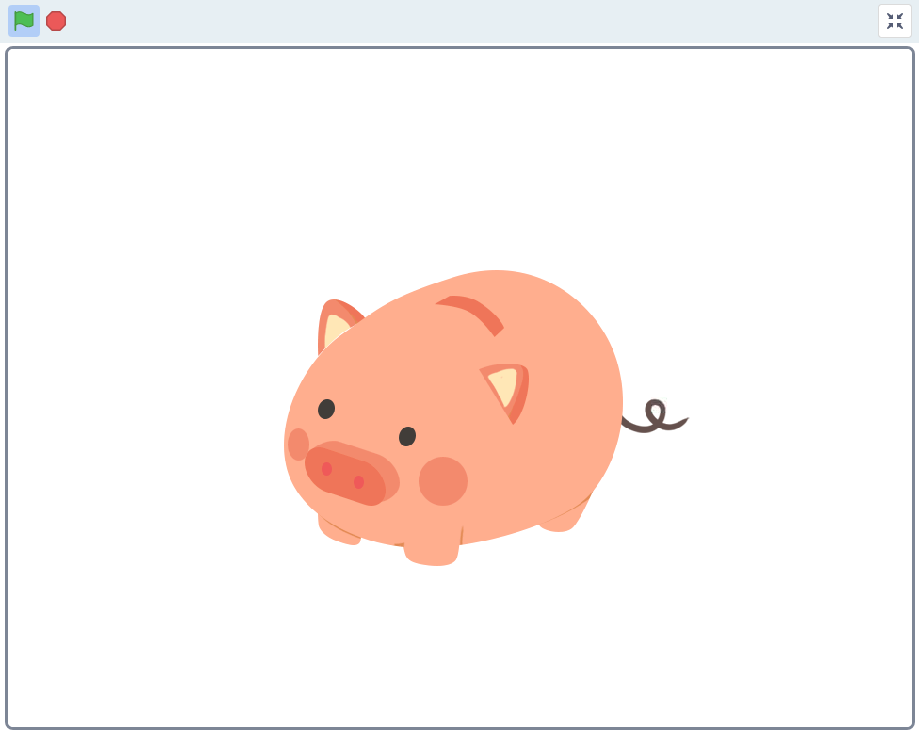
1.7 Piggy Bank
In this project we will use Speed sensor module, Raspberry Pi and Scratch to make a Piggy Bank.
Place a piece of paper in the middle of the Speed sensor module and you will see a coin fall into the Piggy Bank on the stage.
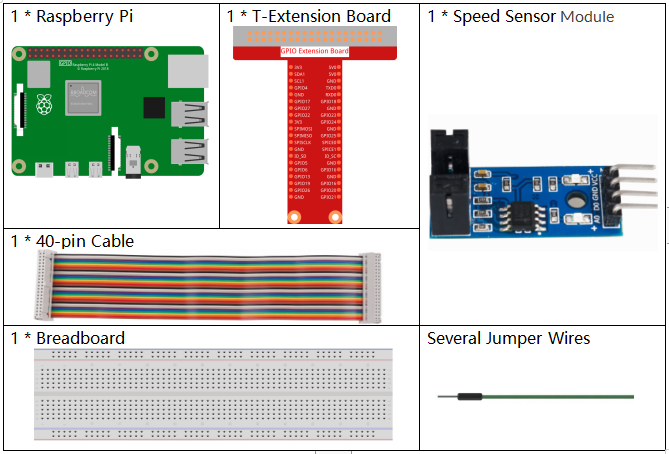
Required Components
In this project, we need the following components.
It’s definitely convenient to buy a whole kit, here’s the link:
Name |
ITEMS IN THIS KIT |
LINK |
|---|---|---|
Raphael Kit |
337 |
You can also buy them separately from the links below.
COMPONENT INTRODUCTION |
PURCHASE LINK |
|---|---|
- |
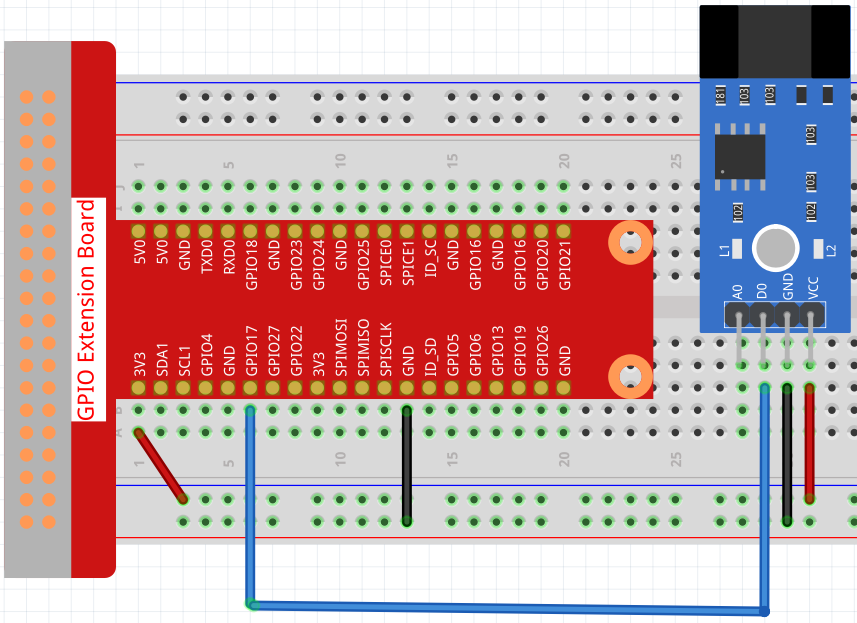
Build the Circuit
Load the Code and See What Happens
Load the code file (1.7_piggy_bank.sb3) to Scratch 3.
The 2 terminals in the middle of the speed sensor, one is to send light, one is to receive light; if you put a piece of paper in the middle to isolate the light transmission, thus the speed sensor will output a high level. At this point Scratch receives the high level, then switch the costumes of the sprite and you will see a coin fall into the Piggy Bank on the stage.
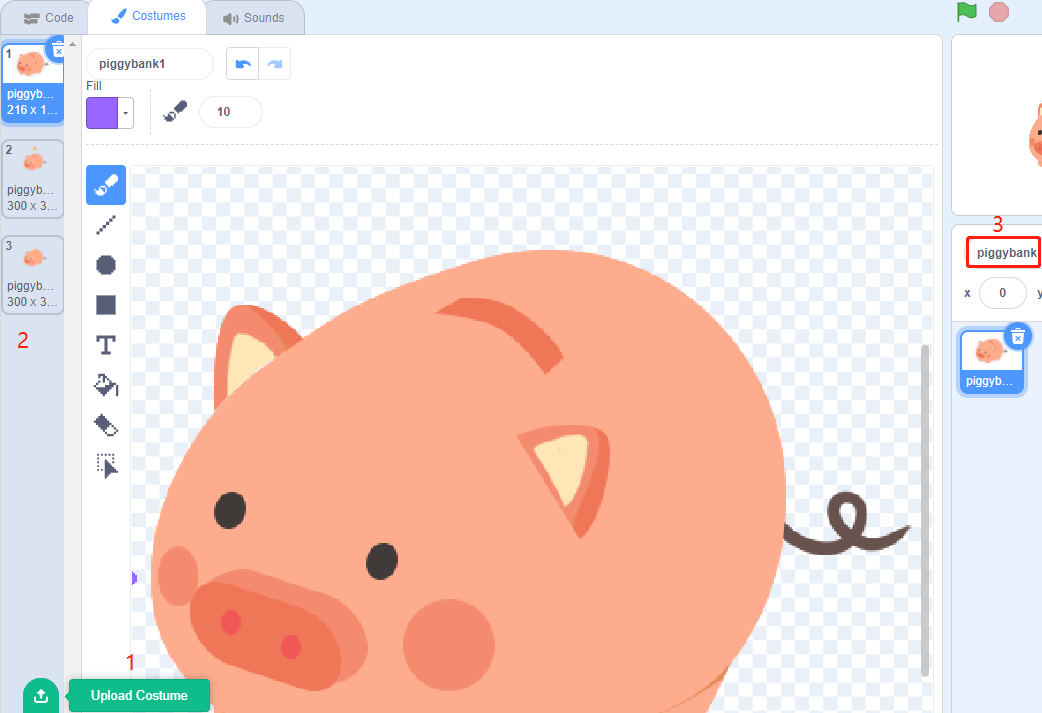
Tips on Sprite
Select Sprite1 and click Costumes in the top left corner; upload piggybank1.png, piggybank2.png and piggybank3.png from the ~/raphael-kit/scratch/picture path via the Upload Costume button; delete the default 2 costumes, and rename the sprite to piggybank.
Tips on Codes
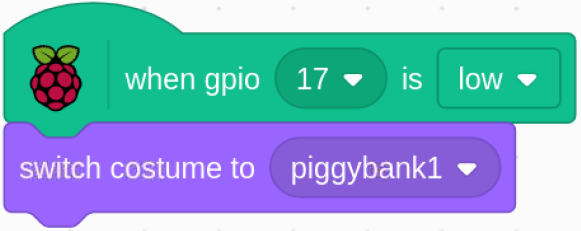
When pin17 is low (no coins are put in), switch the sprite’s costume to piggybank1.
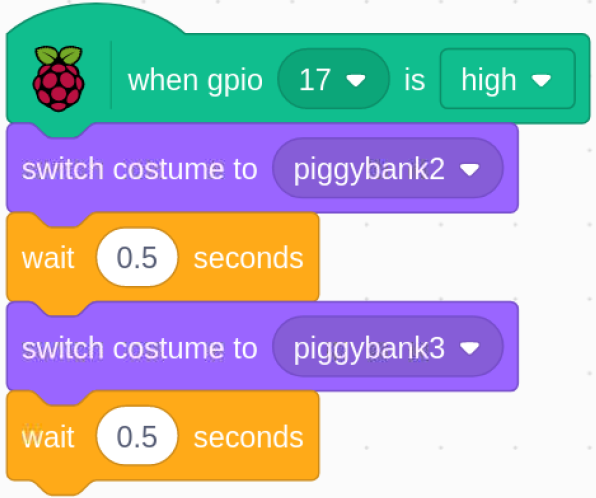
When pin17 is high (a coin is put in), switch the sprite’s costume to piggybank2, and after 0.5s switch to piggybank3, so that we can see a coin falling into the Piggy Bank on the stage.