1.3 Tumbler
In this project, we will make a tilt switch controlled tumbler toy.

Required Components
In this project, we need the following components.
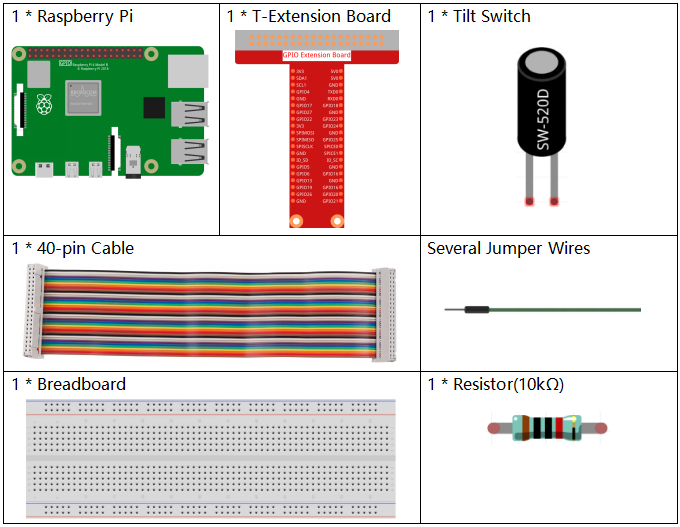
It’s definitely convenient to buy a whole kit, here’s the link:
Name |
ITEMS IN THIS KIT |
LINK |
|---|---|---|
Raphael Kit |
337 |
You can also buy them separately from the links below.
COMPONENT INTRODUCTION |
PURCHASE LINK |
|---|---|
- |
Build the Circuit
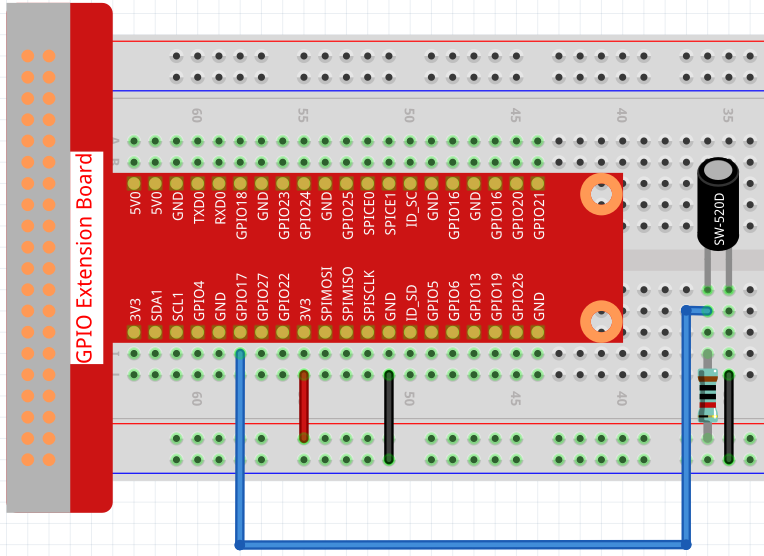
Load the Code and See What Happens
Load the code file (1.3_tumbler.sb3) to Scratch 3.
When the tilt switch is placed upright, the tumbler is standing. If you tilt it, the tumbler will also fall. Place it upright again, and the tumbler will stand up again.
Tips on Sprite
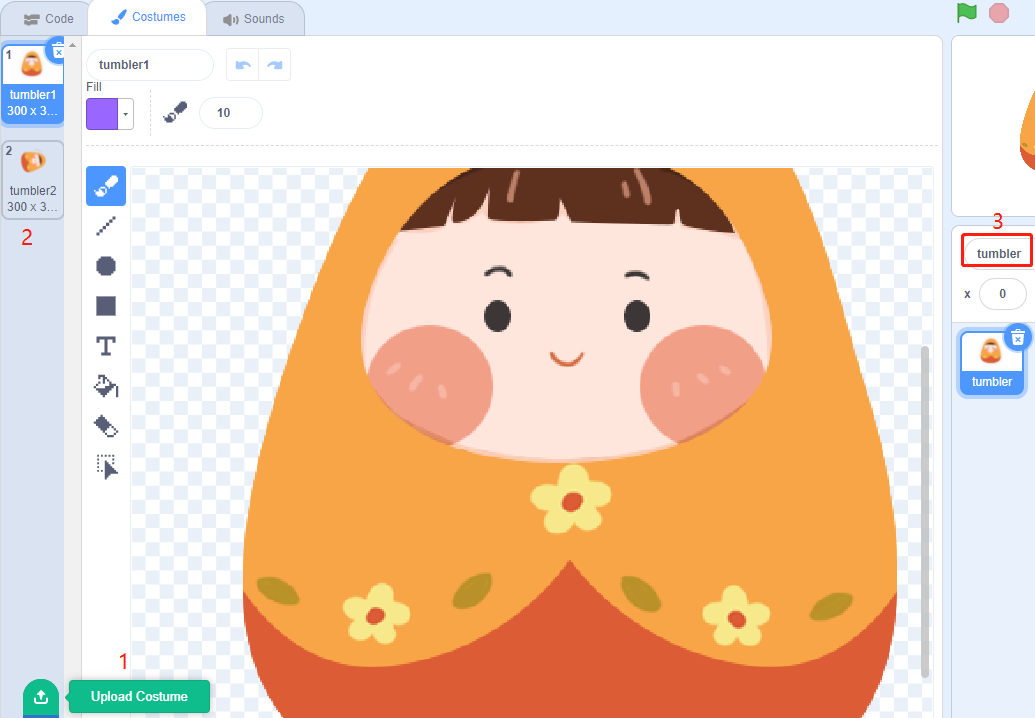
Select Sprite1 and click Costumes in the top left corner; upload tumbler1.png and tumbler2.png from the ~/raphael-kit/scratch/picture path via the Upload Costume button; delete the default 2 costumes, and rename the sprite to tumbler.
Tips on Codes
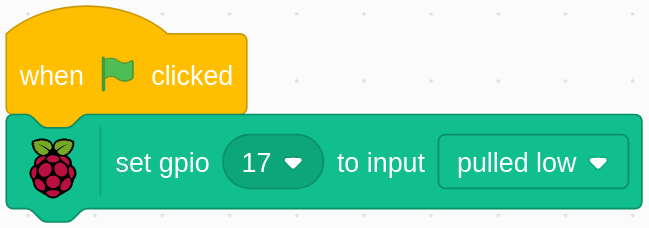
When the green flag is clicked, the initial state of gpio17 is set to low.
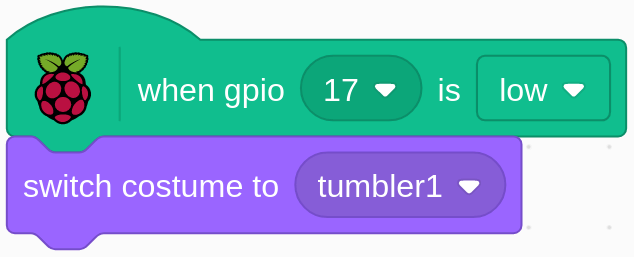
When pin17 is low (the tilt switch is placed upright), we switch the tumbler sprite’s costume to tumbler1 (upright state).
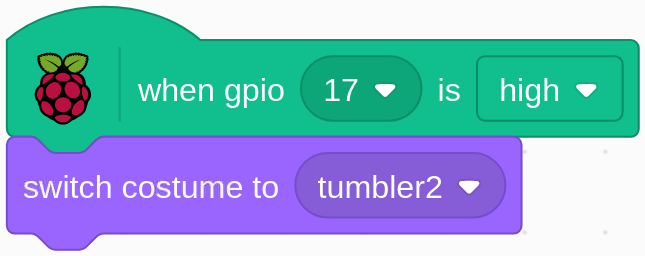
When pin17 is high (tilt switch is tilted), switch the tumbler sprite’s costume to tumbler2 (tilt state).