1.4 Hare
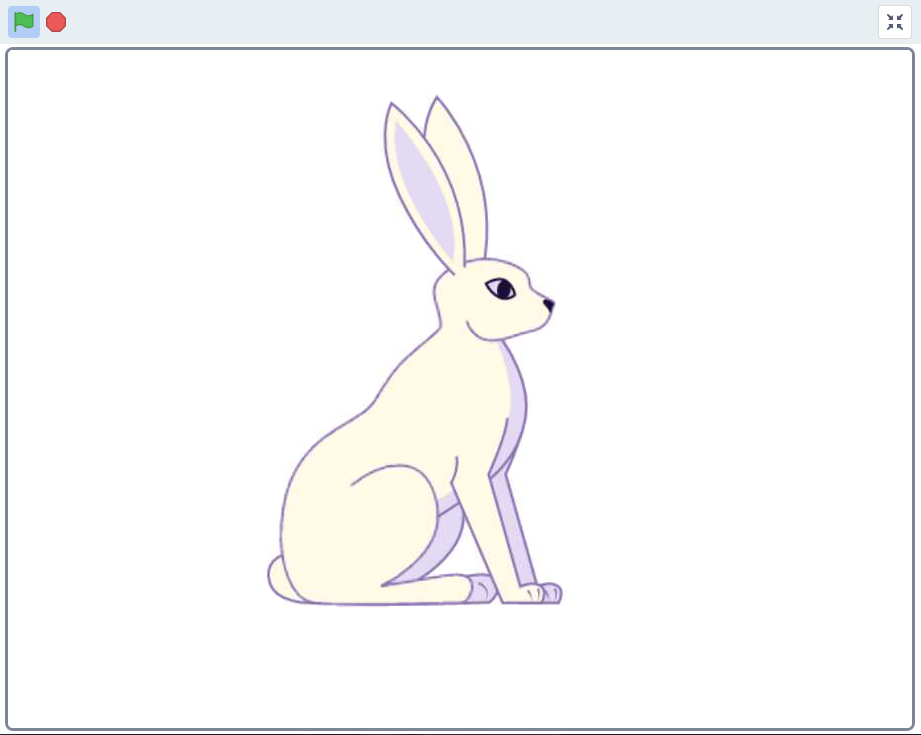
Today, we will use Button, Raspberry Pi and Scratch to create a hare with various changes!
When we press the first button, the hare in the stage area will change its body color; when we press the second button, the hare will change its body size; when we press the third button, the hare will take a step forward.
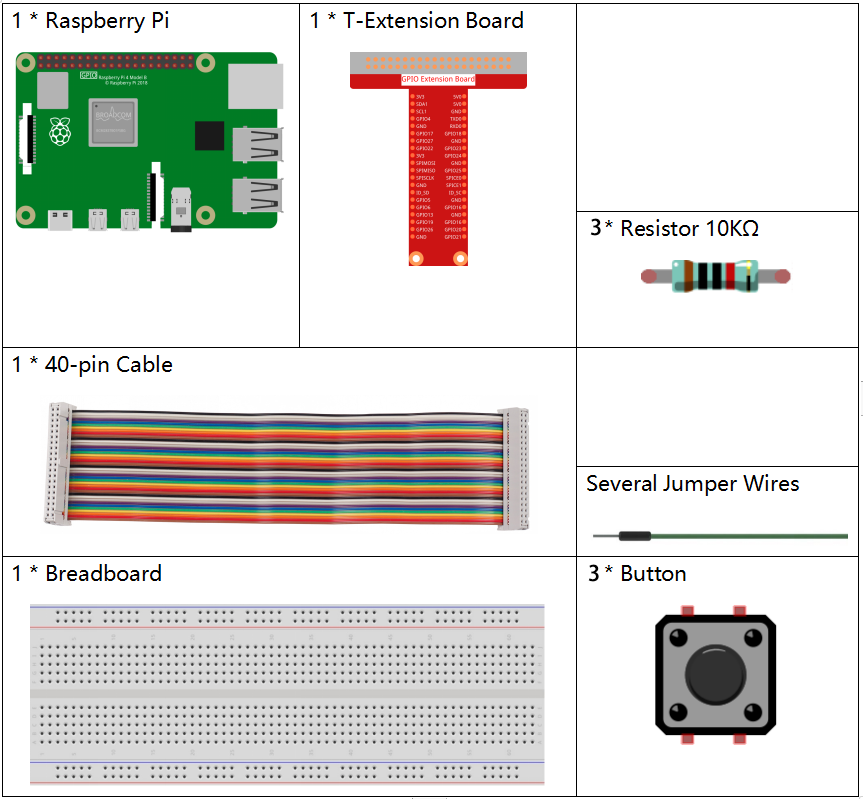
Required Components
In this project, we need the following components.
It’s definitely convenient to buy a whole kit, here’s the link:
Name |
ITEMS IN THIS KIT |
LINK |
|---|---|---|
Raphael Kit |
337 |
You can also buy them separately from the links below.
COMPONENT INTRODUCTION |
PURCHASE LINK |
|---|---|
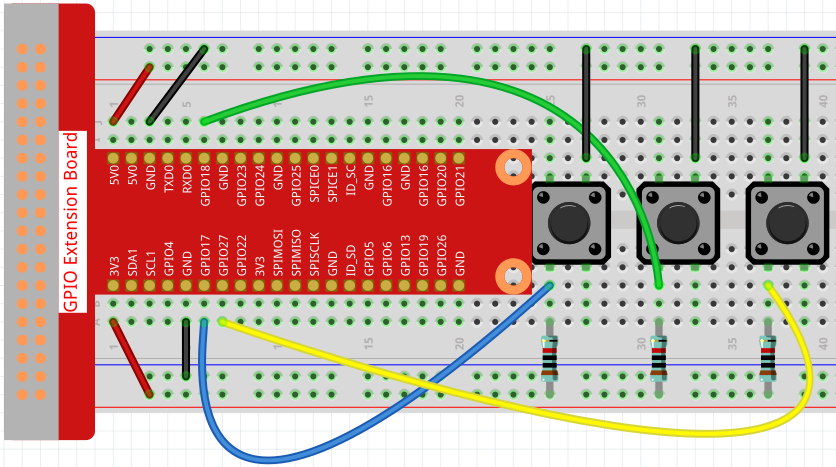
Build the Circuit
Load the Code and See What Happens
Load the code file (1.4_hare.sb3) into Scratch 3.
Now you can try to press each of the 3 buttons to see how the Hare on the stage will change.
Tips on Sprite
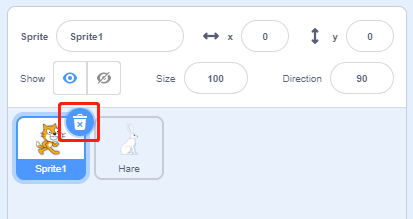
Click the Choose a Sprite button in the lower right corner of the sprite area, enter Hare in the search box, and then click to add it.
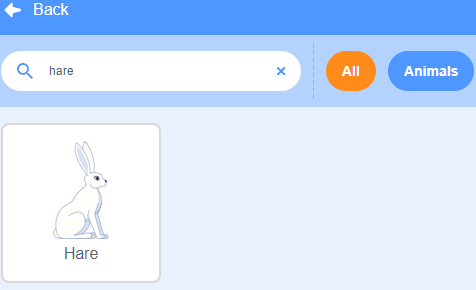
Delete Sprite1.
Tips on Codes

This is an event block that is triggered when the level of GPIO17 is high, which means that the button is pressed at that moment.

This is a block to change the color of Hare, the range of the value is 0 ~ 199, beyond 199 will change from 0 again.

This is a block used to change the size for sprite, the higher the value, the larger the sprite.
Note
The sprite is also not infinitely large, and its maximum size is related to the original image size.

This is a block that switches sprite costumes, and when Hare’s costume keeps switching, it does a series of coherent actions. For example, in this project, make Hare take a step forward.