1.2 Quick Guide on Piper Make
1. Create New Project
Now that you have set up Pico W, it is time to learn how to program it. Now let’s light up the onboard LED.
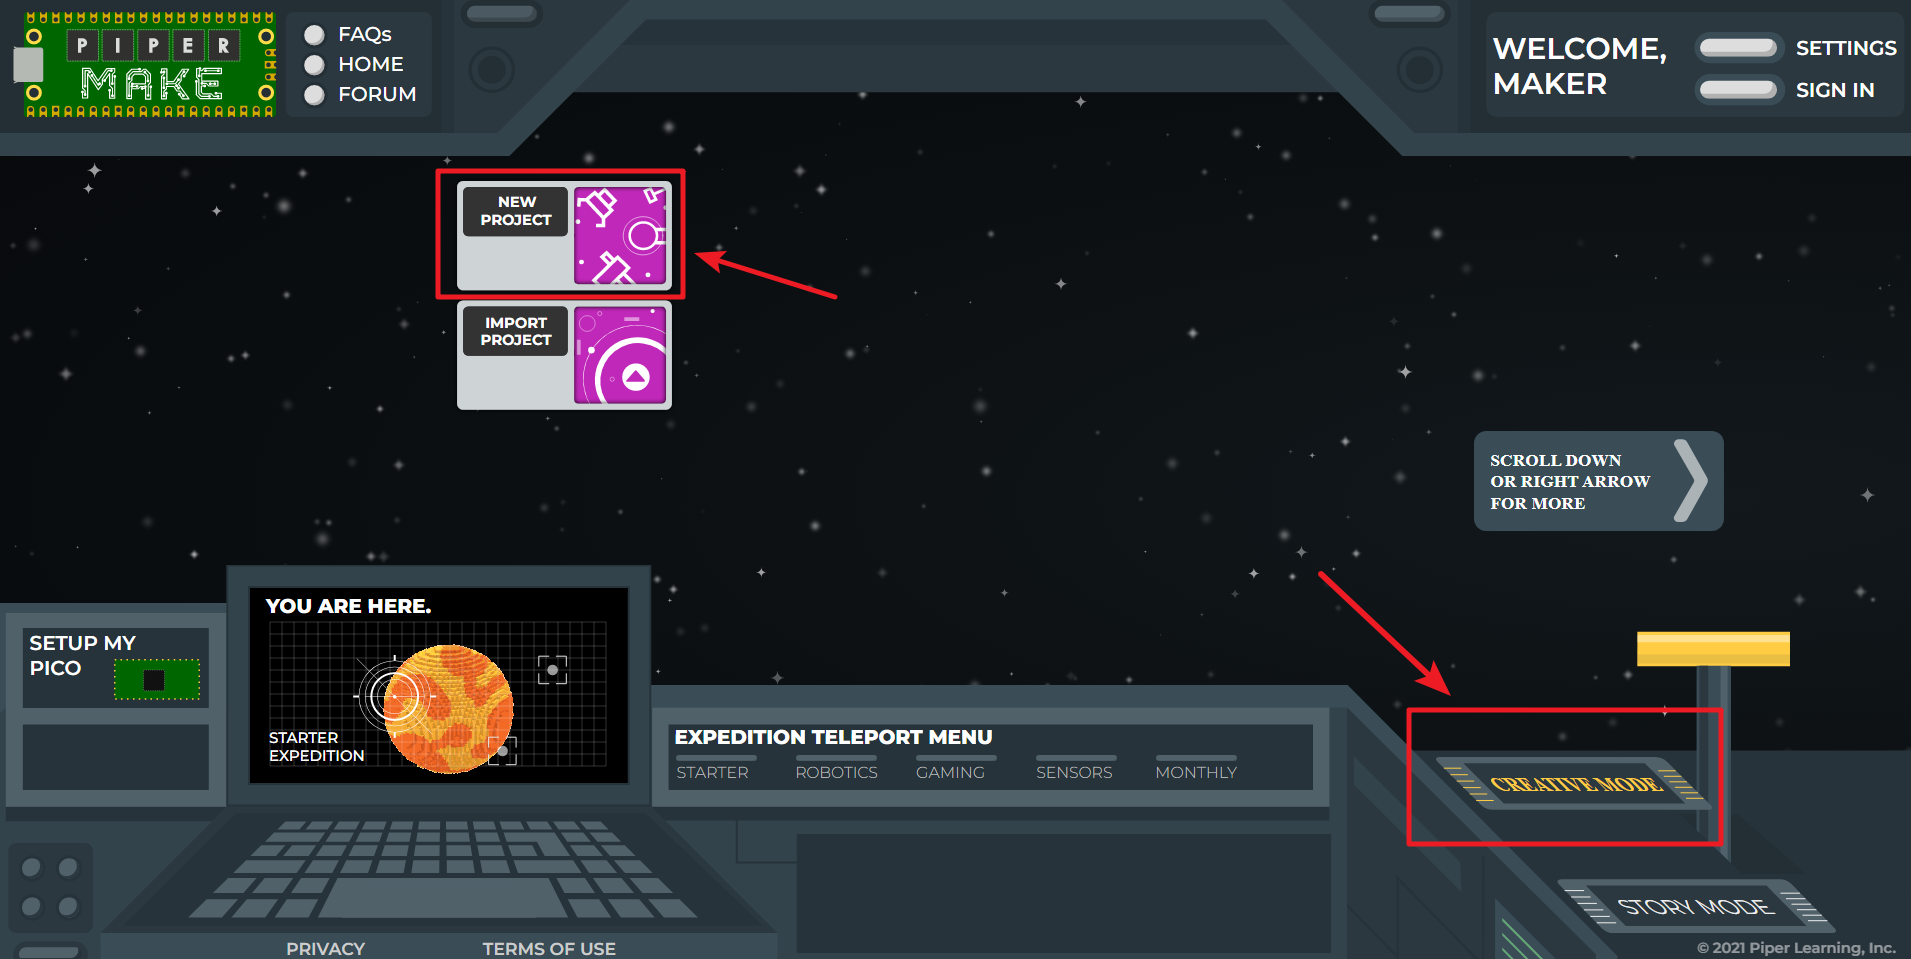
Switch to CREATIVE MODE and click on the New Project button,
and a new project will appear in the MY PROJECTS section and
will be assigned a random name that can be changed from the programming page.
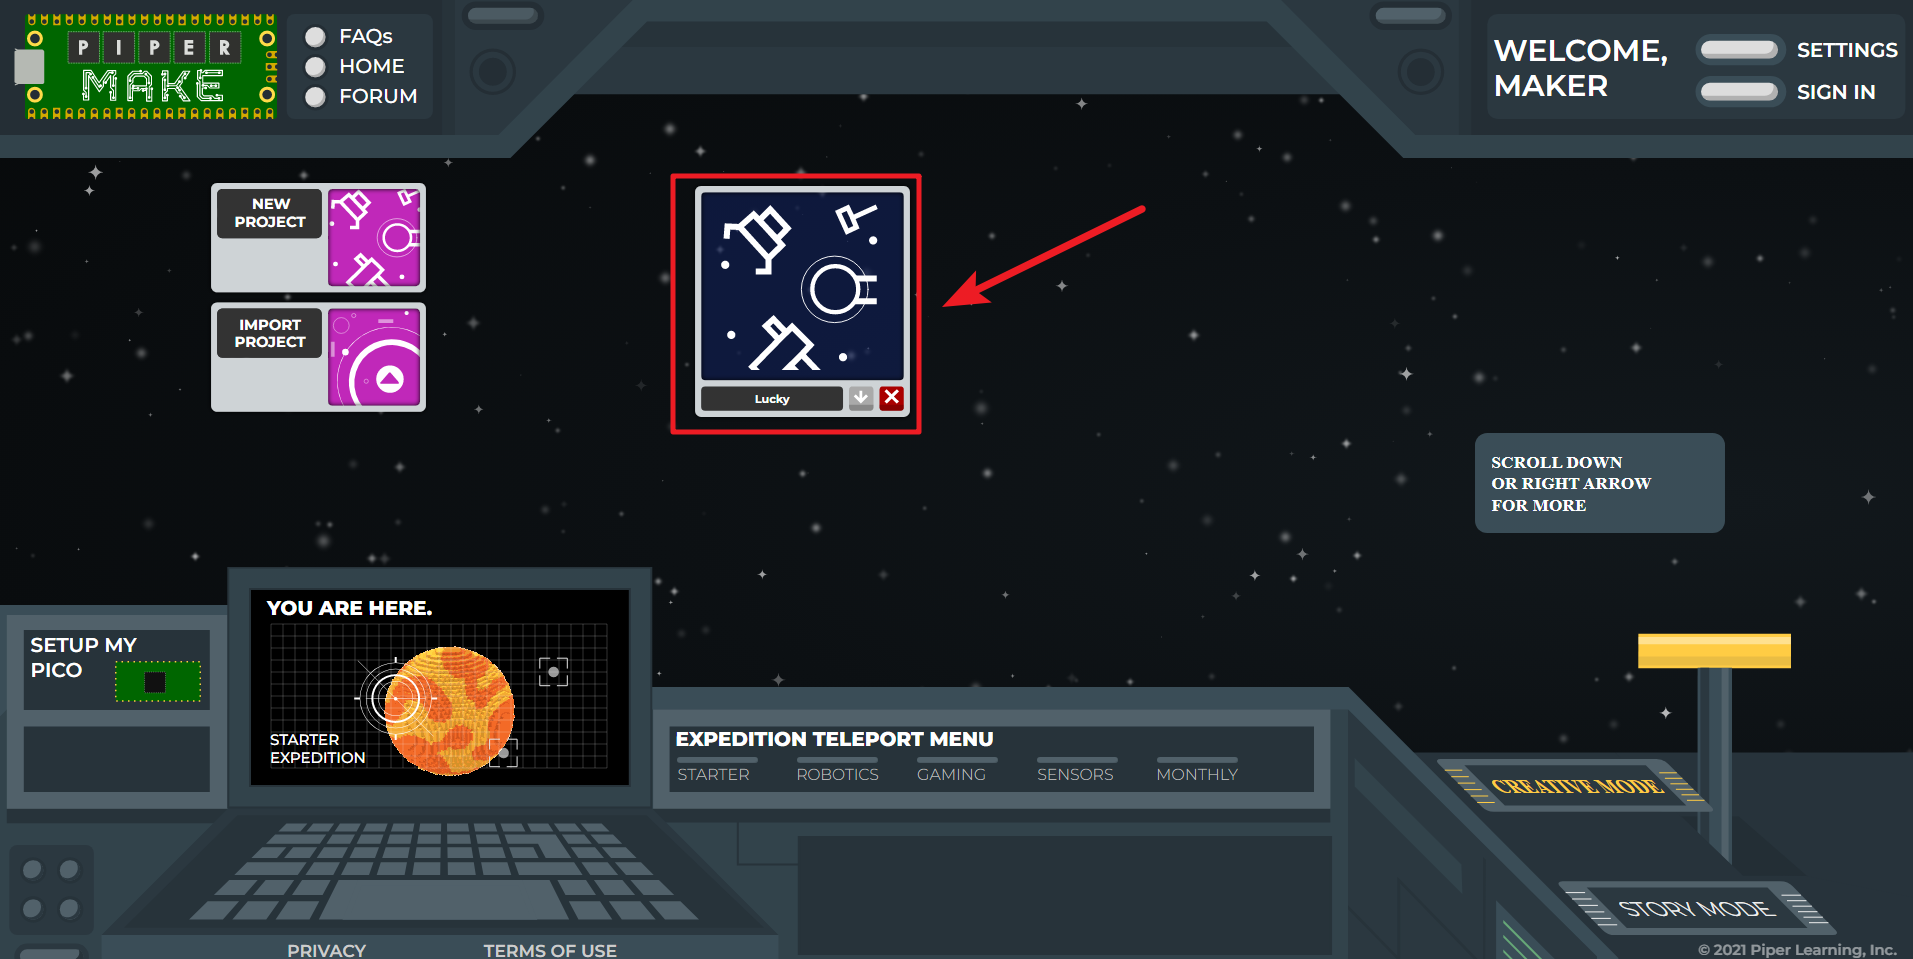
Then open the new project just created.
Now go to the Piper Make programming page.
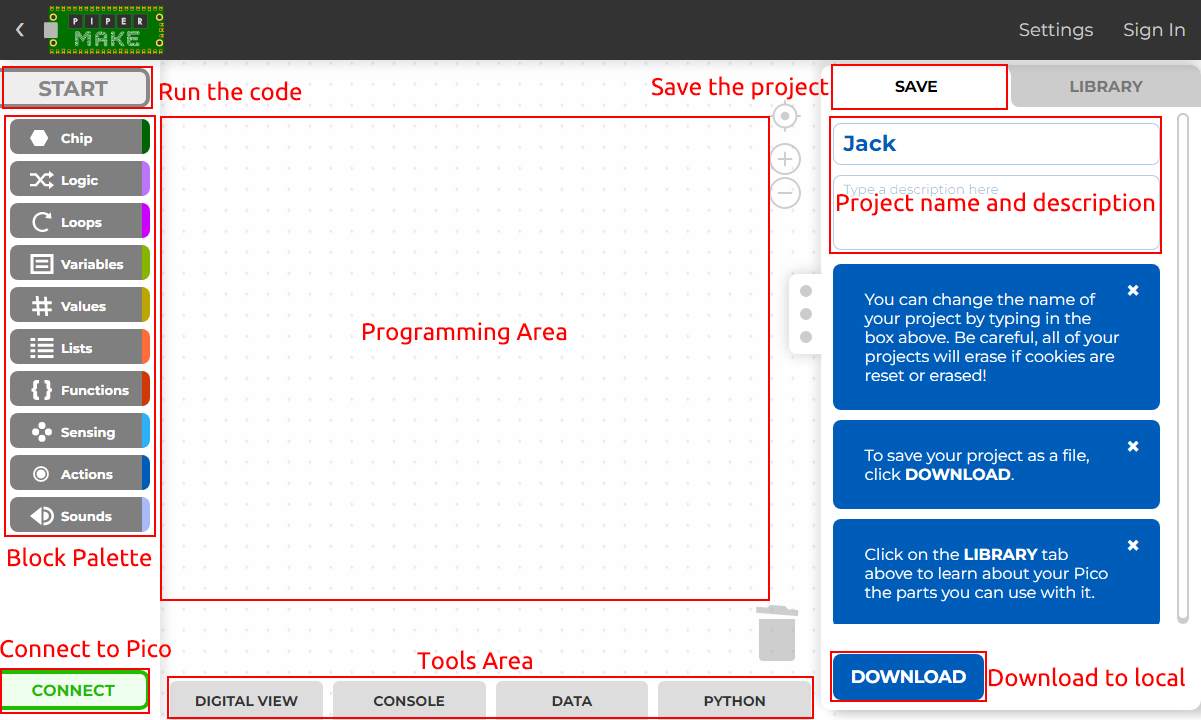
START: Used to run the code, if it’s gray, it’s not connected to Pico W at this time.
Block palette: contains different types of blocks.
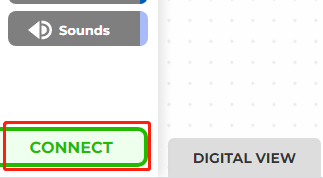
CONNECT: Used to connect to Pico W, it is green when not connected to Pico W, when connected it will become DISCONNECT(red).
Programming Area: Drag blocks here to finish programming by stacking them.
Tools Area: You can click DIGITAL VIEW to see the pin distribution of Pico W; you can view the print information in CONSOLE; you can read data from DATA, and you can click Python to view the Python source code.
Project name and description: You can change the project name and description.
DOWNLOAD: You can click the DOWNLOAD button to save it locally, usually in | format. Next time you can import it via the Import Project button on the home page.
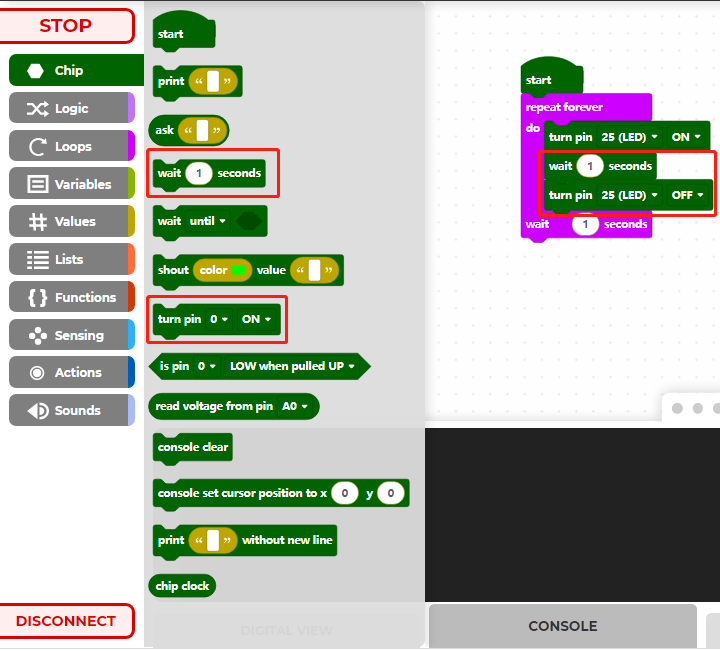
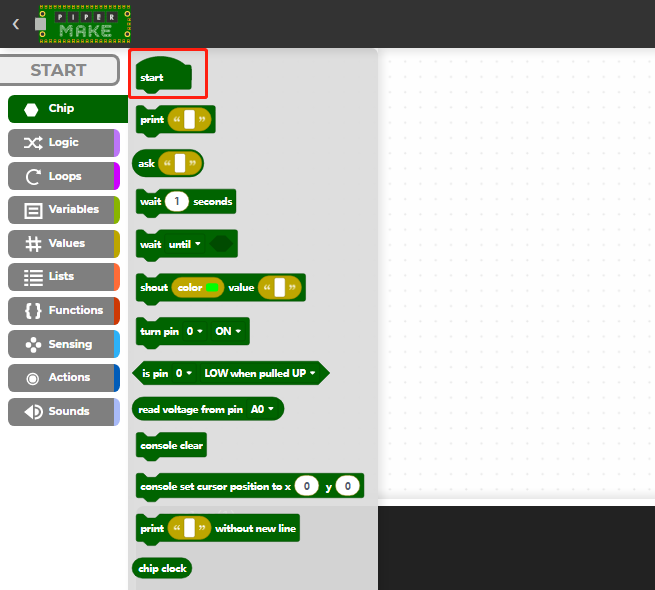
Click on the Chip palette and drag the [start] block to the Programming Area.
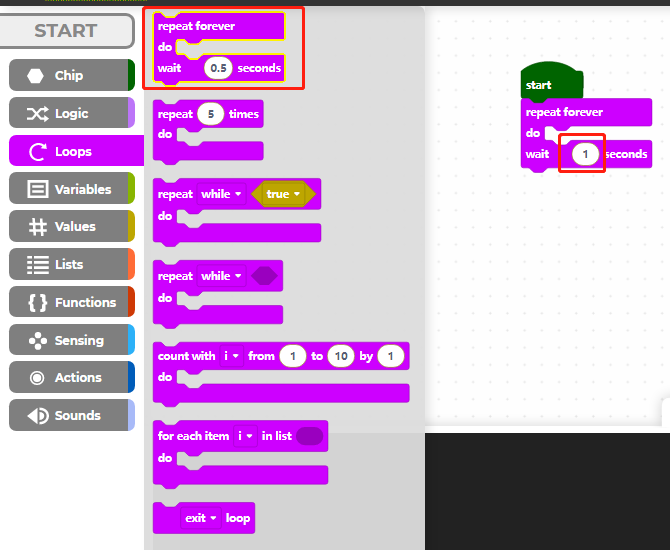
Then drag the [loop] block in loops palette to the bottom of the [start] block, and set the loop interval to 1 second.
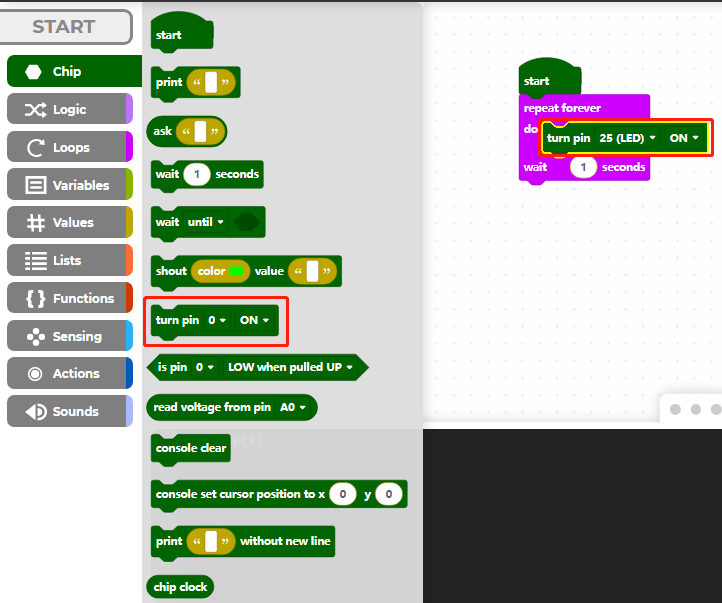
The Raspberry Pi Pico’s onboard LED is at pin25, so we use the [turn pin () ON/OFF] block on the Chip palette to control it.
2. Connect to Pico W
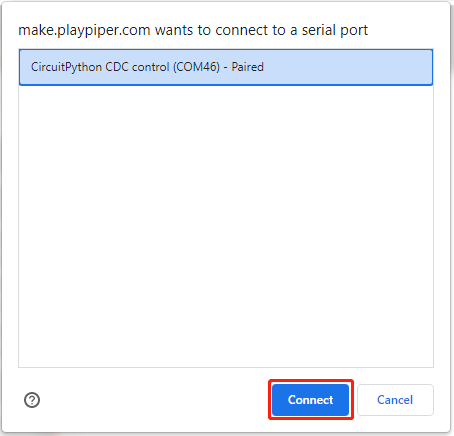
Now click on the CONNECT button to connect to Pico W, after clicking on it a new popup will appear.
Select the recognized CircuitPython CDC control (COMXX) port, then click on Connect.
When the connection is successful, the green CONNECT in the bottom left corner will change to a red DISCONNECT.
3. Run the Code
Now click on the START button to run this code and you will see the LED on the Pico W lit up. If yours is gray, it means that the Pico W is not connected, please reconnect it.
Then turn off pin25 every second in the cycle, and click START on the upper left again, so that you can see the onboard LED lights flashing.
