Note
Hello, welcome to the SunFounder Raspberry Pi & Arduino & ESP32 Enthusiasts Community on Facebook! Dive deeper into Raspberry Pi, Arduino, and ESP32 with fellow enthusiasts.
Why Join?
Expert Support: Solve post-sale issues and technical challenges with help from our community and team.
Learn & Share: Exchange tips and tutorials to enhance your skills.
Exclusive Previews: Get early access to new product announcements and sneak peeks.
Special Discounts: Enjoy exclusive discounts on our newest products.
Festive Promotions and Giveaways: Take part in giveaways and holiday promotions.
👉 Ready to explore and create with us? Click [here] and join today!
Install EzBlock OS
Download the Raspberry Pi OS with EzBlock Pre-installed image file here:
Unzip the package downloaded and you will see the
.imgfile inside.Note
Do not extract the .img file.
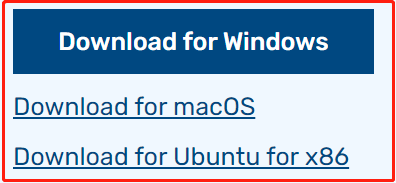
Downlaod the tool - Raspberry Pi Imager from https://www.raspberrypi.org/software/. Click on the link for the Raspberry Pi Imager that matches your operating system, when the download finishes, click it to launch the installer.
When you launch the installer, your operating system may try to block you from running it. For example, on Windows I receive the following message. If this pops up, click on More info and then Run anyway, then follow the instructions to install the Raspberry Pi Imager.

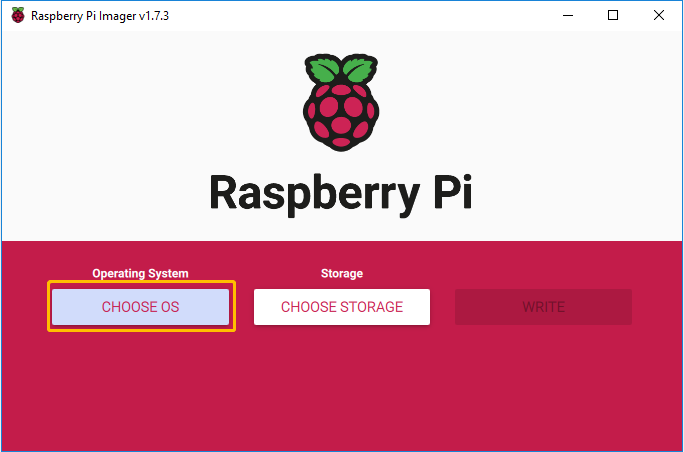
Insert your SD card into the computer or laptop SD card slot. Then open Raspberry Pi Imager and click CHOOSE OS.
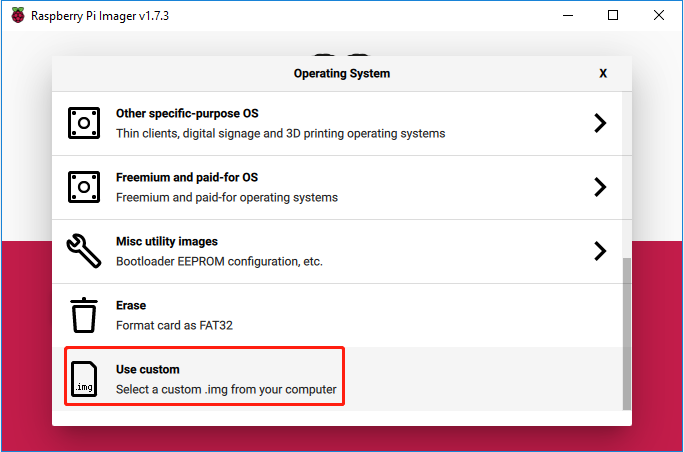
Go to the bottom of the page and select Use Custom. In the pop-up window, select RaspiOS-xxx_EzBlockOS-xxx.img that you downloaded in Step 1, and click Open.
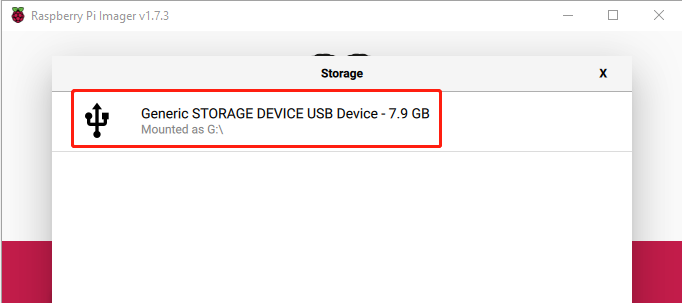
Select the SD card you are using.
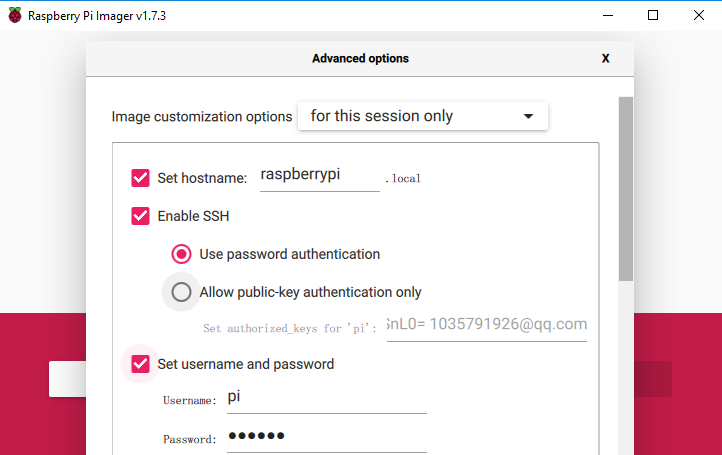
Press Ctrl+Shift+X or click settings icon to open the Advanced options page to set hostname, enable SSH and set username and password. You can choose to always use this image customization options.
Note
The hostname is set so that when you How to use EzBlock in a Browser, you can use the hostname to connect to your product. You can also leave it unset.
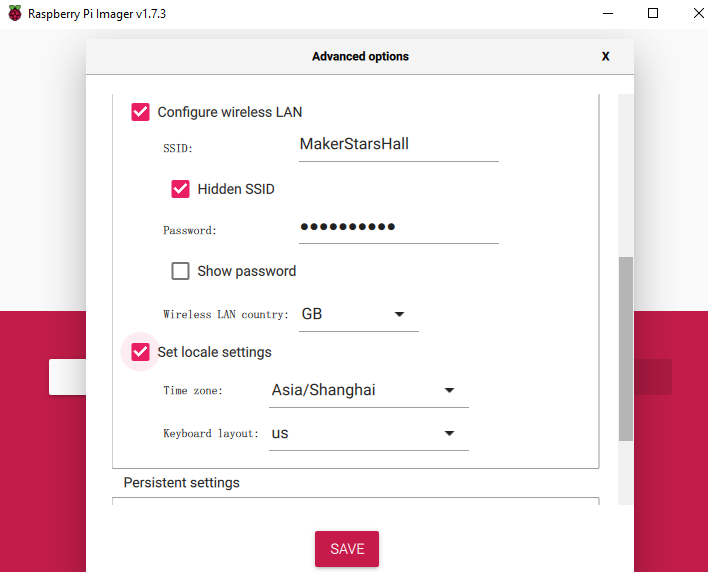
Then scroll down to complete the wifi configuration and click SAVE.
Note
wifi country should be set the two-letter ISO/IEC alpha2 code for the country in which you are using your Raspberry Pi.
This step is optional, if you do not configure WIFI in this step, you can also use the app to configure it directly later.
Click the WRITE button.
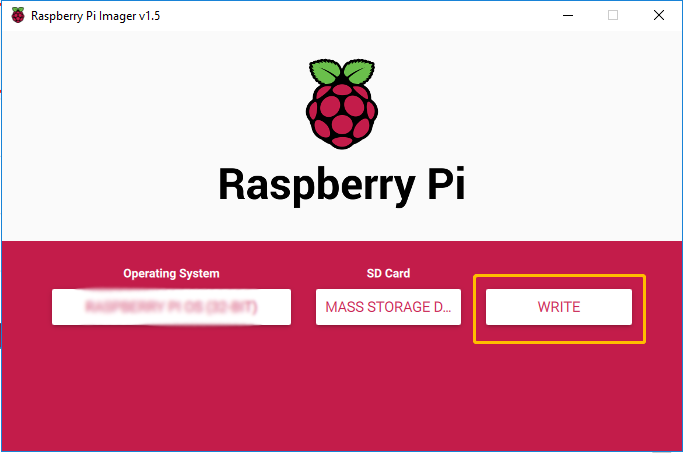
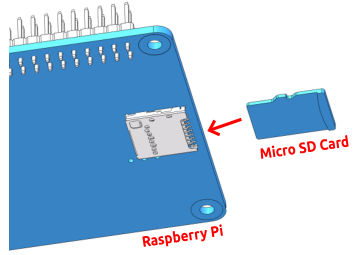
After waiting for a while, you will be prompted to tell you that the image has been written to your Micro SD card and you can remove it. Then you can insert it into the Raspberry Pi.