设置 NextCloudPi
NextCloud 是一个开源的私有云存储解决方案,类似于 Google Drive 或 Dropbox。它可以用于存储文件、共享文档、同步照片,以及管理日历和联系人。 与公共云服务不同,NextCloud 让用户完全掌控自己的数据,因此非常适合注重隐私和数据安全的个人或小型团队使用。
由 Raspberry Pi 驱动的 Pironman5 系列具有低功耗、体积小巧和运行稳定等特点,非常适合作为家庭私有云服务器。结合 NextCloud 使用,它可以成为一个高性价比的 NAS 系统。
准备工作
MicroSD 卡(16GB 及以上,建议 Class 10)
Raspberry Pi 官方系统 Raspberry Pi OS(或 Raspberry Pi OS Lite)
稳定的网络连接(建议使用有线以太网)
外接硬盘或 USB 存储设备(用于扩展存储空间)
安装 Portainer
打开终端并输入以下命令:
安装 Docker
curl -sSL https://raw.githubusercontent.com/sunfounder/sunfounder-installer-scripts/main/install_docker.sh | sudo bash
安装 Portainer
curl -sSL https://raw.githubusercontent.com/sunfounder/sunfounder-installer-scripts/main/install_portainer.sh | sudo bash
重启 Raspberry Pi。(随后 立即 完成以下步骤。)
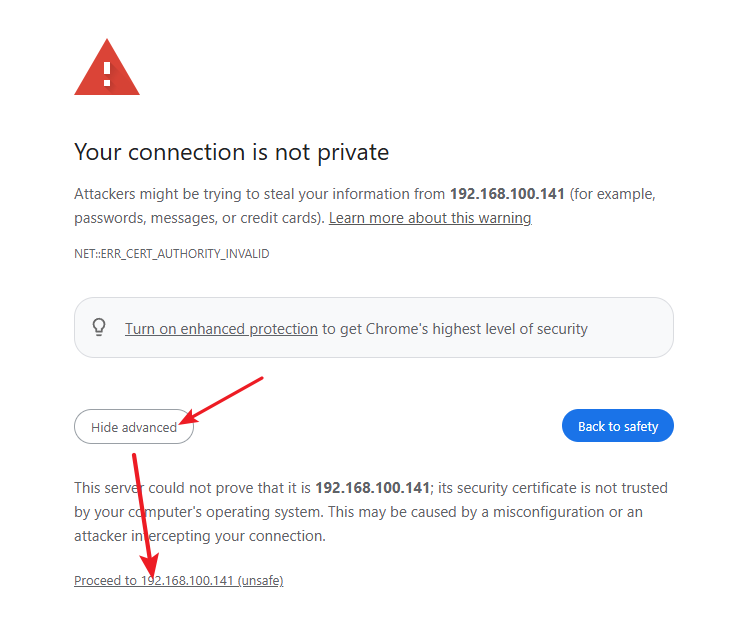
Raspberry Pi 启动后,打开浏览器并访问 Portainer 地址:
https://<your-rpi-ip-address>:9443。默认情况下,浏览器会提示该网站使用的是未由受信任证书颁发机构(CA)签发的自签名 SSL/TLS 证书,大多数浏览器都会对此显示警告。在这种情况下,可以安全地忽略警告,接受风险并继续访问。
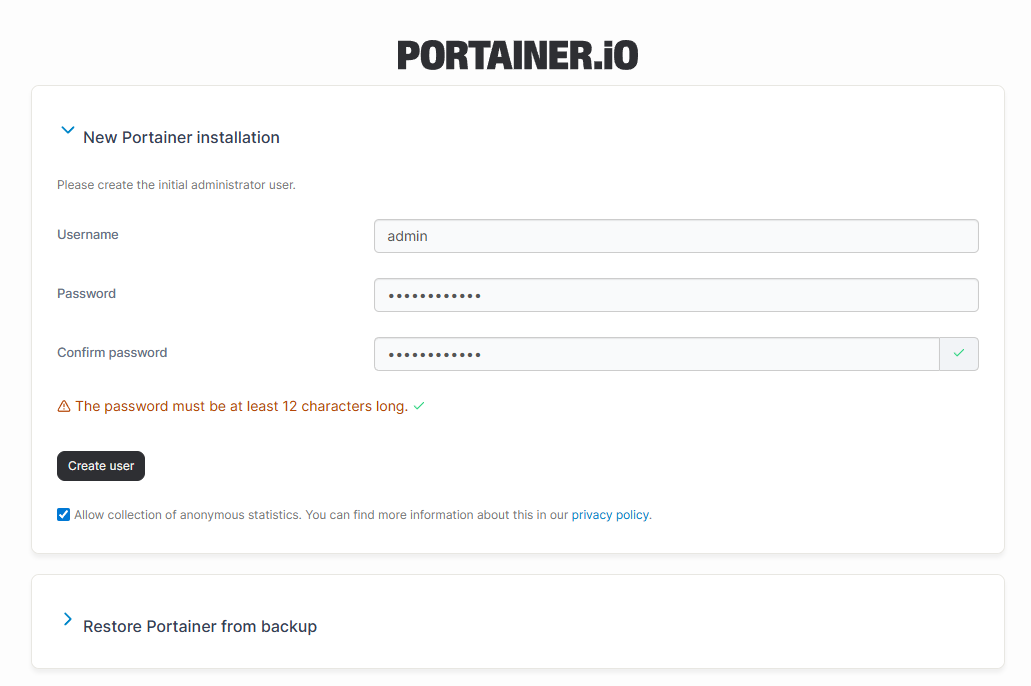
首次登录时,需要设置管理员密码。
注册管理员账户后,将进入 Portainer 界面。在左侧导航栏中点击 Setting -> General,找到 App Templates,并在输入框中填入以下 URL:
https://raw.githubusercontent.com/novaspirit/pi-hosted/refs/heads/master/template/portainer-v3-arm64.json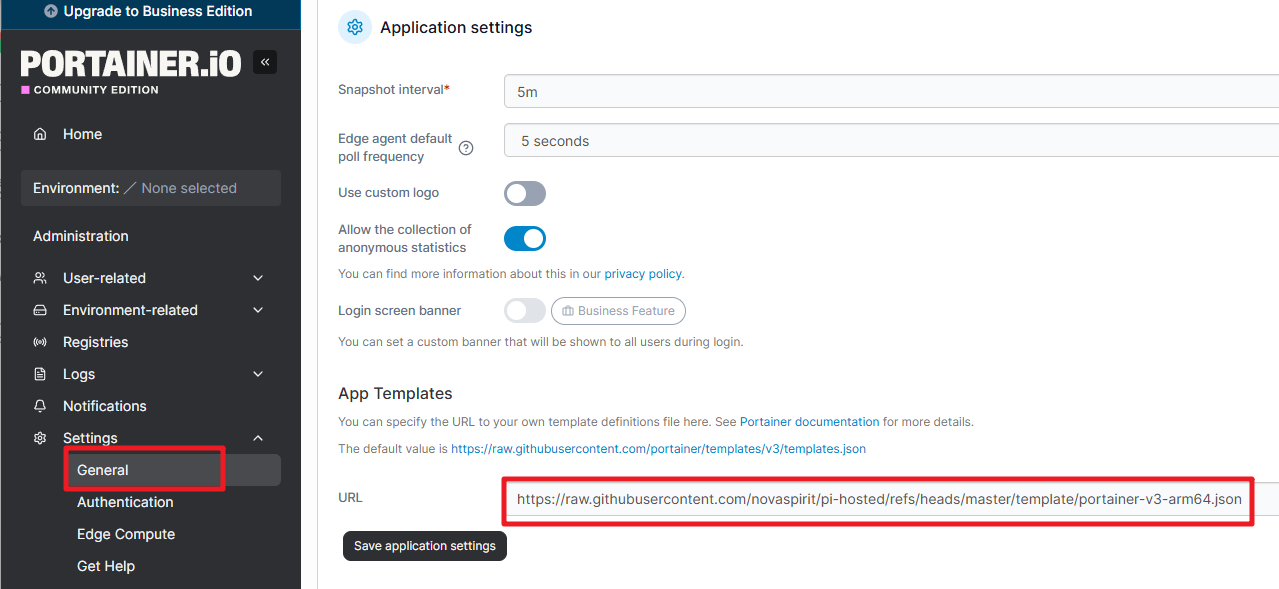
点击 Save Application Settings。配置过程大约需要 10 秒完成。
安装 NextCloud
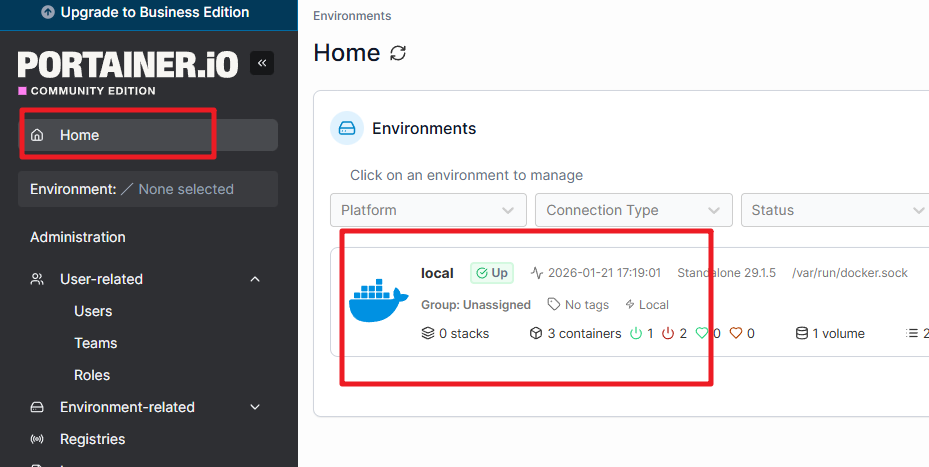
在左侧导航栏中点击 Home -> local
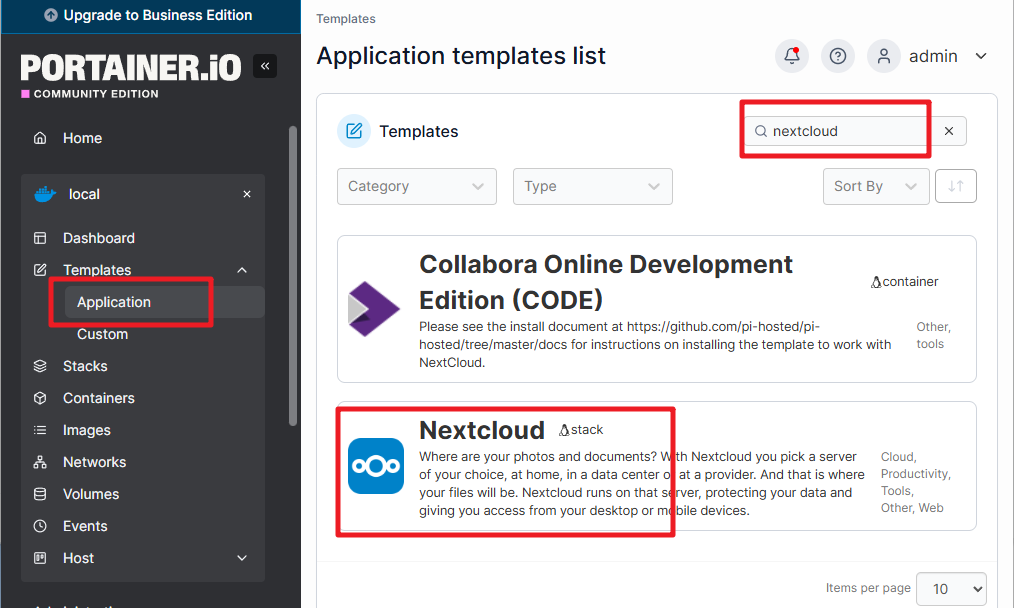
进入 Templates -> Application。在右上角搜索框中输入 nextcloud,然后点击它。
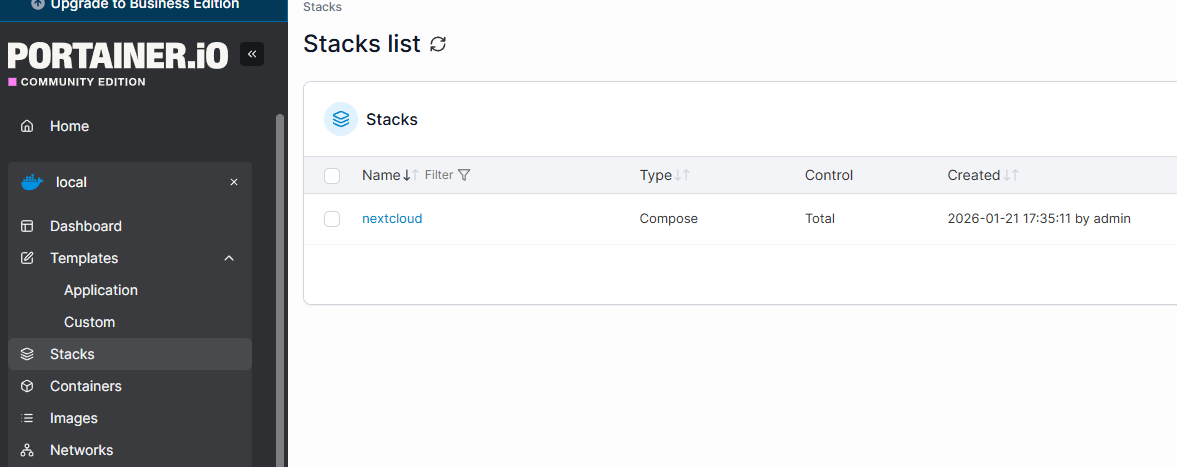
点击 Deploy the stack,并等待部署完成。通常需要大约两分钟。
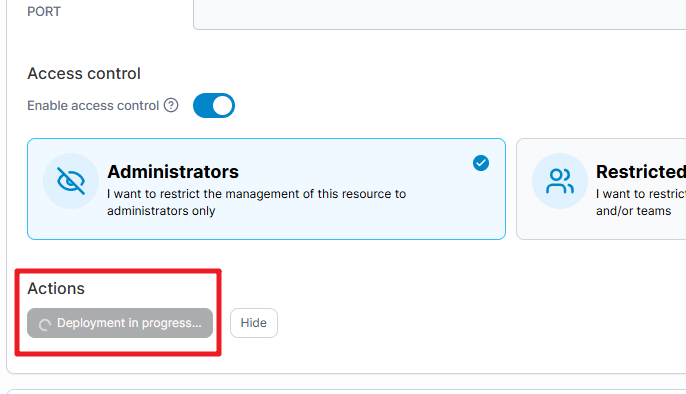
完成后,NextCloud 即安装成功。
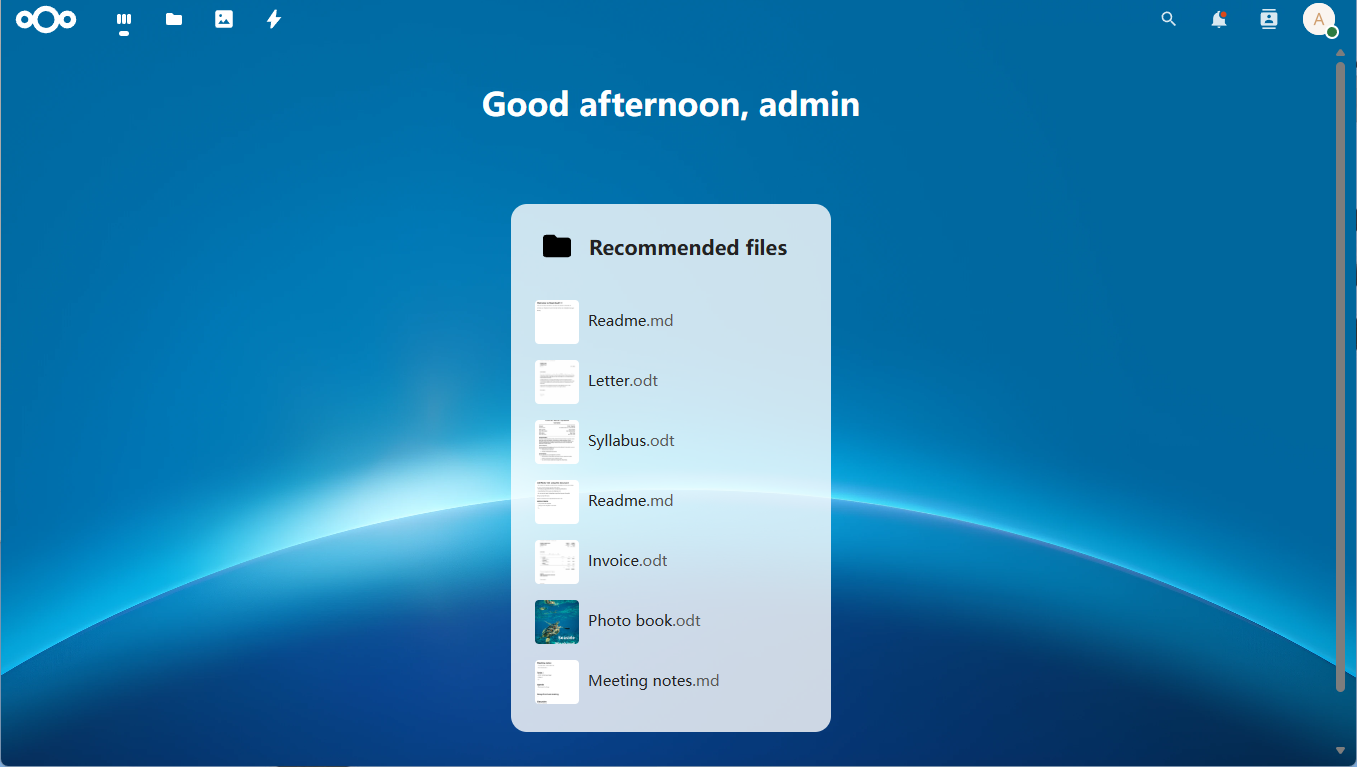
使用 NextCloud
打开浏览器并访问 NextCloud 地址:
https://<your-rpi-ip-address>:32768。
备注
同样地,浏览器会提示该网站使用了未由受信任证书颁发机构(CA)签发的自签名 SSL/TLS 证书,大多数浏览器都会显示警告。 在这种情况下,可以安全地忽略警告,接受风险并继续访问。
首次登录时,需要设置管理员密码。
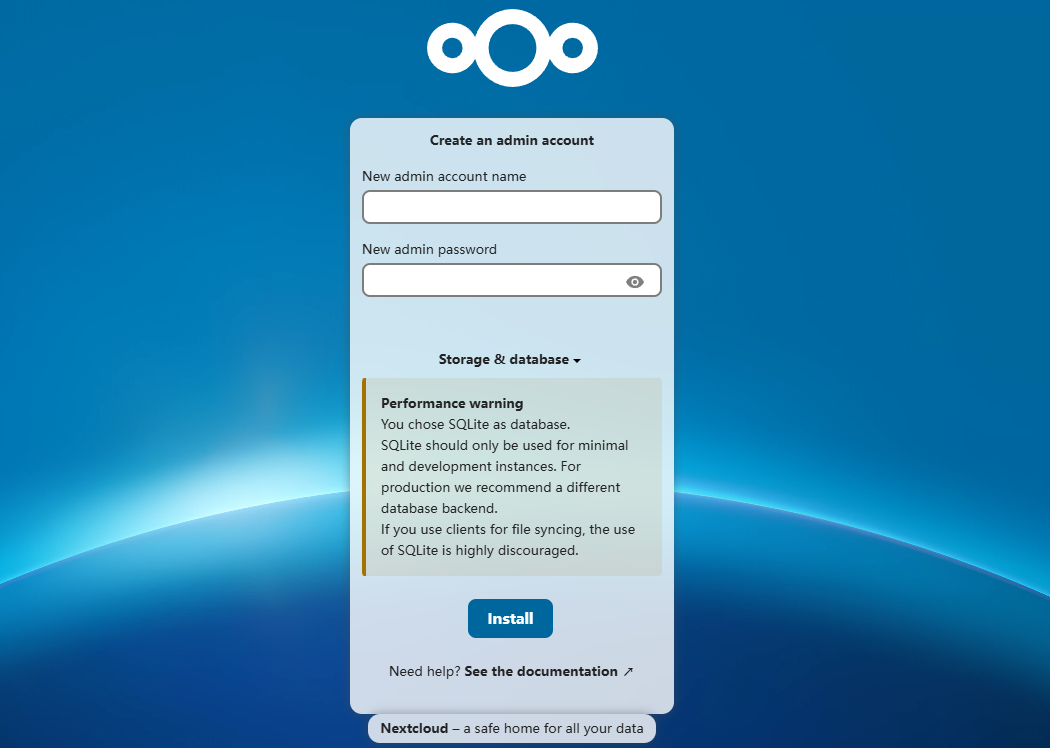
注册完成后,即可开始使用 NextCloud。