17. 使用 Ollama 进行图文对话
在本课中,你将学习如何使用 Ollama,一个可以在本地运行大语言模型和视觉模型的工具。 我们将向你展示如何安装 Ollama、下载模型,以及如何让 PiCar-X 连接到它。
通过这种方式,PiCar-X 可以拍摄摄像头快照,模型将会 “看图说话” —— 你可以就图像提问,模型会用自然语言作答。
开始之前
确保你已经准备好以下内容:
安装所有模块(重要) — 安装
robot-hat、vilib、picar-x模块,然后运行脚本i2samp.sh。
1. 安装 Ollama(LLM)并下载模型
你可以选择在以下位置安装 Ollama:
直接安装在树莓派上(本地运行)
或在同一局域网内的另一台电脑(Mac / Windows / Linux)上运行
推荐模型与硬件配置
你可以从 Ollama Hub 上选择任意模型。 模型有不同大小(3B、7B、13B、70B……)。 小模型运行更快,占用内存更少;大模型质量更好,但对硬件要求更高。
请参考下表选择适合你设备的模型大小。
模型大小 |
最低内存要求 |
推荐硬件 |
|---|---|---|
~3B 参数 |
8GB(16GB 更佳) |
Raspberry Pi 5(16GB)或中端 PC / Mac |
~7B 参数 |
16GB+ |
Pi 5(16GB,仅可勉强运行)或中端 PC / Mac |
~13B 参数 |
32GB+ |
高内存台式机 / Mac |
30B+ 参数 |
64GB+ |
工作站 / 服务器 / GPU 推荐 |
70B+ 参数 |
128GB+ |
多 GPU 的高端服务器 |
在树莓派上安装
如果你希望直接在树莓派上运行 Ollama:
使用 64 位 Raspberry Pi OS
强烈推荐使用 Raspberry Pi 5(16GB RAM)
运行以下命令:
# 安装 Ollama
curl -fsSL https://ollama.com/install.sh | sh

# 拉取轻量级模型(用于测试)
ollama pull llama3.2:3b

# 快速运行测试(输入 hi 回车)
ollama run llama3.2:3b

# 启动 API 服务(默认端口 11434)
# 提示:设置 OLLAMA_HOST=0.0.0.0 以允许局域网访问
OLLAMA_HOST=0.0.0.0 ollama serve
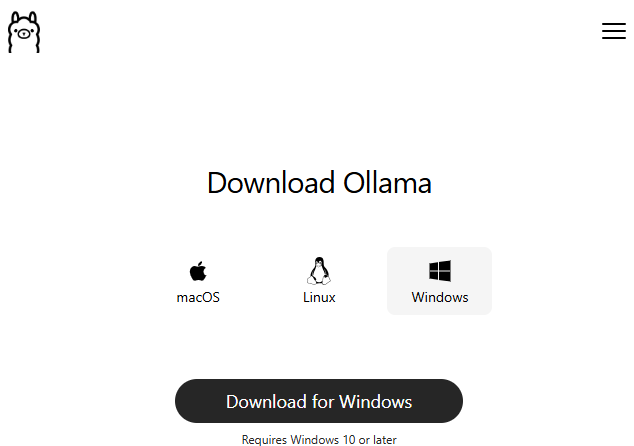
在 Mac / Windows / Linux(桌面端)安装
从 Ollama Download Page 下载并安装 Ollama
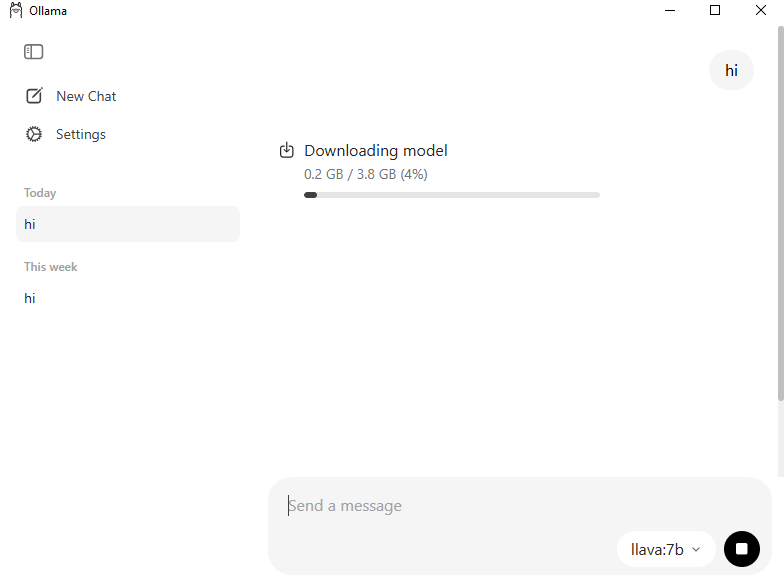
打开 Ollama 应用,进入 Model Selector,使用搜索栏查找模型。例如,输入
llama3.2:3b(轻量小模型,适合入门)。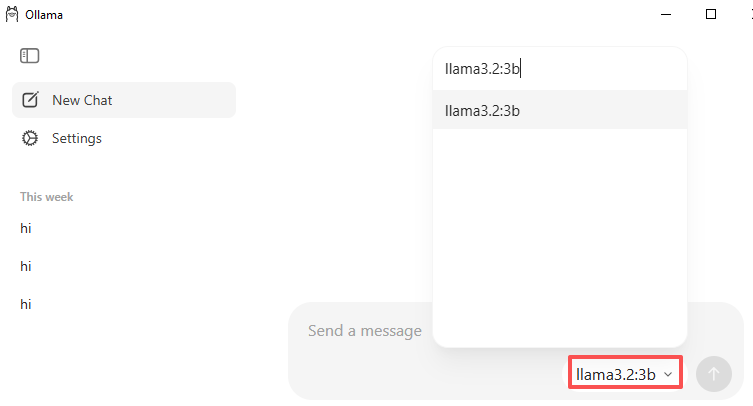
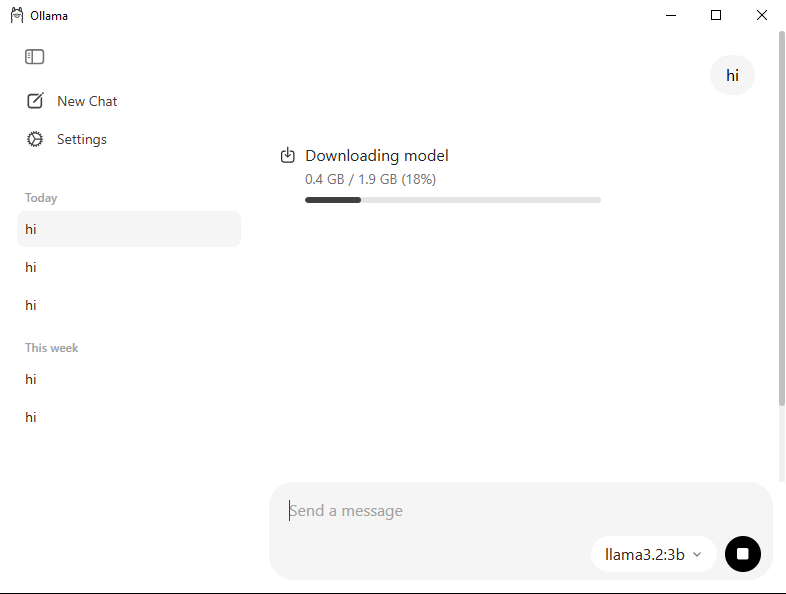
下载完成后,在聊天窗口输入“Hi”,首次使用时 Ollama 会自动加载模型。
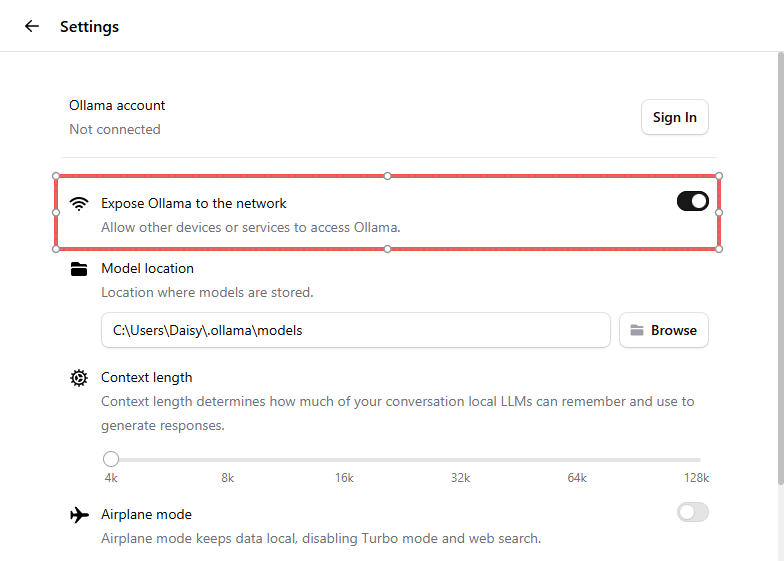
进入 Settings → 启用 Expose Ollama to the network。 这样树莓派就可以通过局域网连接到它。
警告
如果你遇到如下错误:
Error: model requires more system memory ...
表示模型对你的设备来说太大。 请使用 更小的模型 或更换为内存更大的电脑。
2. 测试 Ollama
安装并配置好 Ollama 后,你可以快速测试它是否正常工作。
步骤
创建一个新文件:
cd ~/picar-x/example
nano test_llm_ollama.py
粘贴下面的代码并保存 (
Ctrl+X→Y→Enter):from picarx.llm import Ollama INSTRUCTIONS = "You are a helpful assistant." WELCOME = "Hello, I am a helpful assistant. How can I help you?" # If Ollama runs on the same Raspberry Pi, use "localhost". # If it runs on another computer in your LAN, replace with that computer's IP address. llm = Ollama( ip="localhost", model="llama3.2:3b" # you can replace with any model ) # Basic configuration llm.set_max_messages(20) llm.set_instructions(INSTRUCTIONS) llm.set_welcome(WELCOME) print(WELCOME) while True: text = input(">>> ") if text.strip().lower() in {"exit", "quit"}: break # Response with streaming output response = llm.prompt(text, stream=True) for token in response: if token: print(token, end="", flush=True) print("")
运行程序:
python3 test_llm_ollama.py现在,你可以直接在终端与 PiCar-X 对话。
你可以选择 Ollama Hub 上的 任意模型,但如果你的内存只有 8–16GB,推荐使用小模型(例如
moondream:1.8b、phi3:mini)。确保代码中指定的模型与你在 Ollama 中已拉取的模型一致。
输入
exit或quit可停止程序。如果无法连接,请确保 Ollama 已运行;如果使用远程主机,还需确保两台设备在同一局域网中。
3. 使用 Ollama 进行图像对话
在此演示中,每当你输入一个问题时,Pi 摄像头都会拍摄一张快照。 程序会将 你输入的文本 + 新拍的照片 发送给本地视觉模型(通过 Ollama), 然后以英文流式返回模型的回复。 这是一个最小化的“图文对话(see & tell)”示例,你之后可以在此基础上扩展颜色/人脸/二维码检测等功能。
开始之前
打开 Ollama 应用(或启动服务),并确保已拉取 支持视觉的模型。
如果你的内存 ≥16GB,可尝试
llava:7b。如果你的内存只有 8GB,推荐使用更小的模型,例如
moondream:1.8b或granite3.2-vision:2b。
运行演示
进入示例目录并运行脚本:
cd ~/picar-x/example
python3 17.text_vision_talk.py
运行后的流程如下:
程序会打印一行欢迎语,并等待你的输入(
>>>)。每当你输入内容 (如 “hello”、“Is there yellow?”、“Any faces?”、“What is on the desk?”),它将会:
从 Pi 摄像头 拍摄一张照片 (保存到
/tmp/llm-img.jpg),将 你的输入文本 + 拍摄的照片 发送给 Ollama 的视觉模型,
以流式方式 在终端输出模型的回答。
输入
exit或quit可结束程序。
代码
from picarx.llm import Ollama
from picamera2 import Picamera2
import time

"""
You need to set up Ollama first.

Note: At least 8GB RAM is recommended for small vision models (e.g., moondream:1.8b).
      For llava:7b, more memory is preferred (≥16GB).
"""

INSTRUCTIONS = "You are a helpful assistant."
WELCOME = "Hello, I am a helpful assistant. How can I help you?"

# If Ollama runs on the same Pi, use "localhost".
# If it runs on another computer in your LAN, replace with that computer's IP.
llm = Ollama(
    ip="localhost",          # e.g., "192.168.100.145" if remote
    model="llava:7b"         # change to "moondream:1.8b" or "granite3.2-vision:2b" for 8GB RAM
)

# Basic configuration
llm.set_max_messages(20)
llm.set_instructions(INSTRUCTIONS)
llm.set_welcome(WELCOME)

# Init camera
camera = Picamera2()
config = camera.create_still_configuration(
    main={"size": (1280, 720)},
)
camera.configure(config)
camera.start()
time.sleep(2)

print(WELCOME)

while True:
    input_text = input(">>> ")
    if input_text.strip().lower() in {"exit", "quit"}:
        break

    # Capture image
    img_path = "/tmp/llm-img.jpg"
    camera.capture_file(img_path)

    # Response with stream (text + image)
    response = llm.prompt(input_text, stream=True, image_path=img_path)
    for next_word in response:
        if next_word:
            print(next_word, end="", flush=True)
    print("")
Troubleshooting
I get an error like: `model requires more system memory …`.
这意味着模型对你的设备来说过大。
使用更小的模型,例如
moondream:1.8b或granite3.2-vision:2b。或者更换到内存更大的机器,并在 Ollama 中开启对网络的暴露。
The code cannot connect to Ollama (connection refused).
请检查以下事项:
确保 Ollama 正在运行(
ollama serve或桌面应用已打开)。如果使用远程计算机,在 Ollama 设置中启用 Expose to network。
仔细核对代码中的
ip="..."是否与正确的局域网 IP 一致。确认两台设备处于同一局域网内。
My Pi camera does not capture anything.
验证已安装并可使用
Picamera2(可先用简单测试脚本检查)。检查摄像头排线连接是否正确,并在
raspi-config中启用摄像头。确保脚本对目标路径(
/tmp/llm-img.jpg)具有写入权限。
The output is too slow.
更小的模型响应更快,但回答可能更简单。
可以降低摄像头分辨率(例如用 640×480 代替 1280×720)以加速图像处理。
关闭树莓派上的其他程序,释放 CPU 和内存。