1.2 Setup the Raspberry Pi Pico
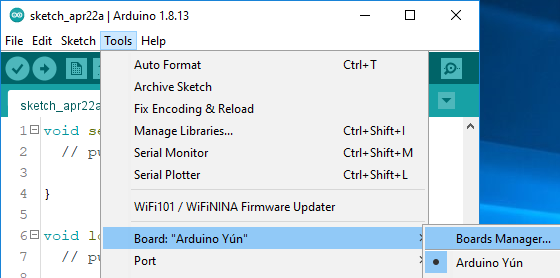
Open the Boards Manager by clicking Tools -> Board -> Boards Manager.
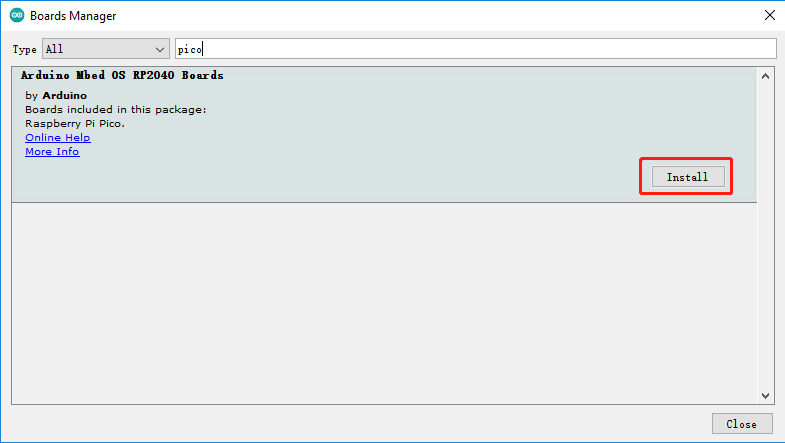
Search for Pico and click install button.
Once the installation is complete, you can select the board as Raspberry Pi Pico.

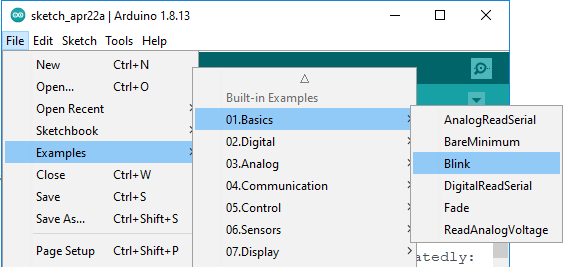
Now open a example - blink.
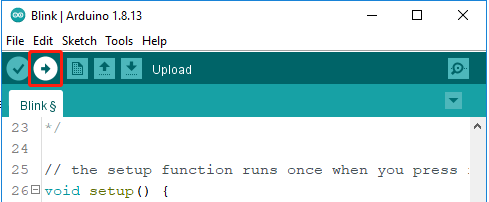
Click on the upload icon to run the code
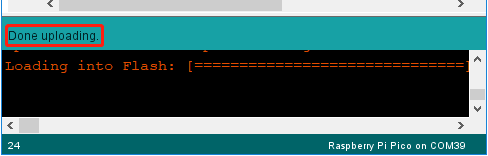
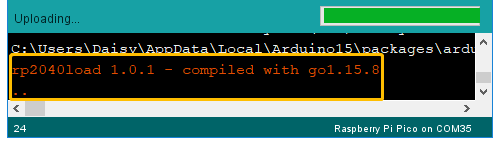
When the compiling message shown in the figure below appears, press BOOTSEL immediately and connect Pico to the computer with a Micro USB cable.

Note
This step is very important and only necessary for the first use on the Arduino IDE, otherwise your code will upload unsuccessfully.
After the upload is successful this time, Pico will be recognized by the computer as COMxx (Raspberry Pi Pico).
You only need to plug it into the computer the next time you use it.
After the Done Uploading appear, you will see the LED on the Pico blinking.