Arduino IoT Cloud
此示例演示了与 Arduino IoT Cloud 通信的代码。其目的是连接到 Arduino IoT Cloud 并与云变量交互。在这里,我们将从 DHT11 传感器读取的温度值发送到 Arduino IoT Cloud,从而可以从云端进行监控。
所需元件
在这个项目中,我们需要以下元件。
购买整套套件会更方便,以下是链接:
名称 |
套件所含项目 |
链接 |
|---|---|---|
Elite Explorer 套件 |
300+ |
您也可以从下面的链接单独购买。
元件介绍 |
购买链接 |
|---|---|
- |
|
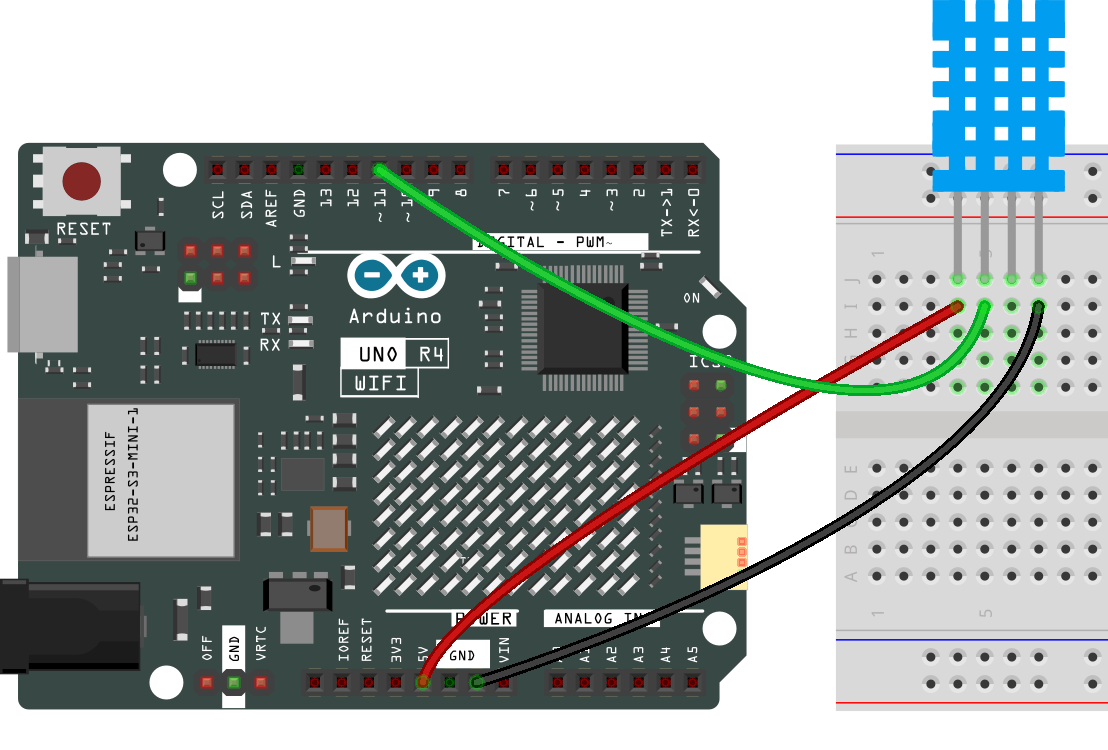
接线
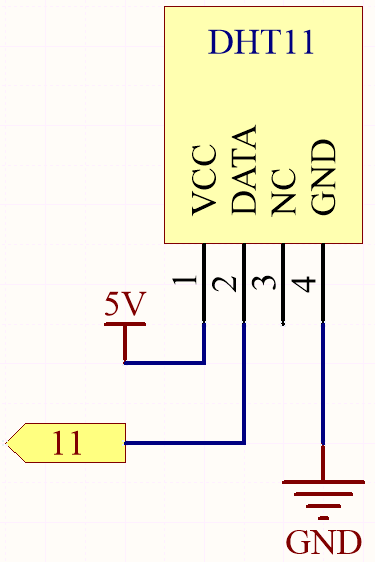
原理图
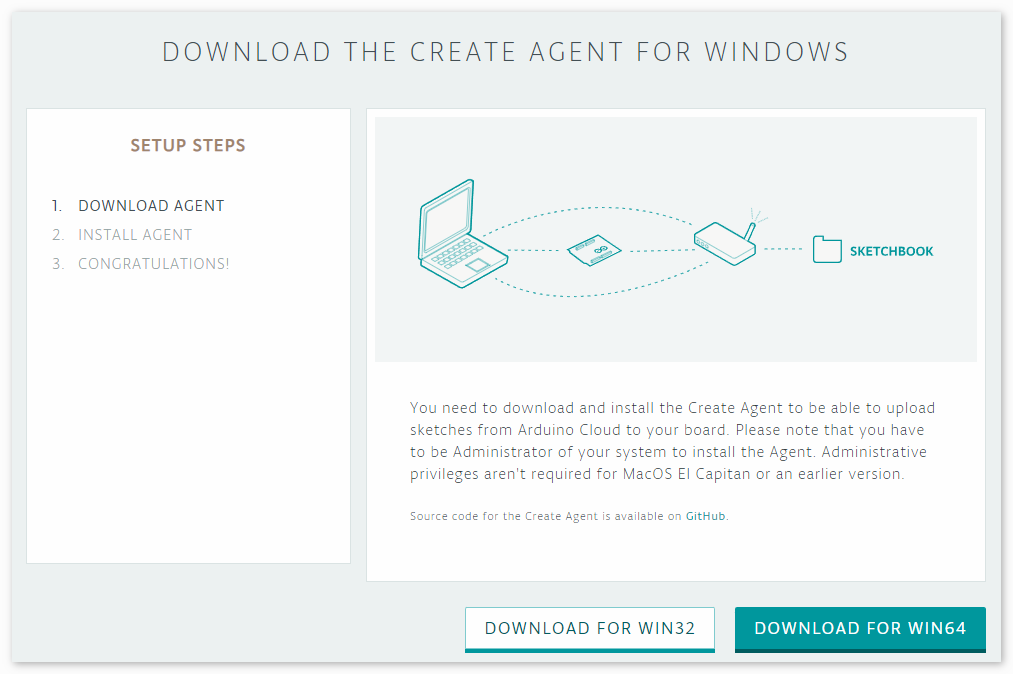
安装 Arduino Create Agent
访问 https://create.arduino.cc/getting-started/plugin/welcome。
点击 START。
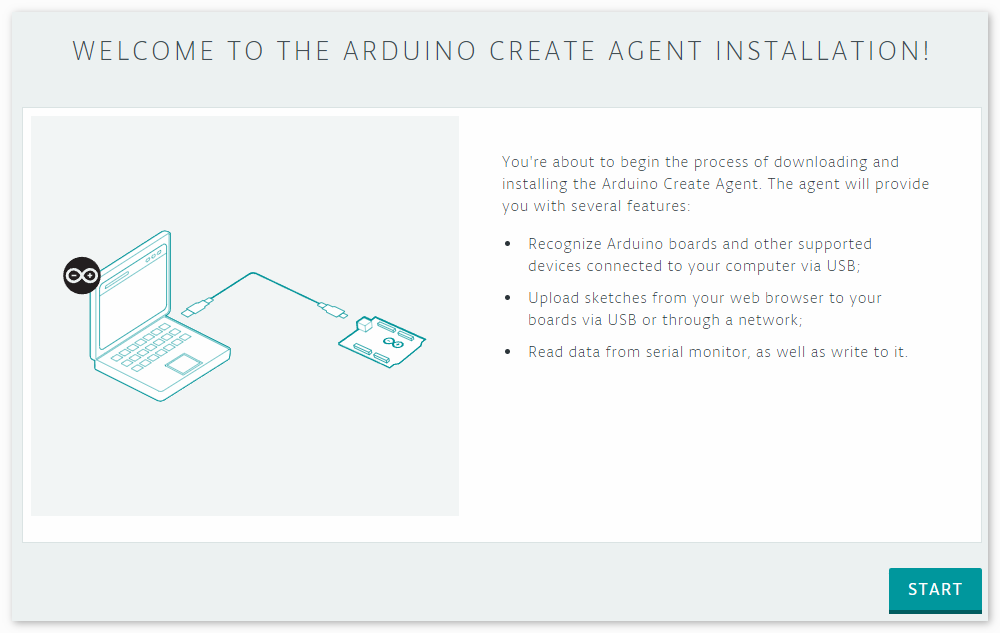
选择适合您电脑的版本,它将下载一个安装包。
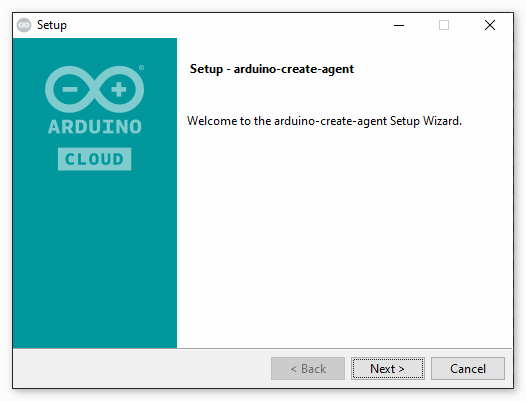
安装 agent。
安装完成后,返回浏览器,您将看到以下界面。
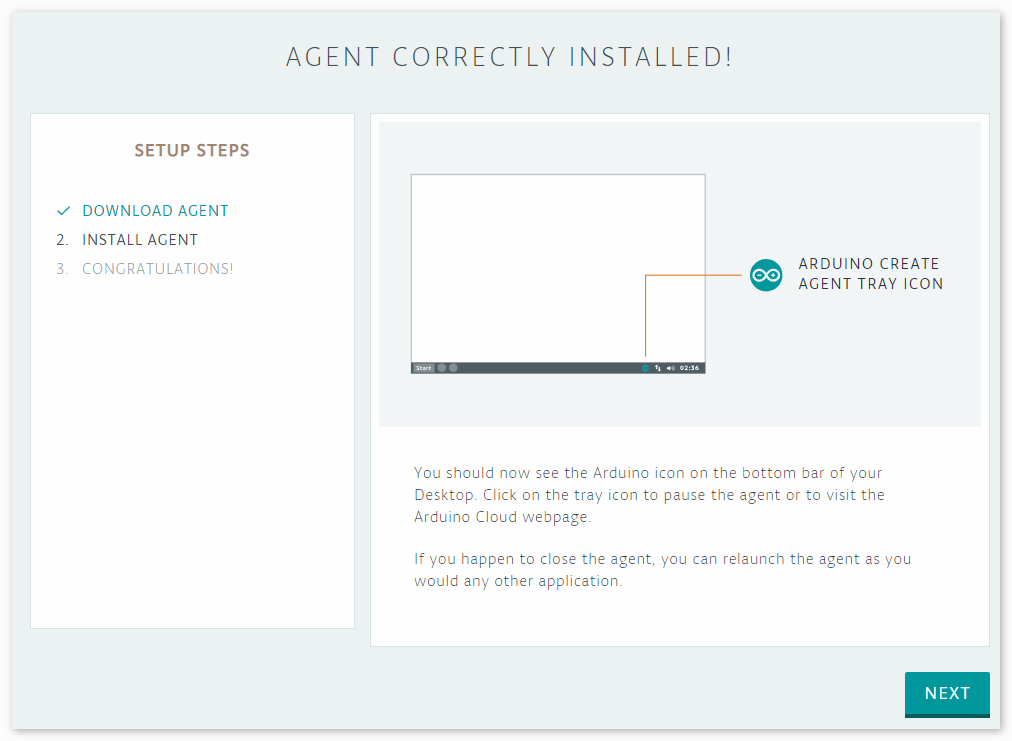
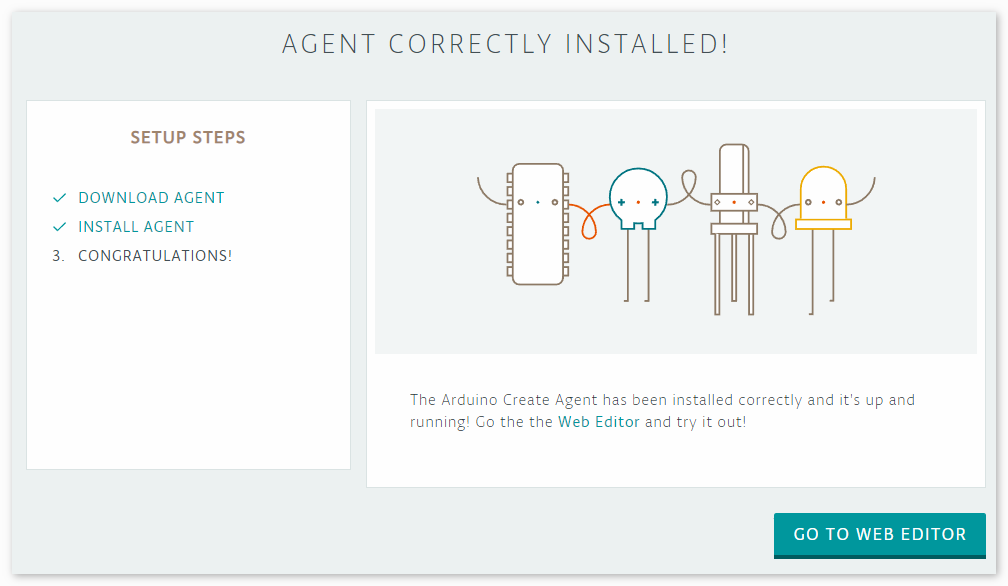
点击 NEXT,然后您可以 GO TO 网络编辑器。
使用 Arduino IoT Cloud
首先,您需要登录或注册 Arduino。
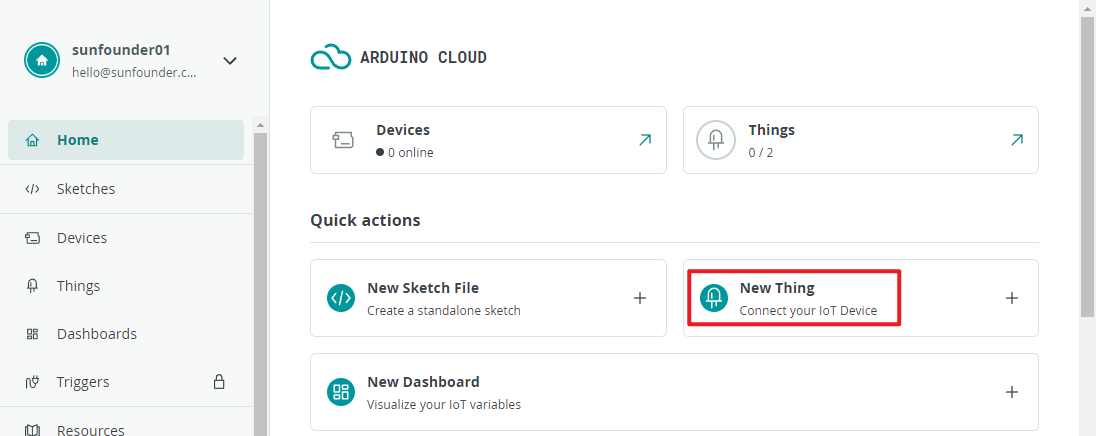
登录后,点击右上角的 IoT Cloud。

创建一个新 Thing。
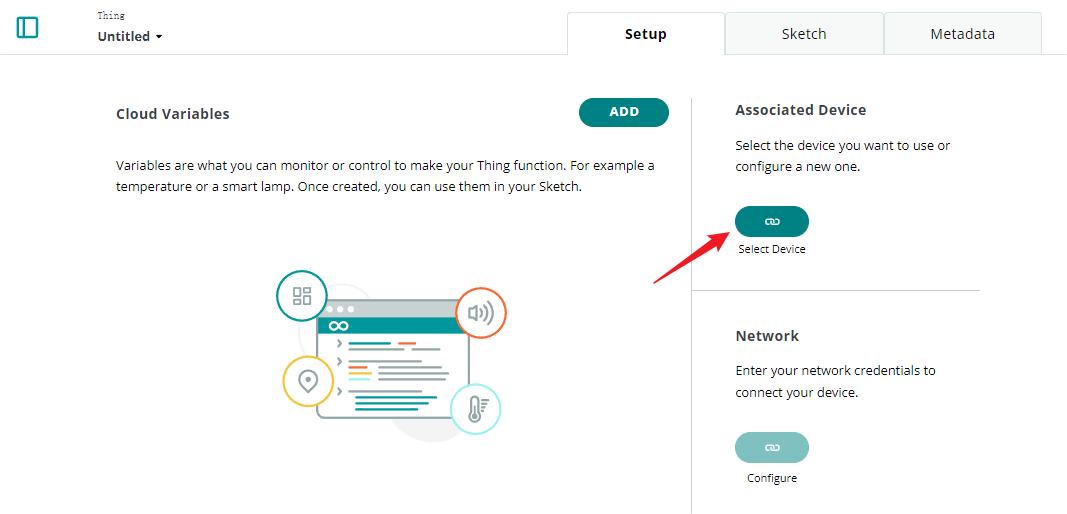
关联您的设备。
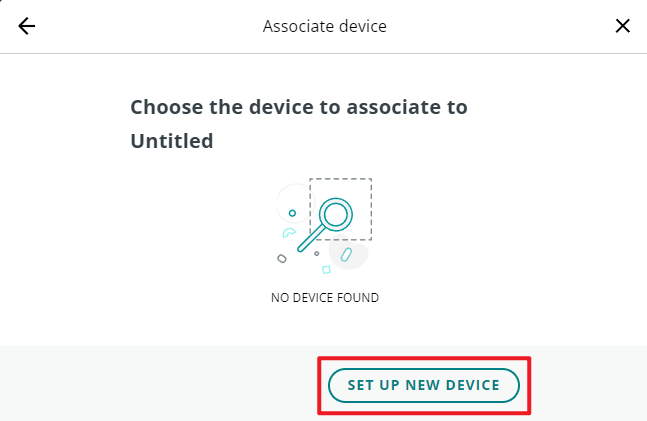
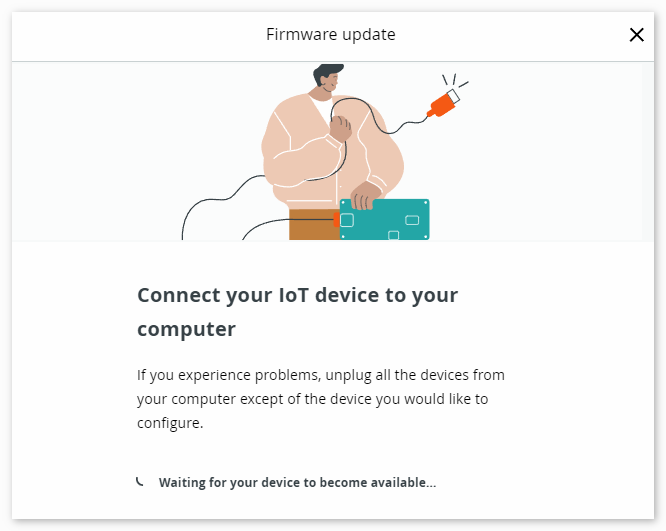
设置新设备。
选择您的 Arduino 板。
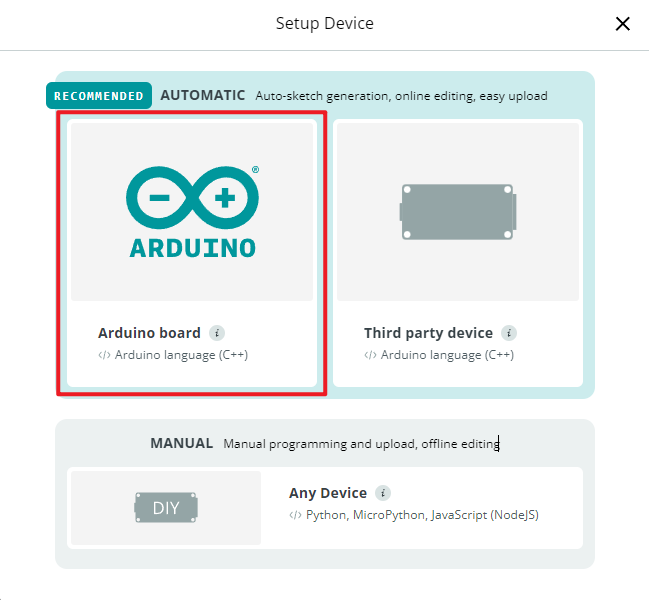
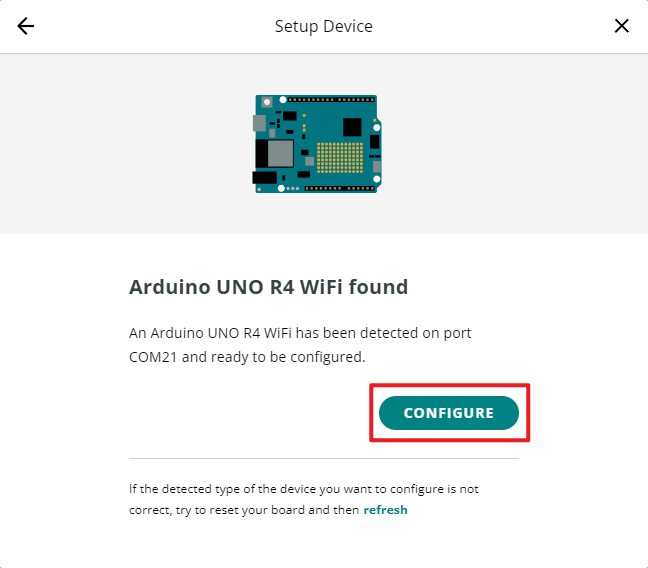
稍等片刻,您的 UNO R4 WiFi 将被检测到。继续点击 configure。
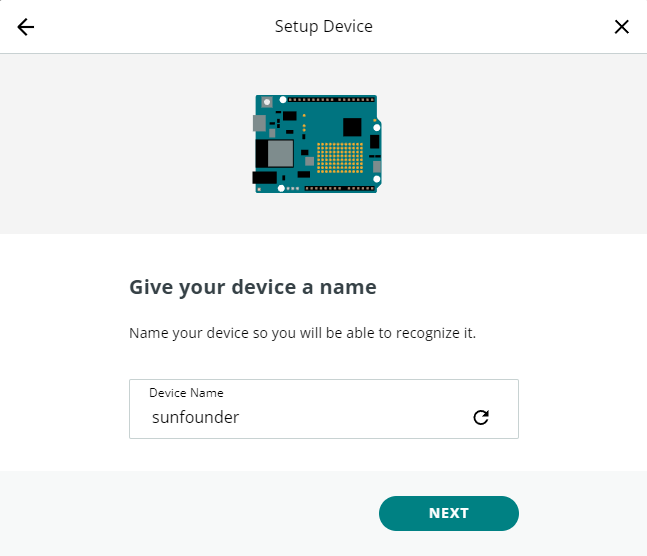
为您的设备命名。
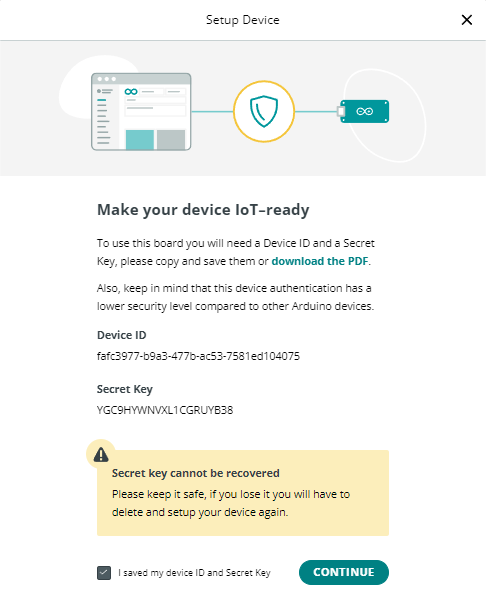
使您的设备做好 IoT 准备,并记得保存密钥。
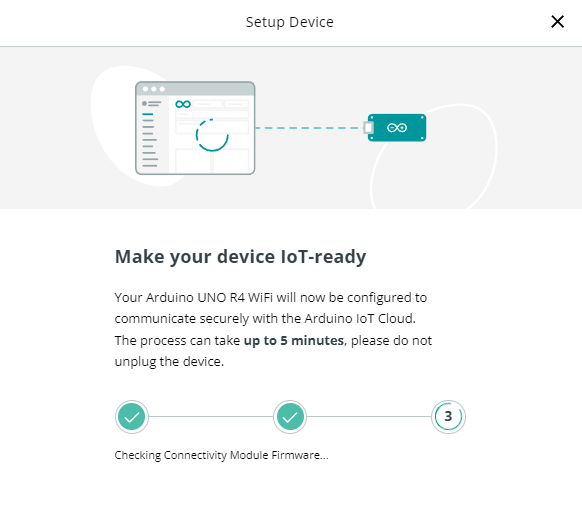
等待几分钟。
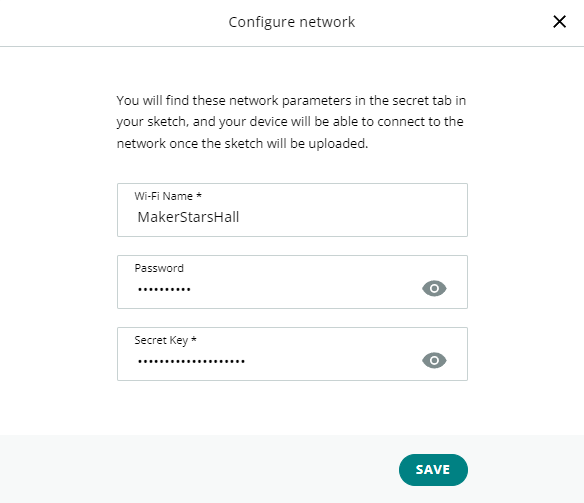
配置 WiFi。
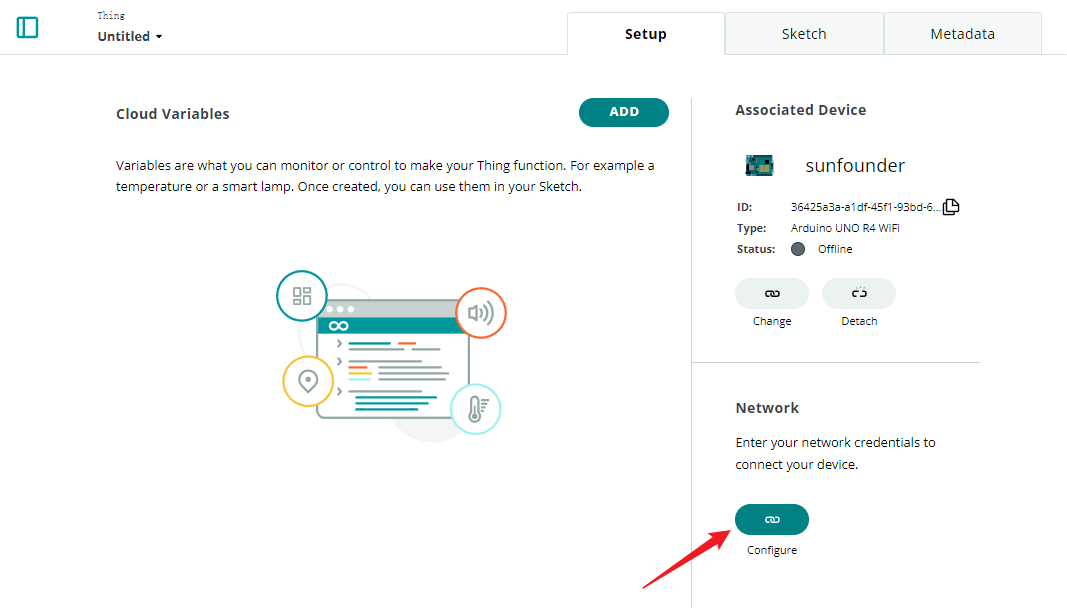
这里您需要输入您的 WiFi 密码和密钥。
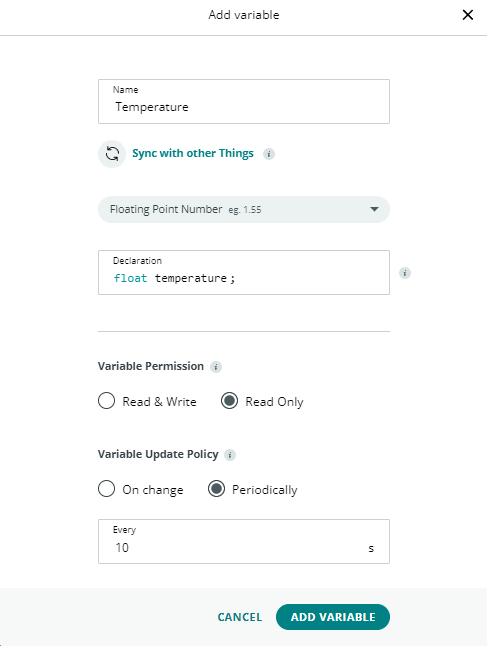
添加一个变量。
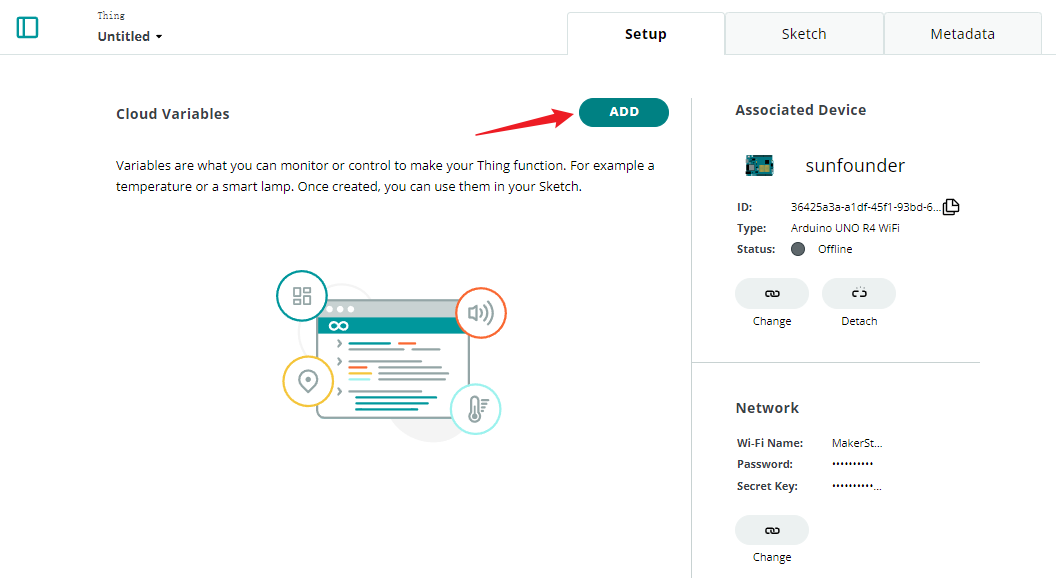
这里,我们想在 IoT Cloud 中显示温度,因此配置一个只读的 float 变量。
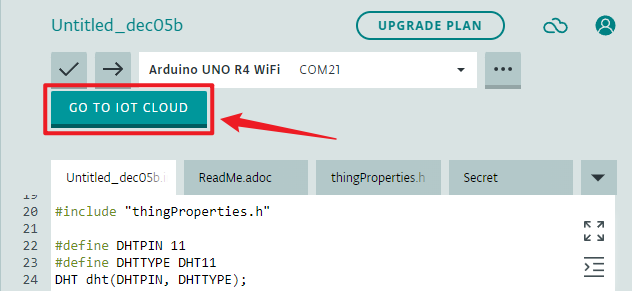
完成后,进入 sketch。
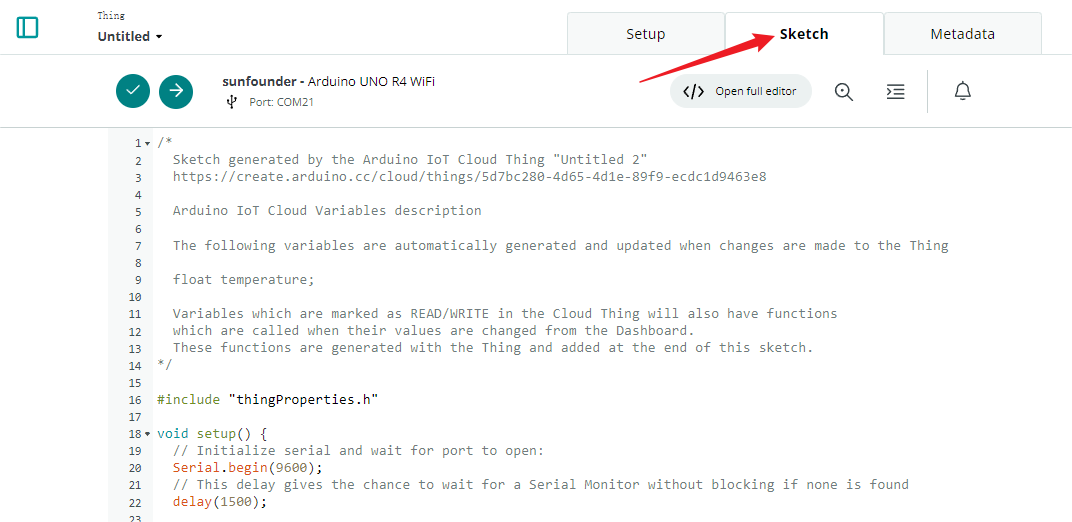
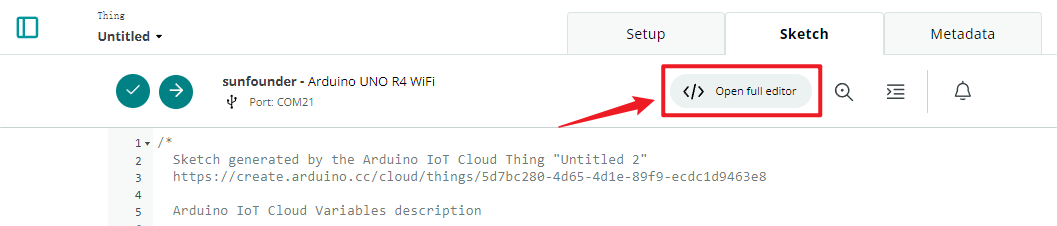
打开完整编辑器。
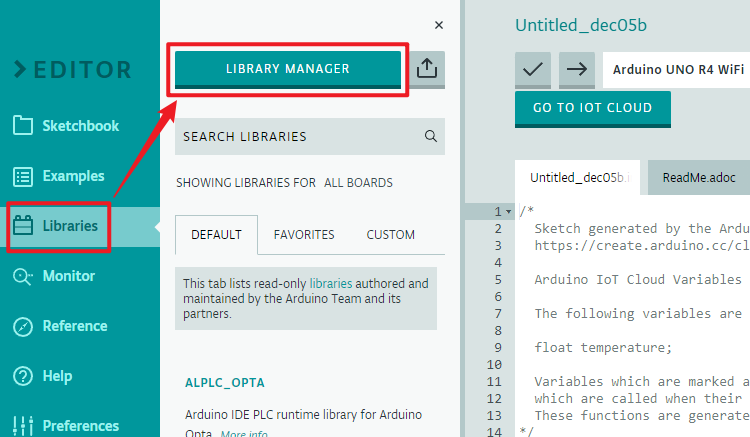
点击右侧的 Libraries,然后点击 Library Manager。
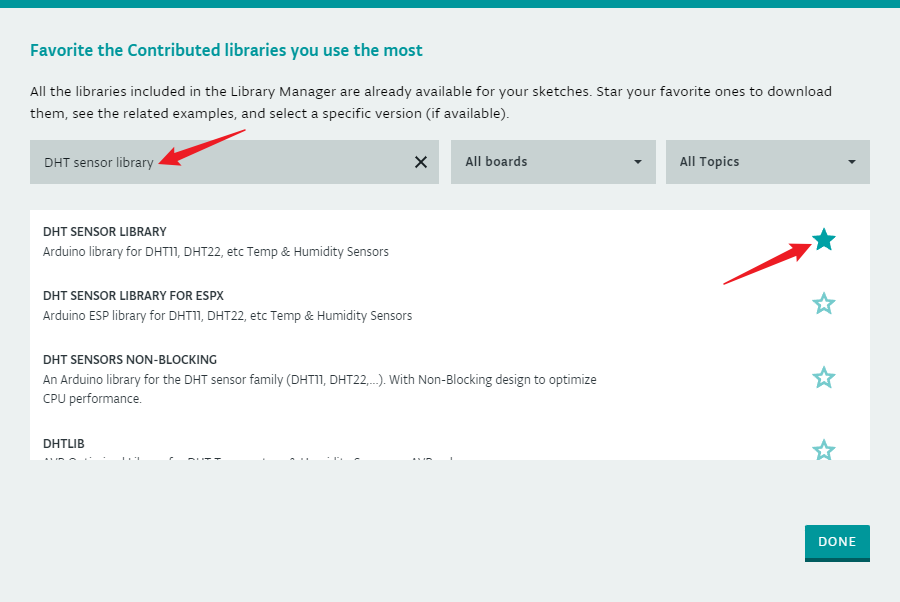
搜索 DHT sensor library 并勾选。
现在,我们需要编辑代码。您可以看到编辑器已经为您准备好了 IoT Cloud 相关的代码。您只需要添加所需的具体功能。在此示例中,我们添加了使用 DHT11 传感器读取温度的代码。
// DHT sensor library - Version: Latest
#include <DHT.h>
#include <DHT_U.h>

/*
Sketch generated by the Arduino IoT Cloud Thing "Untitled"
https://create.arduino.cc/cloud/things/260edac8-34f9-4e2e-9214-ba0c20994220

Arduino IoT Cloud Variables description

The following variables are automatically generated and updated when changes are made to the Thing

float temperature;

Variables which are marked as READ/WRITE in the Cloud Thing will also have functions
which are called when their values are changed from the Dashboard.
These functions are generated with the Thing and added at the end of this sketch.
*/

#include "thingProperties.h"

#define DHTPIN 11
#define DHTTYPE DHT11
DHT dht(DHTPIN, DHTTYPE);

void setup() {
    // Initialize serial and wait for port to open:
    Serial.begin(9600);
    // This delay gives the chance to wait for a Serial Monitor without blocking if none is found
    delay(1500);

    dht.begin();

    // Defined in thingProperties.h
    initProperties();

    // Connect to Arduino IoT Cloud
    ArduinoCloud.begin(ArduinoIoTPreferredConnection);

    /*
        The following function allows you to obtain more information
        related to the state of network and IoT Cloud connection and errors
        the higher number the more granular information you'll get.
        The default is 0 (only errors).
        Maximum is 4
    */
    setDebugMessageLevel(2);
    ArduinoCloud.printDebugInfo();
}

void loop() {
    ArduinoCloud.update();
    // Your code here

    float temp = dht.readTemperature();
    temperature = temp;

}
上传代码。可能会提示您更新;按照提示完成。
返回 IoT CLOUD。
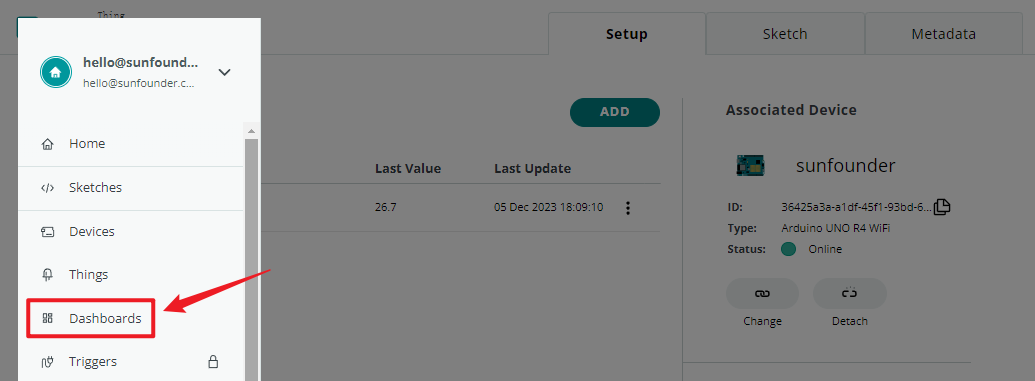
点击左上角的菜单。

点击 dashboard。
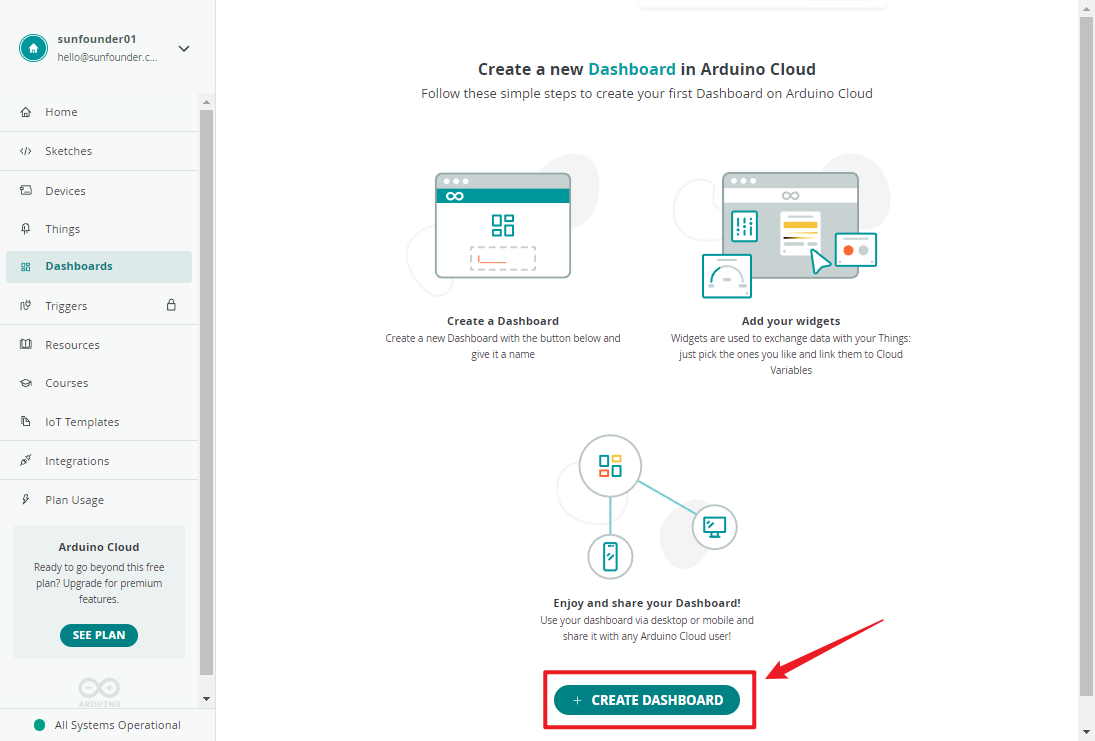
创建 dashboard。
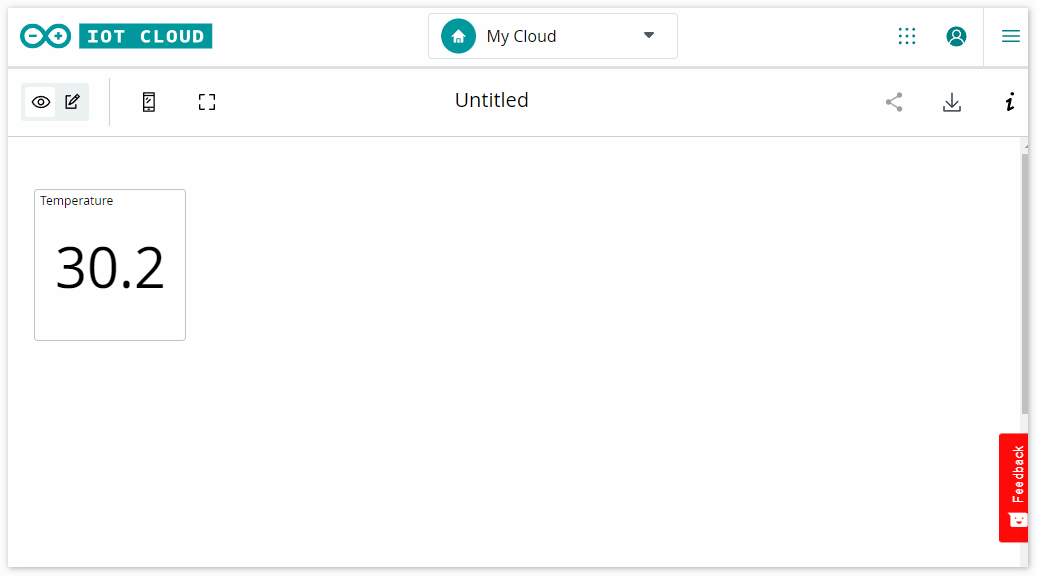
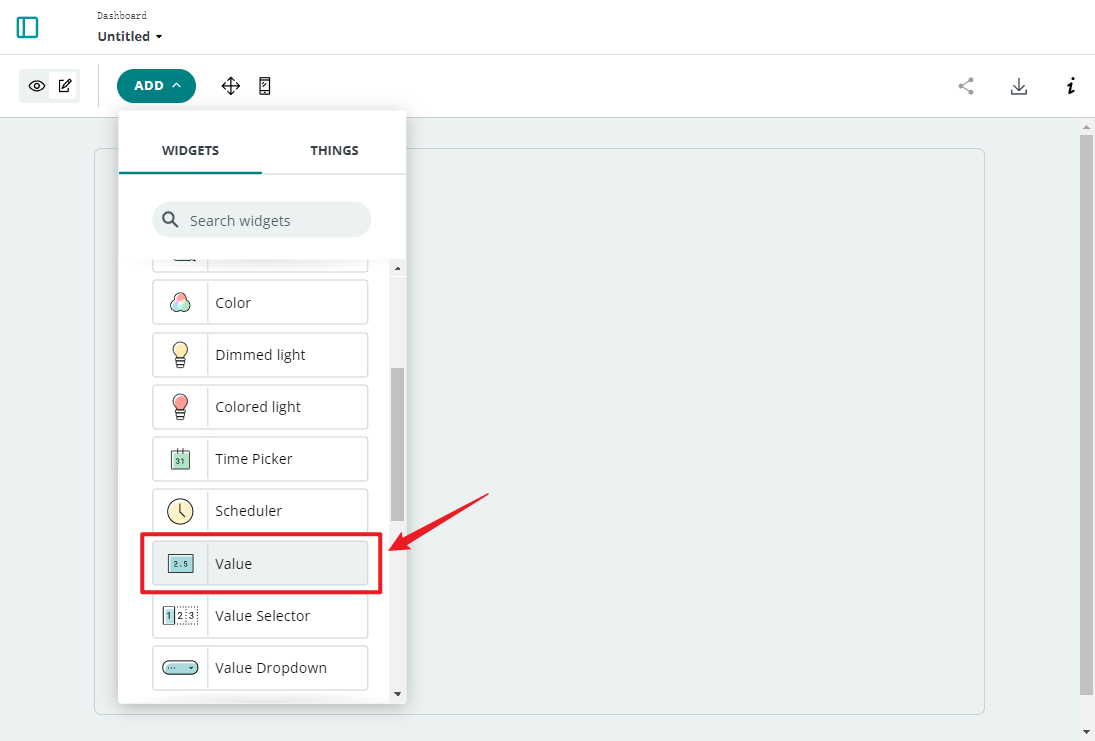
有许多小部件可用;这里我们选择一个值小部件来显示温度。
点击后,将出现一个小部件设置界面,您可以将小部件连接到之前创建的云变量。

现在,您可以在 Arduino IoT Cloud 上查看传感器读数。

工作原理
配置 IoT Cloud(设备设置、网络设置、创建云变量)后,您会注意到云上的 sketch 会自动更新。因此,大部分代码已经为您编写好了。
打开编辑器,您会发现此 sketch 包含四个文件:
main.ino:用于初始化 Arduino 并执行主循环任务。此外,它包含连接和与 Arduino IoT Cloud 通信的逻辑。
thingProperties.h:此文件用于定义 Arduino IoT Cloud 中的变量和函数。它包含云变量及其相关回调函数的声明。在提供的代码中,它用于初始化云属性(例如温度变量)并连接到 Arduino IoT Cloud。
Secret:用于存储敏感或私有信息,例如 WiFi 密码或 API 密钥。这些敏感信息通常不会直接暴露在代码中,而是存储在 Secret 文件中以增强安全性。
ReadMe.adoc:包含项目文档或其他相关信息,以便于理解和使用项目。此文件通常不包含可执行代码,而是包含文档和描述性信息。
我们需要为 DHT11 传感器添加一些代码。此代码与您在本地 IDE 上使用的代码完全相同。唯一的区别是您需要将从 DHT11 读取的值分配给云变量 temperature。
(注意:您不应修改 thingProperties.h 和 Secret。当您使用 Thing 编辑器进行更改时,它们将被修改。)