注釈
こんにちは、SunFounderのRaspberry Pi & Arduino & ESP32愛好家コミュニティへようこそ!Facebook上でRaspberry Pi、Arduino、ESP32についてもっと深く掘り下げ、他の愛好家と交流しましょう。
参加する理由は?
エキスパートサポート:コミュニティやチームの助けを借りて、販売後の問題や技術的な課題を解決します。
学び&共有:ヒントやチュートリアルを交換してスキルを向上させましょう。
独占的なプレビュー:新製品の発表や先行プレビューに早期アクセスしましょう。
特別割引:最新製品の独占割引をお楽しみください。
祭りのプロモーションとギフト:ギフトや祝日のプロモーションに参加しましょう。
👉 私たちと一緒に探索し、創造する準備はできていますか?[ ここ]をクリックして今すぐ参加しましょう!
IFTTTを使用したセキュリティシステム
このプロジェクトでは、PIRセンサーを使用して侵入者や家に入ってくる野良動物を検出するセキュリティデバイスを作成します。侵入が発生した場合、メールアラートを受け取ります。
基本的なサービスとしてWebhooksを利用します。UNO R4からIFTTTのサービスへPOSTリクエストが送信されます。
必要なコンポーネント
このプロジェクトには以下のコンポーネントが必要です。
全体のキットを購入すると便利です。こちらがリンクです:
名称 |
このキットのアイテム数 |
リンク |
|---|---|---|
Elite Explorer Kit |
300+ |
以下のリンクから別々に購入することもできます。
コンポーネント紹介 |
購入リンク |
|---|---|
- |
|
配線図

回路図
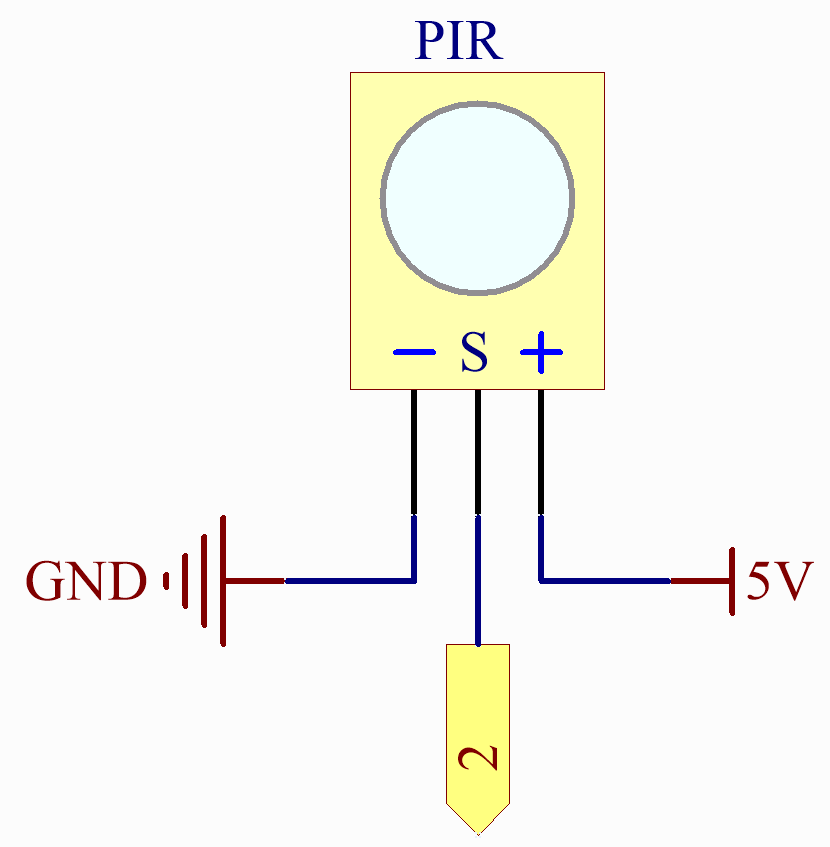
IFTTTの設定
IFTTTは、さまざまなデータサービスを連携する方法を提供する無料のサービスです。
ウェブフック(カスタムURL)をIFTTTに送信して応答するAppletを作成し、その後メールを送信します。
IFTTTで以下の手順に従ってください。
IFTTT にアクセスしてログインまたはアカウントを作成します。

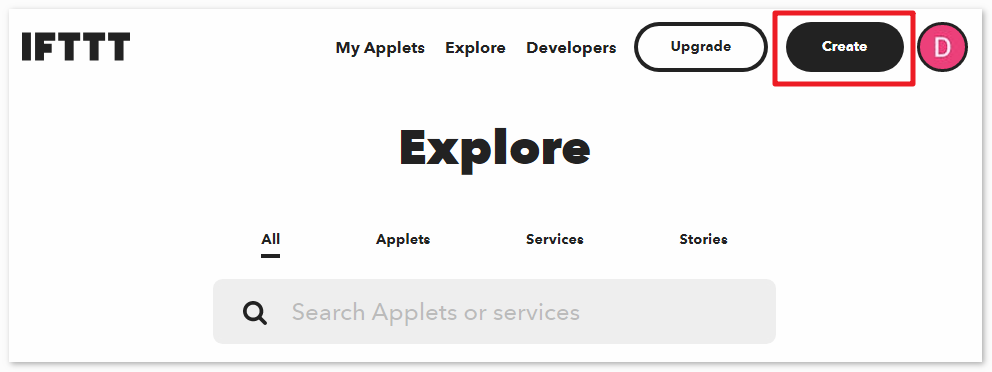
Create をクリックします。
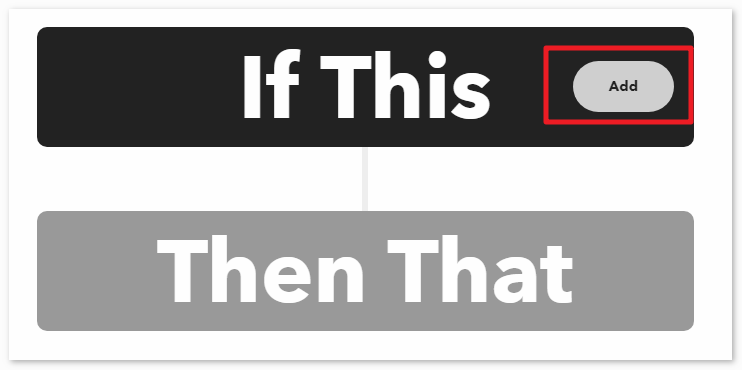
If This イベントを追加します。
Webhooks を検索します。

Receive a web request を選択します。

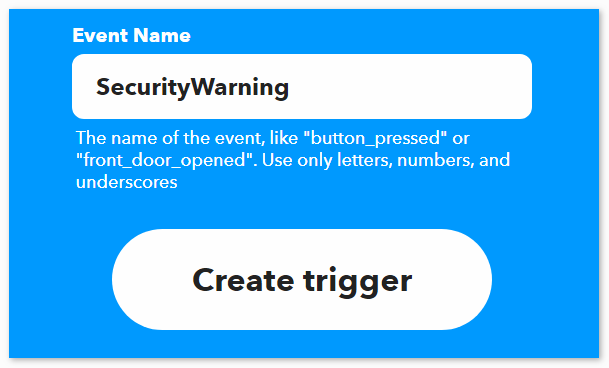
イベント名(例:SecurityWarning)を入力し、 Create trigger をクリックします。
Then That イベントを追加します。

Emailを検索します。
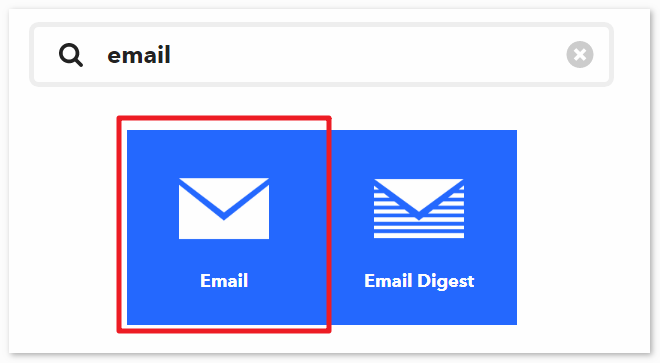
Send me an email を選択します。
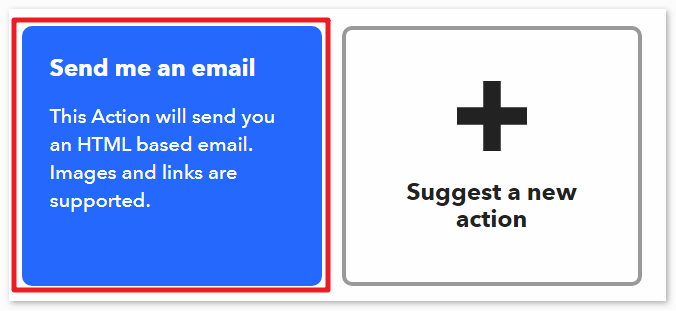
Subject と Body を入力し、 Create action をクリックします。

Continue をクリックして設定を完了します。
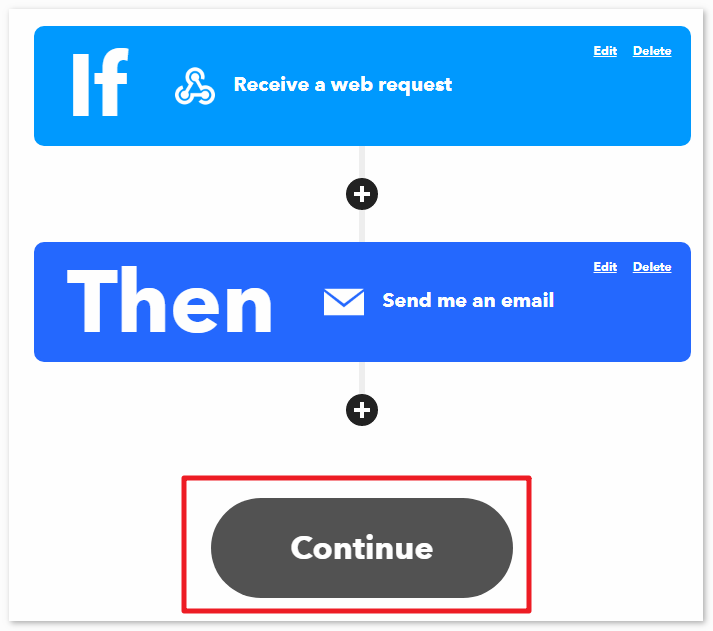
必要に応じてタイトル名を調整します。
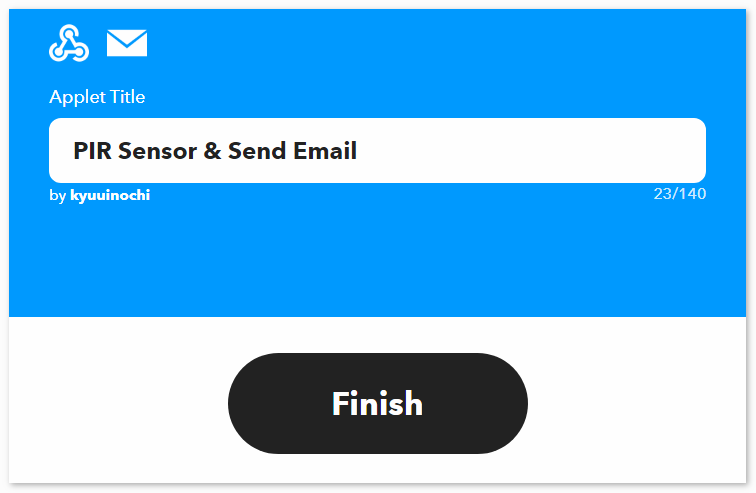
Appletの詳細ページに自動的にリダイレクトされます。ここで、Appletが現在接続されていることが確認でき、スイッチを切り替えて有効/無効にすることができます。

IFTTT Appletを作成したので、デバイスがIFTTTにアクセスするために必要なWebhooksキーも必要です。これは、 Webhooks 設定 から取得できます。

Webhooksキーを「arduino_secrets.h」にコピーし、SSIDとパスワードを入力してください。
#define SECRET_SSID "your_ssid"        // your network SSID (name)
#define SECRET_PASS "your_password"        // your network password (used for WPA, or as a key for WEP)
#define WEBHOOKS_KEY "your_key"
コードの実行
注釈
ファイル
03_ifttt_pir.inoをelite-explorer-kit-main\iot_project\03_ifttt_pirのパスから直接開くことができます。または、このコードをArduino IDEにコピーしてください。
注釈
コード内で、SSIDとパスワードは arduino_secrets.h に格納されています。この例をアップロードする前に、自分のWiFiの認証情報でそれらを修正する必要があります。さらに、コードを共有または保存する際には、この情報を機密に保つためのセキュリティ対策を講じてください。
警告
メールボックスが溢れるのを防ぐため、このプロジェクトのコードを実行する前に PIR動作センサーモジュール をデバッグしてください。
#define SECRET_SSID "your_ssid"        // your network SSID (name)
#define SECRET_PASS "your_password"        // your network password (use for WPA, or use as key for WEP)
#define WEBHOOKS_KEY "your_key"
  1/*
  2  This code is designed to connect an Arduino Uno R4 WiFi board to the internet and detect
  3  motion using a PIR sensor. Upon detecting motion, it sends an HTTP GET request
  4  to the IFTTT web service to trigger an event named "SecurityWarning". The code handles
  5  WiFi connection setup, motion detection, server communication, and provides feedback via
  6  the serial monitor.
  7
  8  Board: Arduino Uno R4 WiFi
  9  Component: PIR Motion Sensor Module
 10*/
 11
 12#include "WiFiS3.h"           // Include the WiFiS3 library for internet connectivity
 13#include "arduino_secrets.h"  // Include the file containing Wi-Fi credentials
 14
 15// Wi-Fi credentials are stored in arduino_secrets.h
 16char ssid[] = SECRET_SSID;
 17char pass[] = SECRET_PASS;
 18
 19int status = WL_IDLE_STATUS;
 20WiFiClient client;
 21
 22// IFTTT server information and event name
 23char server[] = "maker.ifttt.com";
 24char event[] = "SecurityWarning";
 25String webRequestURL = "/trigger/" + String(event) + "/with/key/" + String(WEBHOOKS_KEY);
 26
 27const int pirPin = 2;         // PIR sensor is connected to digital pin 2
 28bool motionDetected = false;  // Variable to track motion detection
 29
 30void setup() {
 31  Serial.begin(9600);
 32  while (!Serial) {
 33    ;
 34  }
 35
 36  // Check the status of the WiFi module
 37  if (WiFi.status() == WL_NO_MODULE) {
 38    Serial.println("Communication with WiFi module failed!");
 39    while (1)
 40      ;  // Infinite loop to halt further execution
 41  }
 42
 43  // Check if the WiFi firmware is up to date
 44  String fv = WiFi.firmwareVersion();
 45  if (fv < WIFI_FIRMWARE_LATEST_VERSION) {
 46    Serial.println("Please upgrade the firmware");
 47  }
 48
 49  // Attempt to connect to the Wi-Fi network
 50  while (status != WL_CONNECTED) {
 51    Serial.print("Attempting to connect to SSID: ");
 52    Serial.println(ssid);
 53    status = WiFi.begin(ssid, pass);
 54  }
 55  printWifiStatus();  // Print the status of the WiFi connection
 56
 57  pinMode(pirPin, INPUT);
 58}
 59
 60void loop() {
 61  readResponse();  // Read and print server response if available
 62
 63  // Check for motion using PIR sensor
 64  if (digitalRead(pirPin) == HIGH) {
 65    if (!motionDetected) {
 66      Serial.println("Motion detected!");
 67      triggerIFTTTEvent();  // Trigger IFTTT notification
 68      motionDetected = true;
 69    }
 70  } else {
 71    motionDetected = false;
 72  }
 73}
 74
 75void readResponse() {
 76  // Read incoming data from the WiFi connection
 77  uint32_t received_data_num = 0;
 78  while (client.available()) {
 79    char c = client.read();
 80    Serial.print(c);
 81    received_data_num++;
 82    if (received_data_num % 80 == 0) {
 83      Serial.println();
 84    }
 85  }
 86}
 87
 88void triggerIFTTTEvent() {
 89  client.stop();  // Terminate any existing connections
 90
 91  // Attempt to connect to the IFTTT server
 92  if (client.connect(server, 80)) {  // If the connection is successful
 93    Serial.println("connecting...");
 94    // Construct and send the HTTP GET request
 95    client.println("GET " + webRequestURL + " HTTP/1.1");
 96    client.println("Host: maker.ifttt.com");
 97    client.println("User-Agent: ArduinoWiFi/1.1");
 98    client.println("Connection: close");
 99    client.println();  // End of HTTP request
100  } else {
101    Serial.println("connection failed");  // Notify if the connection fails
102  }
103}
104
105void printWifiStatus() {
106  // Print the current Wi-Fi status to the serial monitor
107  Serial.print("SSID: ");
108  Serial.println(WiFi.SSID());
109
110  IPAddress ip = WiFi.localIP();
111  Serial.print("IP Address: ");
112  Serial.println(ip);
113
114  long rssi = WiFi.RSSI();
115  Serial.print("Signal Strength (RSSI):");
116  Serial.print(rssi);
117  Serial.println(" dBm");
118}
どのように動作するのか?
必要なライブラリとヘッダーファイルを含みます:
「WiFiS3.h」: Wi-Fi接続の管理に使用します。「arduino_secrets.h」: Wi-Fiネットワーク名とパスワードなどの機密情報を含みます。
グローバル変数と定数を定義します:
ssid: Wi-Fiネットワークの名前。pass: Wi-Fiネットワークのパスワード。status: Wi-Fi接続の状態。client: Wi-Fiサーバーとの通信に使用するクライアント。server: IFTTT Webhookサーバーのアドレス。event: IFTTT Webhookイベントの名前。webRequestURL: HTTPリクエストを送信するための構築されたURL。Webhookイベント名とキーを含みます。pirPin: PIRセンサーが接続されているデジタルピン。motionDetected: 動き検出を追跡するフラグ変数。
setup()関数:シリアル通信を初期化します。
Wi-Fiモジュールの存在をチェックし、そのファームウェアバージョンを出力します。
Wi-Fiネットワークに接続を試み、失敗した場合は再試行します。
PIRセンサーが接続されているピンを入力モードに設定します。
readResponse()関数:IFTTTサーバーからのHTTP応答データを読み取り、シリアルコンソールに印刷します。
loop()関数:readResponse()関数を呼び出してHTTP応答データを読み取ります。- PIRセンサーを使用して動きをチェックします。動きが検出され、以前に検出されていない場合:
コンソールに「動きを検出!」と印刷します。
triggerIFTTTEvent()関数を呼び出し、IFTTTサーバーにHTTPリクエストを送信し、Webhookイベントをトリガーします。motionDetectedフラグをtrueに設定して、動きが検出されたことを示します。
動きが検出されない場合は、
motionDetectedフラグをfalseに設定します。
triggerIFTTTEvent()関数:IFTTTサーバーとの接続を確立します。
HTTP GETリクエストを送信し、WebhookイベントのURLと他のHTTPヘッダーを含みます。
printWifiStatus()関数:接続されているWi-Fiネットワークに関する情報をシリアルコンソールに出力します。これにはSSID、IPアドレス、信号強度(RSSI)が含まれます。