Inflating the Dot
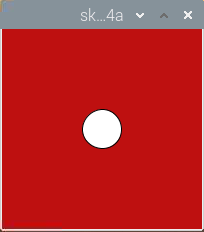
Next, let’s build a circuit that allows the button to control the size of the dot. When we press the button, the dot will quickly get bigger; when we release the button, the dot will gradually get smaller, which makes the dot look like a balloon being inflated.

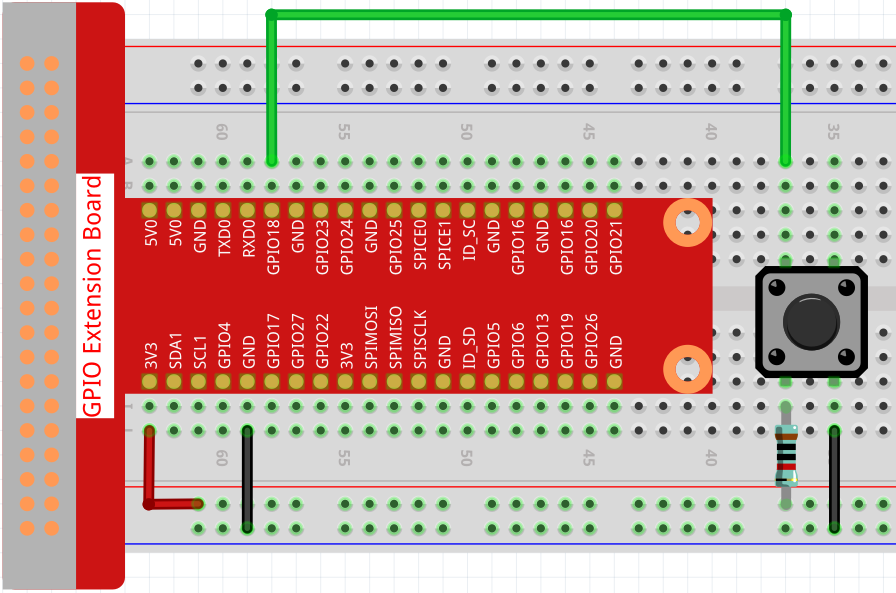
Wiring

Sketch
import processing.io.*;
int buttonPin = 18;

float diameter;

void setup() {
    size(200, 200);
    frameRate(64); //set frame rate
    GPIO.pinMode(buttonPin, GPIO.INPUT_PULLUP);
    diameter = width*0.5;
}

void draw() {
    if (GPIO.digitalRead(buttonPin)==GPIO.LOW) {
        if(diameter<width*0.8) {diameter=diameter+5;}
    } else {
        if(diameter>=width*0.2) {diameter--;}
    }
    background(192, 16, 18);
    ellipse(width/2, height/2,diameter, diameter);
}
How it works?
This project uses the input function compared to the previous 2 projects that used the output function of the GPIO.
The GPIO.pinMode() function is used to set buttonPin to pull-up input mode, which makes the pin get high automatically in the default state.
Then use the GPIO.digitalRead() function to read the value of buttonPin. When the value is LOW, it means the button is pressed, at which point let the diameter of the dot increase by 5; if the button is released, then the diameter of the dot will decrease by 1.
For more please refer to Processing Reference.