Note
Hello, welcome to the SunFounder Raspberry Pi & Arduino & ESP32 Enthusiasts Community on Facebook! Dive deeper into Raspberry Pi, Arduino, and ESP32 with fellow enthusiasts.
Why Join?
Expert Support: Solve post-sale issues and technical challenges with help from our community and team.
Learn & Share: Exchange tips and tutorials to enhance your skills.
Exclusive Previews: Get early access to new product announcements and sneak peeks.
Special Discounts: Enjoy exclusive discounts on our newest products.
Festive Promotions and Giveaways: Take part in giveaways and holiday promotions.
👉 Ready to explore and create with us? Click [here] and join today!
1.1 Configuring the Blynk
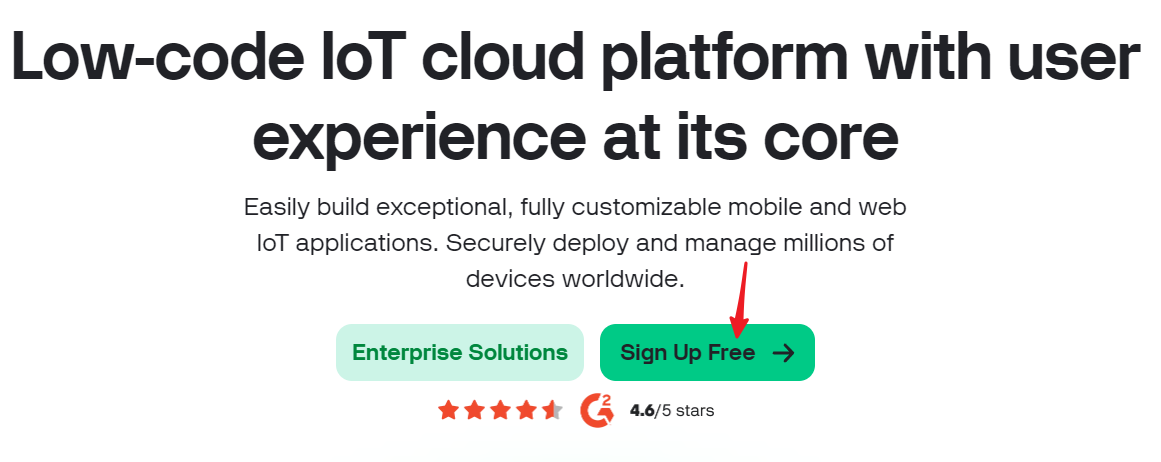
Go to the BLYNK and click START FREE.
Fill in your email address to register an account.

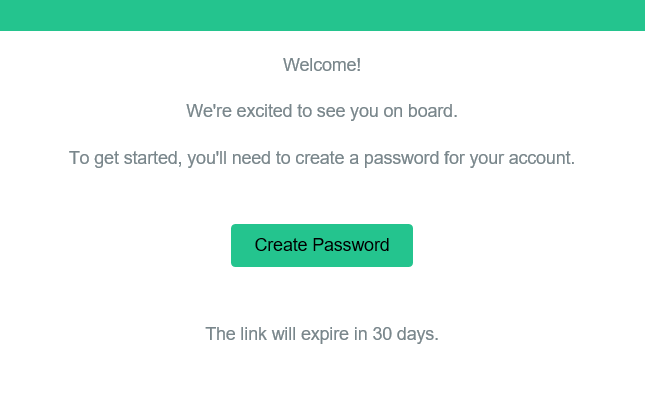
Go to your email address to complete your account registration.
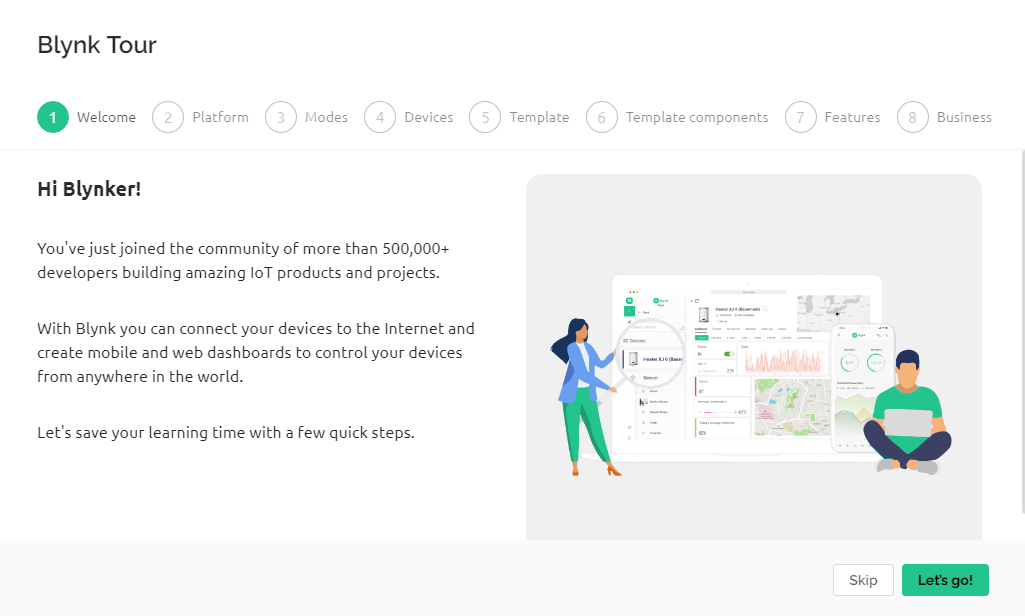
Afterwards, Blynk Tour will appear and you can read it to learn the basic information about the Blynk.
Note
if not, please click the swim ring icon in the upper right corner.

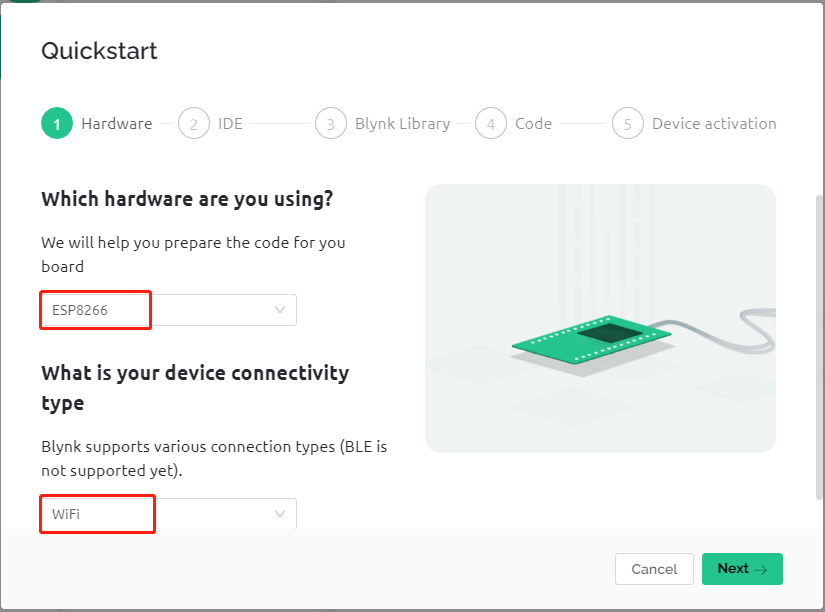
Next we need to create a template and device with this Quick Start, click Let’s go.

Select the hardware and connection type.
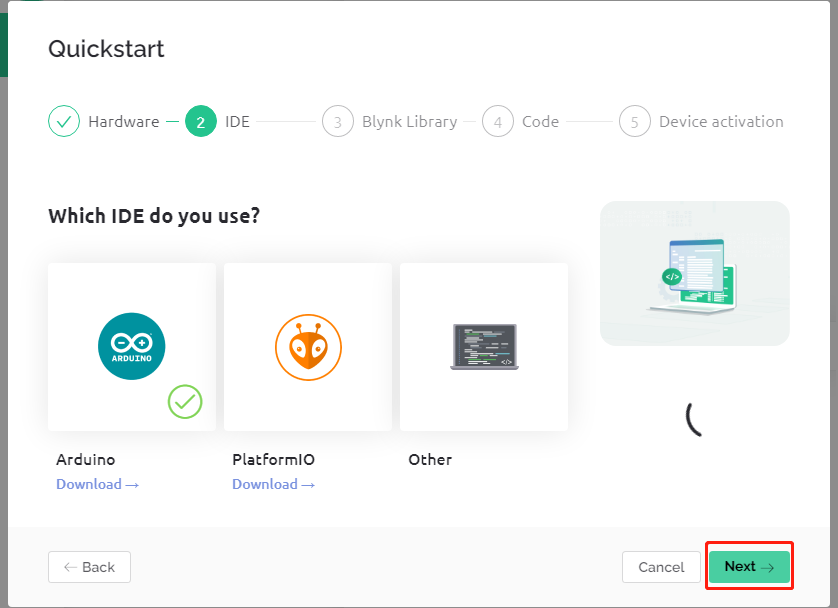
Here you are told which IDE you need to prepare, we recommend the Arduino IDE.
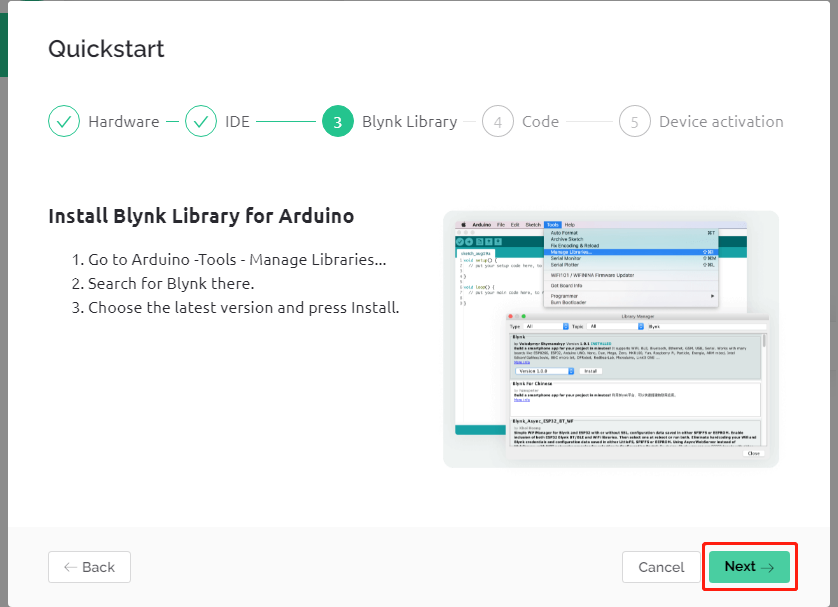
Here is the library you need to add, but the recommended library here is a bit problematic, we need to add other libraries manually (we will mention it later). Click Next here, and a new template and device will be created.
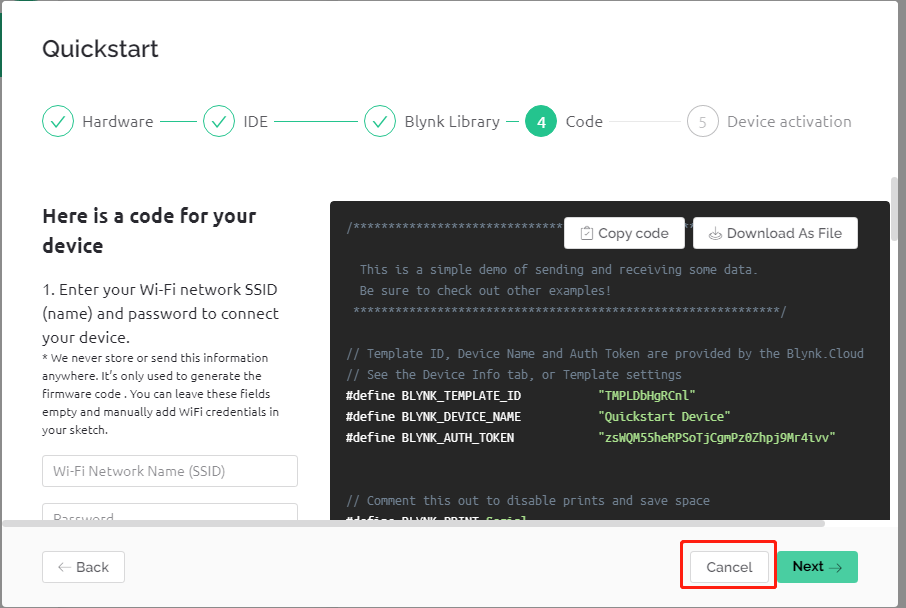
The next steps are to upload the relevant code and connect your board to Blynk, but since there is a problem with the library provided earlier, you need to add other libraries again. So click Cancel here to stop Quick Start.