Color Detection
PiCar-X is a self-driving car with a built-in camera, which allows Ezblock programs to utilize object detection and color recognition code. In this section, Ezblock will be used to create a program for color detection.
Note
Before attempting this section, make sure that the Raspberry Pi Camera’s FFC cable is properly and securely connected. For detailed instructions on securely connecting the FCC cable, please reference: Component List and Assembly Instructions.
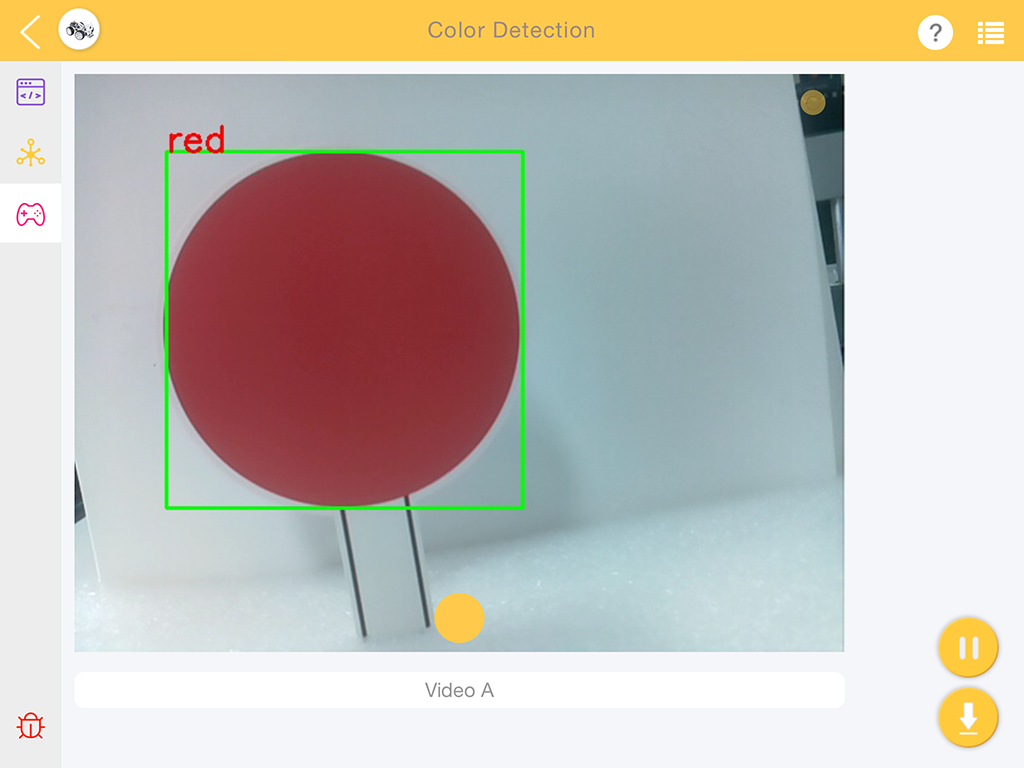
In this program, Ezblock will first be told the Hue-Saturation-Value (HSV) space range of the color to be detected, then utilize OpenCV to process the colors in the HSV range to remove the background noise, and finally, box the matching color.
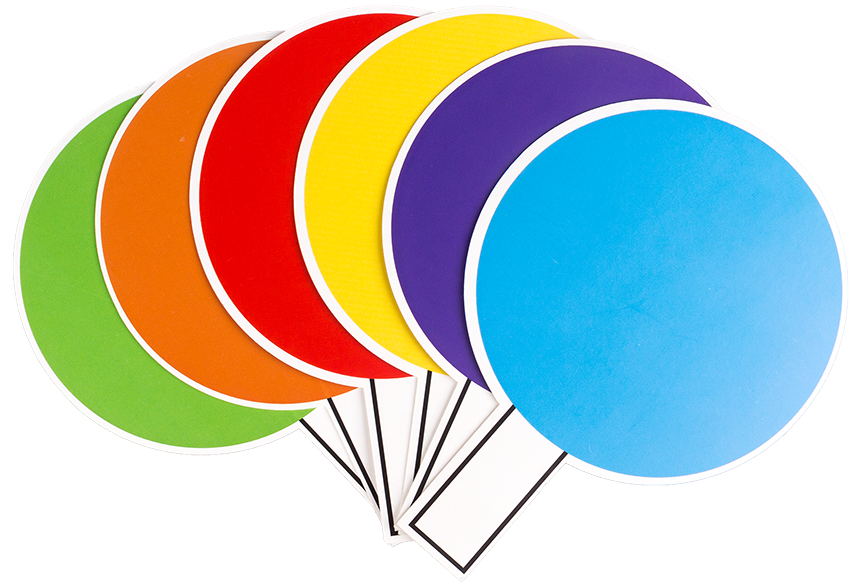
Ezblock includes 6 color models for PiCar-X, “red”, “orange”, “yellow”, “green”, “blue”, and “purple”. Color cards have been prepared in the following PDF, and will need to be printed on a color printer.
Note
The printed colors may have a slightly different hue from the Ezblock color models due to printer toner differences, or the printed medium, such as a tan-colored paper. This can cause a less accurate color recognition.
TIPS

Drag the Video widget from the remote Control page, and it will generate a video monitor. For more information on how to use the Video widget, please reference the tutorial on Ezblock video here: How to Use the Video Function?.

Enable the video monitor by setting the camera monitor block to on. Note: Setting the camera monitor to off will close the monitor, but object detection will still be available.

Use the color detection block to enable the color detection. Note: only one color can be detected at a time.
EXAMPLE
Note
You can write the program according to the following picture, please refer to the tutorial: How to Create a New Project?.
Or find the code with the same name on the Examples page of the EzBlock Studio and click Run or Edit directly.
