Calibrate the Car
After you connect the PiCar-X, there will be a calibration step. This is because of possible deviations in the installation process or limitations of the servos themselves, making some servo angles slightly tilted, so you can calibrate them in this step.
But if you think the assembly is perfect and no calibration is needed, you can also skip this step.
Note
If you want to recalibrate the robot during use, please follow the steps below.
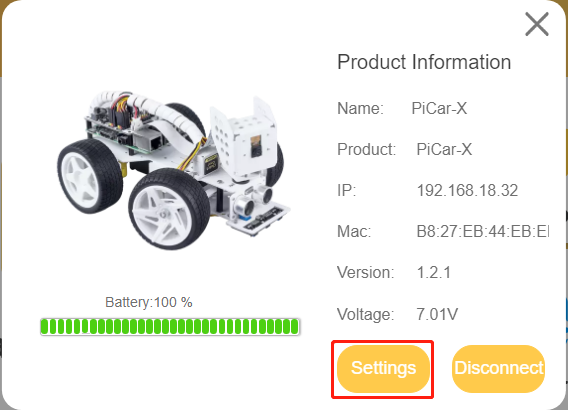
You can open the product detail page by clicking the connect icon in the upper left corner.

Click the Settings button.
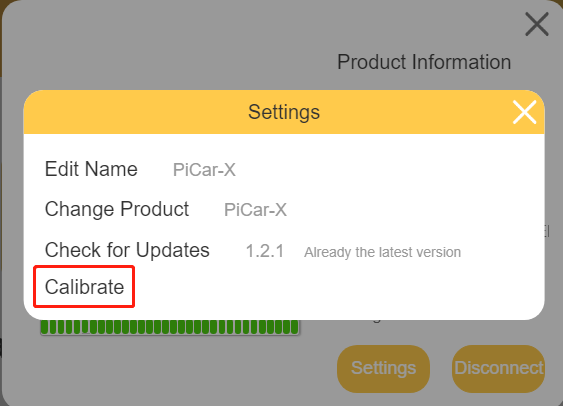
On this page, you can change the product name, product type, view the app version or calibrate the robot. Once you click on Calibrate you can go to the calibration page.
The calibration steps are as follows:
Once you get to the calibration page, there will be two prompt points telling you where to calibrate.
Note
Calibrating is a micro-adjustment process. It is recommended to take the part off and reassemble it if you click a button to the limit and the part is still off.
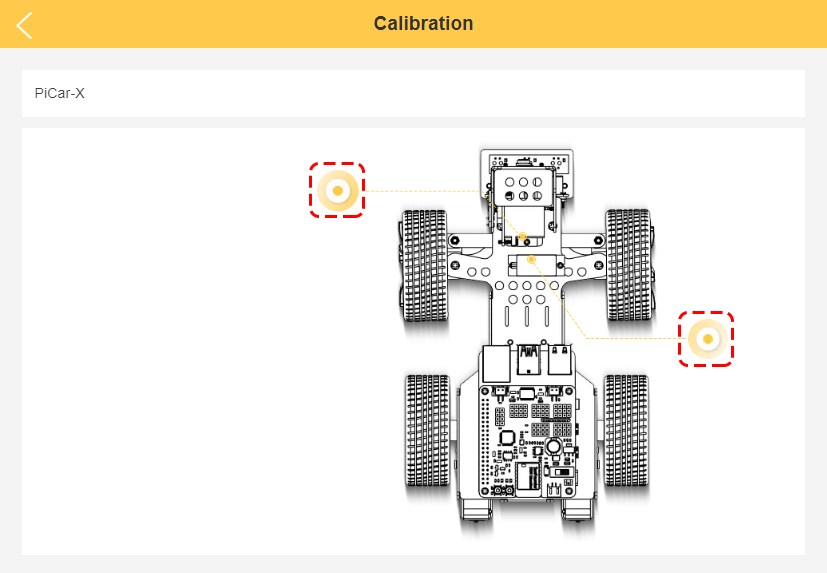
Click on the left prompt point to calibrate the PiCar-X’s Pan-Tilt(the camera part). By using the two sets of buttons on the right, you can slowly adjust the Pan-Tilt’s orientation, as well as view their angles. When the adjustment is complete, click on Confirm.

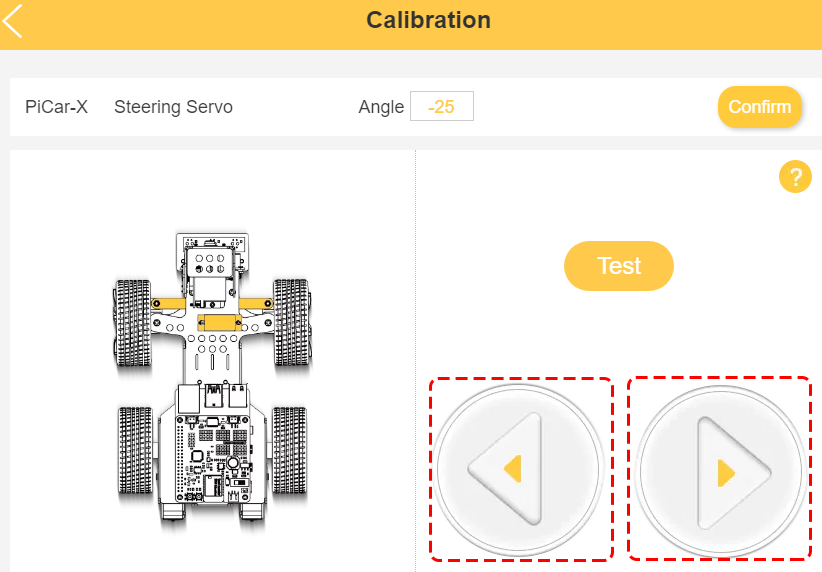
To calibrate the front wheel orientation, click on the right prompt point. Use the two buttons on the right to get the front wheel facing straight ahead. When the adjustment is done, click on Confirm.