Note
Hello, welcome to the SunFounder Raspberry Pi & Arduino & ESP32 Enthusiasts Community on Facebook! Dive deeper into Raspberry Pi, Arduino, and ESP32 with fellow enthusiasts.
Why Join?
Expert Support: Solve post-sale issues and technical challenges with help from our community and team.
Learn & Share: Exchange tips and tutorials to enhance your skills.
Exclusive Previews: Get early access to new product announcements and sneak peeks.
Special Discounts: Enjoy exclusive discounts on our newest products.
Festive Promotions and Giveaways: Take part in giveaways and holiday promotions.
👉 Ready to explore and create with us? Click [here] and join today!
Remote Control
In this project, we will learn how to remote control the PiCrawler. You can control the PiCrawler to move forward, backward, left, and right.
Note
You can refer to How to Use the Remote Control Function?. Come and carry out this project smoothly.
Program
Note
You can write the program according to the following picture, please refer to the tutorial: How to Create a New Project?.
Or find the code with the same name on the Examples page of the EzBlock Studio and click Run or Edit directly.
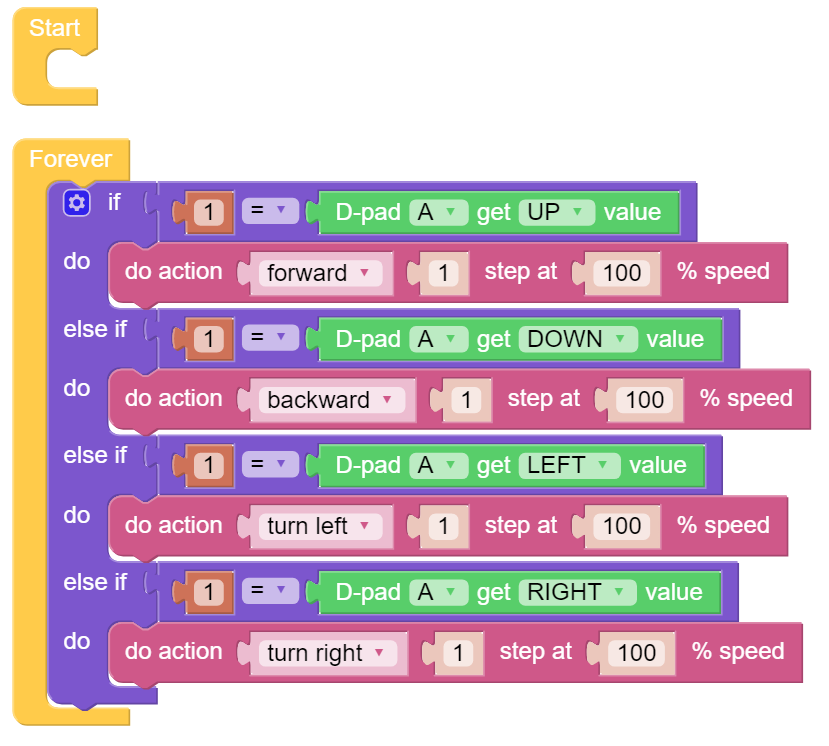
Switch to the Remote Control interface, and you will see the following widgets.
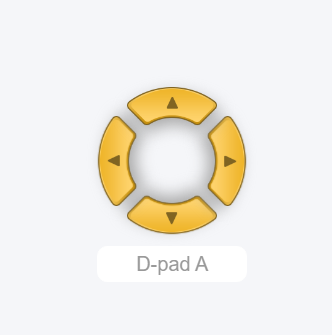
After the program is running, you can activate PiCrawler through D-Pad.
How it works?
After dragging out the widget on the Remote Control interface, a category named Remote will appear in the block categories column of the programming interface.
Here we add the D-Pad widget, so the D-Pad get value block appears here.
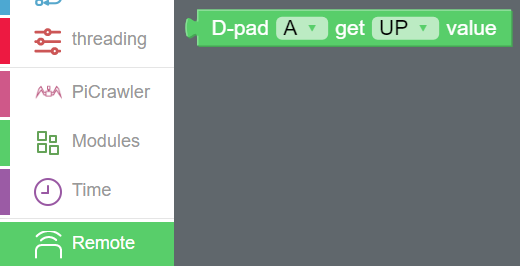
D-Pad can be regarded as a four-in-one button. You can choose which button to read in the second groove of the block.
When the button is pressed, the value is “1”; when the button is not pressed, the value is “0”.
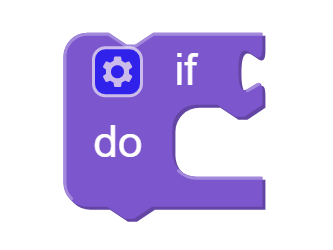
We used an if block (you can find it in the Logic category on the left) to make the PiCrawler move forward once when the UP button of the D-pad is pressed.
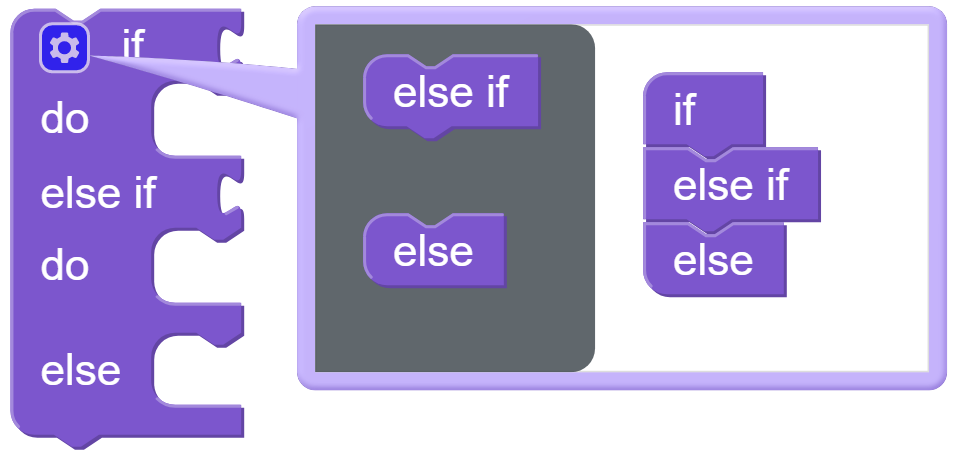
You can click the gear icon on the upper left of the block to modify the shape of the if block to realize multiple judgment branches.

if block is usually used with = block, = block can be modified to >, < and other conditions through the drop-down menu, please use it flexibly.