Note
Hello, welcome to the SunFounder Raspberry Pi & Arduino & ESP32 Enthusiasts Community on Facebook! Dive deeper into Raspberry Pi, Arduino, and ESP32 with fellow enthusiasts.
Why Join?
Expert Support: Solve post-sale issues and technical challenges with help from our community and team.
Learn & Share: Exchange tips and tutorials to enhance your skills.
Exclusive Previews: Get early access to new product announcements and sneak peeks.
Special Discounts: Enjoy exclusive discounts on our newest products.
Festive Promotions and Giveaways: Take part in giveaways and holiday promotions.
👉 Ready to explore and create with us? Click [here] and join today!
1.6 Your First Sketch
Now, let’s learn how to send our awesome sketch to the Arduino board. It’s like sending a message in a bottle, but way cooler because we’re sending it through a USB cable!
1. Start with an Example Project
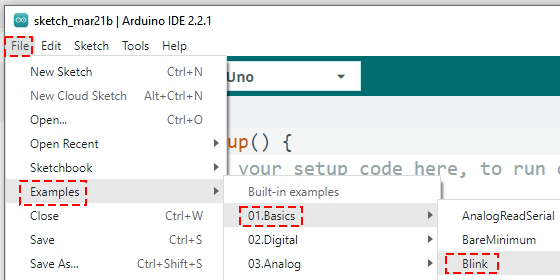
First, let’s grab a project that’s all set up for us. In the Arduino IDE, click on File -> Examples -> Basic -> Blink. This pops up a program that’s like a cake ready for us to add our own decorations to!
2. Choose Your Board and Port
Connect your Arduino Uno R3 to your computer with a USB cable. It’s like plugging in a secret doorway to endless possibilities!

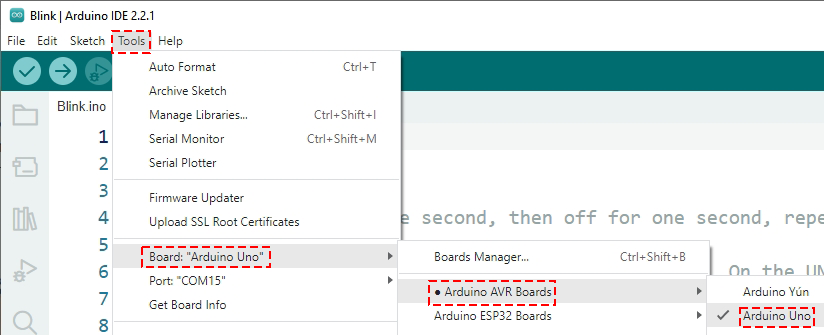
Now, let’s tell the IDE we’re using an Arduino Uno. Click Tools -> Board -> Arduino AVR Boards -> Arduino Uno.
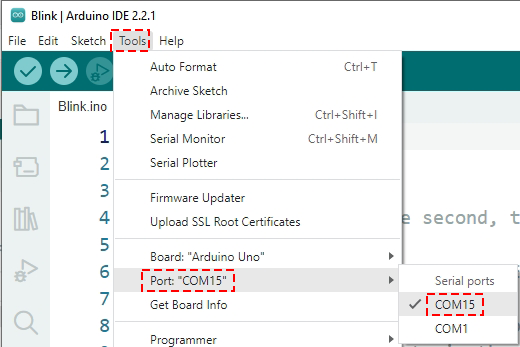
We also need to pick the right port, like choosing the correct door to send our message through. Click Tools -> Port.
Note
On Windows computers, this may be the word “COM” followed by a number(not COM1).
On Mac computers, the port might resemble “/dev/tty.usbmodem”.
In Linux computers, the port is called “/dev/ttyACM”, followed by a number.
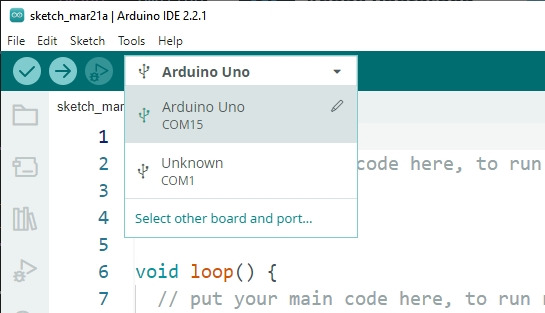
If you’re using Arduino IDE 2.0, you can quickly select the appropriate board and port in this window.
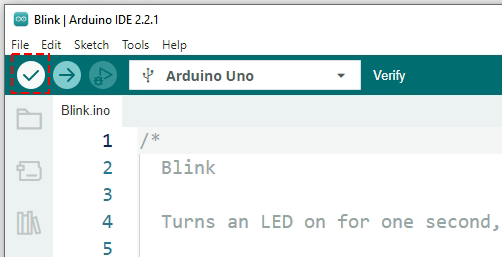
3. Check Your Sketch
Hit the Verify button to make sure your sketch is error-free. It’s like proofreading your homework before handing it in.
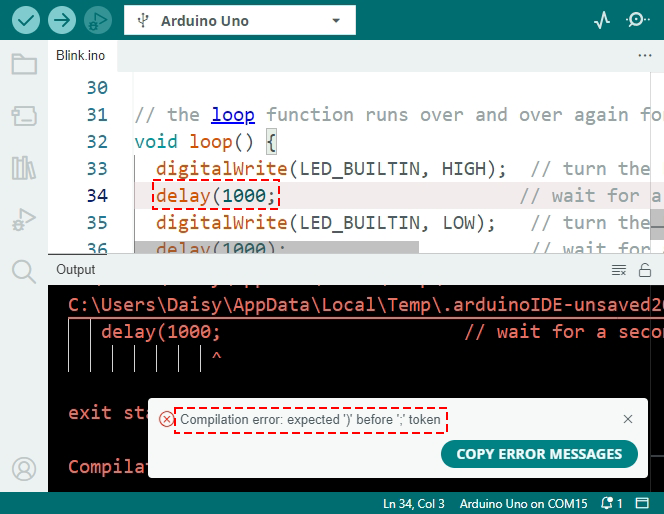
If there’s a typo or a mistake, the IDE will tell you what and where it is, so you can fix it.
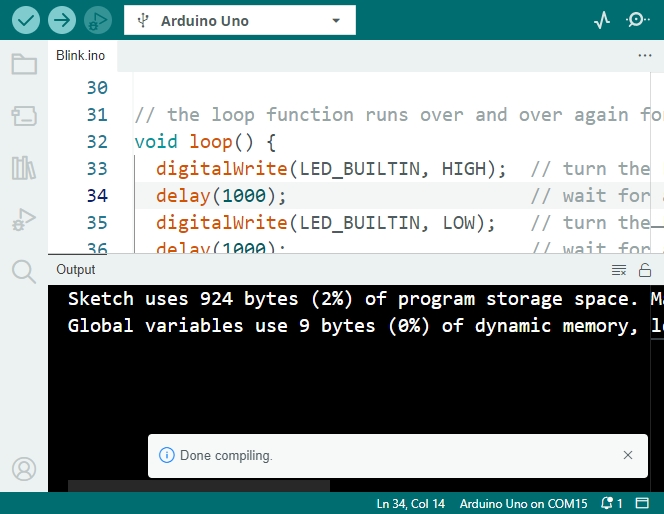
No errors? You’ll see a message saying it’s all good to go!
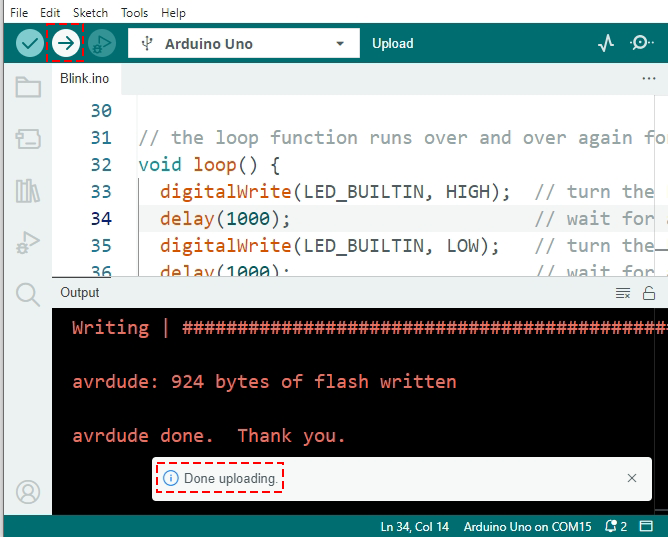
4. Send Your Sketch to the Board
Finally, press the Upload button to send your sketch on its journey to the board. If everything goes right, you’ll get a success message.
Watch the LED on your Arduino board start blinking. It’s like it’s saying “hello” to you!
Great job! You’ve just uploaded your first Arduino program, making you an official programmer! What’s next? There’s so much more to discover with Arduino, and this is just the beginning. Ready for more adventures?