1.3.3 Relay
Introduction
In this project, we will learn to use a relay. It is one of the commonly used components in automatic control system. When the voltage, current, temperature, pressure, etc., reaches, exceeds or is lower than the predetermined value, the relay will connect or interrupt the circuit, to control and protect the equipment.
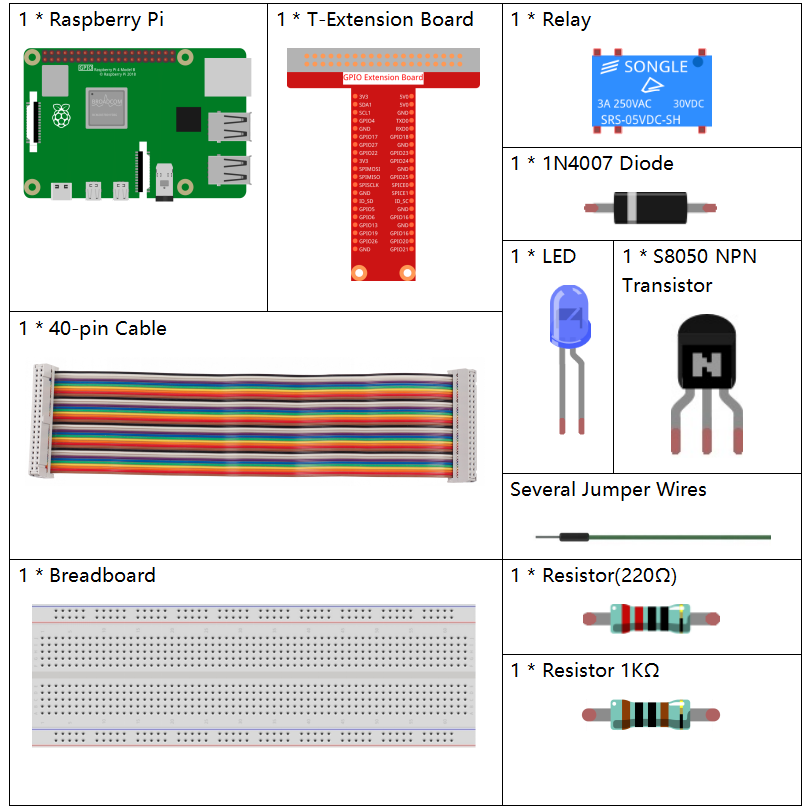
Components

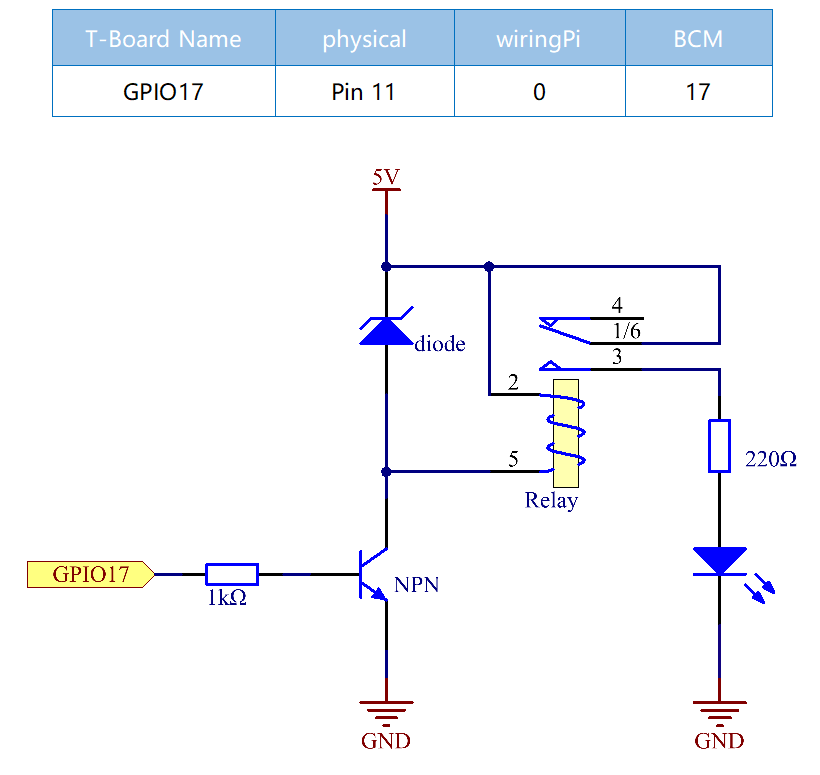
Schematic Diagram

Experimental Procedures
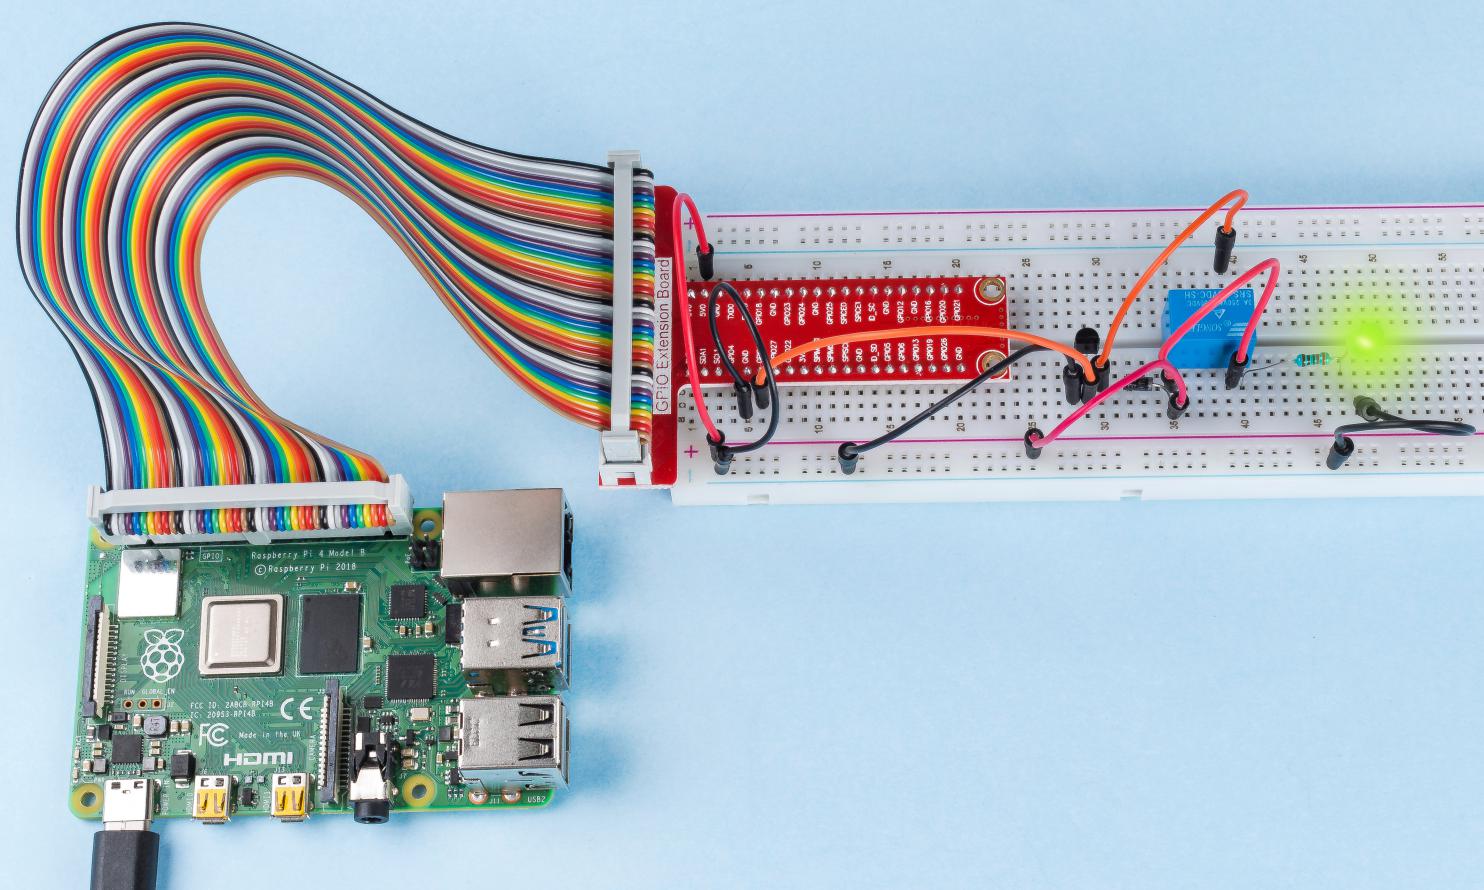
Step 1: Build the circuit.

Step 2: Go to the folder of the code.
cd ~/davinci-kit-for-raspberry-pi/nodejs/
Step 3: Run the code.
sudo node relay.js
While the code is running, the LED lights up. In addition, you can hear a ticktock caused by breaking normally close contact and closing normally open contact.
Code
const Gpio = require('pigpio').Gpio;
const relay = new Gpio(17,{mode: Gpio.OUTPUT});

setInterval(() => {
    relay.digitalWrite(!relay.digitalRead());
}, 500);

process.on('SIGINT',function(){
    relay.digitalWrite(0);
    process.exit();
});
Code Explanation
const Gpio = require('pigpio').Gpio;
const relay = new Gpio(17,{mode: Gpio.OUTPUT});
Import the pigpio module and instantiate an object relay of Gpio to control the IO port Gpio17, and set it to output mode.
setInterval(() => {
    relay.digitalWrite(!relay.digitalRead());
}, 500);
The relay is opened and closed continuously, and the LEDs will also be on and off continuously at intervals of 500ms.
process.on('SIGINT',function(){
    relay.digitalWrite(0);
    process.exit();
});
When ctrl+c is caught, the relay is opened.
Phenomenon Picture
