Note
Hello, welcome to the SunFounder Raspberry Pi & Arduino & ESP32 Enthusiasts Community on Facebook! Dive deeper into Raspberry Pi, Arduino, and ESP32 with fellow enthusiasts.
Why Join?
Expert Support: Solve post-sale issues and technical challenges with help from our community and team.
Learn & Share: Exchange tips and tutorials to enhance your skills.
Exclusive Previews: Get early access to new product announcements and sneak peeks.
Special Discounts: Enjoy exclusive discounts on our newest products.
Festive Promotions and Giveaways: Take part in giveaways and holiday promotions.
👉 Ready to explore and create with us? Click [here] and join today!
Install 3.5’’ IPS Screen Driver on RetroPie
This section explains how to install the 3.5’’ IPS screen driver on the RetroPie system. You will first access your Raspberry Pi via SSH, and then install the driver so that the RetroPie interface can be displayed on both the HDMI monitor and the 3.5’’ screen.
Install 3.5’’ IPS Screen Driver (Important)
Connect your Raspberry Pi to a monitor and power it on. Make sure an Ethernet cable is also connected so the device can access the network.
Once the RetroPie interface appears, press F4 on the keyboard to exit and enter the command line interface.
To enable SSH, run the following command:
sudo raspi-configIn the menu, navigate to: Interface Options → SSH → Enable.
(Optional) If you want to connect using an IP address, you can check it by running:
hostname -IYou will see output similar to:
192.168.100.119 xxxx.xxx
On your computer, open a terminal and connect to the Raspberry Pi via SSH using one of the following methods:
Using hostname (recommended):
ssh pi@retropie.localUsing IP address:
ssh pi@IP_ADDRESSFor example:
ssh pi@192.168.100.119
When connecting for the first time, type
yesto confirm, then enter the default password:raspberry
After logging in, run the following commands to install the 3.5’’ IPS screen driver:
Note
For the RetroPie system, make sure you are using the version provided in Retropie Download page (Raspberry Pi 4 only).
sudo rm -rf LCD-show-retropie
git clone https://github.com/sunfounder/LCD-show-retropie.git
chmod -R 755 LCD-show-retropie
cd LCD-show-retropie/
sudo ./MHS35IPS-show
Once the installation is complete, the Raspberry Pi will reboot automatically.
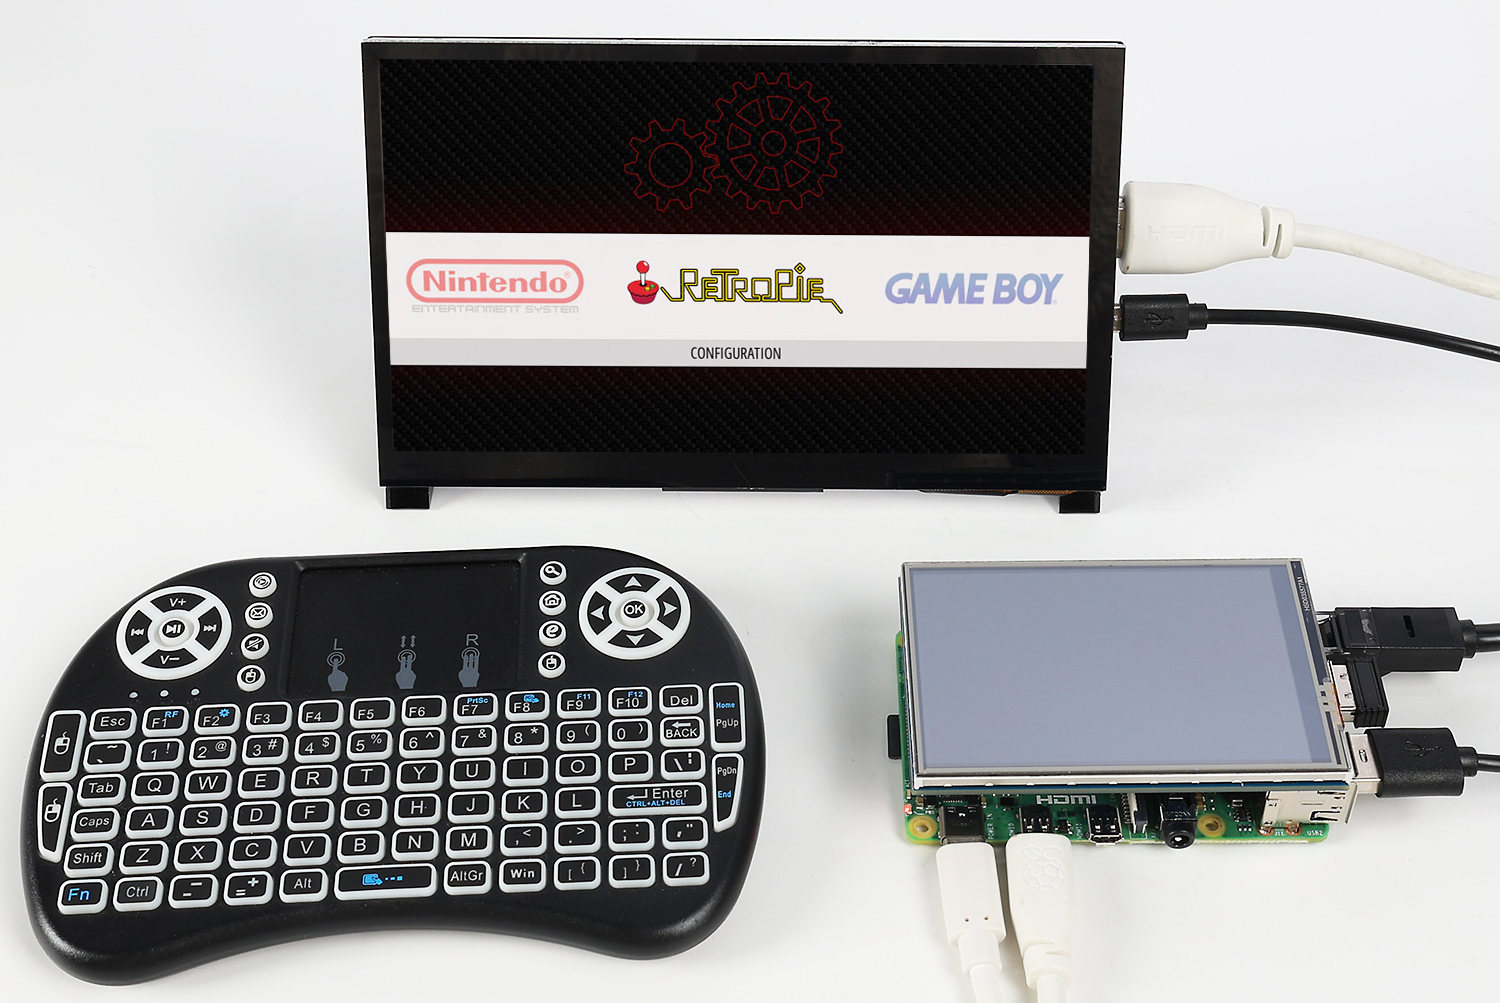
After rebooting, both the HDMI monitor and the 3.5’’ IPS screen will display the RetroPie interface.
The startup process may take 1–2 minutes, so please wait patiently.
Rotate the Display
You can rotate the display and touch orientation by running:
cd LCD-show-retropie/
sudo ./rotate.sh 90
The system will reboot automatically. After restart, the screen and touch orientation will be rotated to 90°.
You can replace 90 with 0, 180, or 270 to set the desired rotation.