Note
Hello, welcome to the SunFounder Raspberry Pi & Arduino & ESP32 Enthusiasts Community on Facebook! Dive deeper into Raspberry Pi, Arduino, and ESP32 with fellow enthusiasts.
Why Join?
Expert Support: Solve post-sale issues and technical challenges with help from our community and team.
Learn & Share: Exchange tips and tutorials to enhance your skills.
Exclusive Previews: Get early access to new product announcements and sneak peeks.
Special Discounts: Enjoy exclusive discounts on our newest products.
Festive Promotions and Giveaways: Take part in giveaways and holiday promotions.
👉 Ready to explore and create with us? Click [here] and join today!
1. What Else Do You Need?
Before we start using this screen, let’s prepare the essential hardware.
Required Components
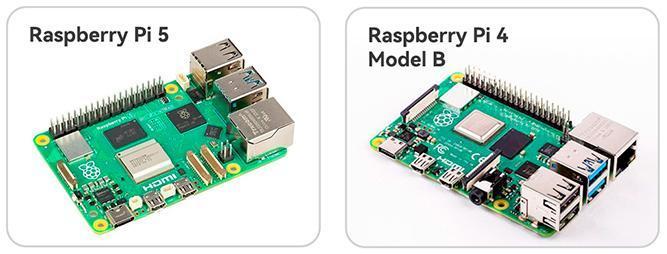
Raspberry Pi
Compatible models: Raspberry Pi 5, Raspberry Pi 4 Model B
Other Raspberry Pi models are not supported.
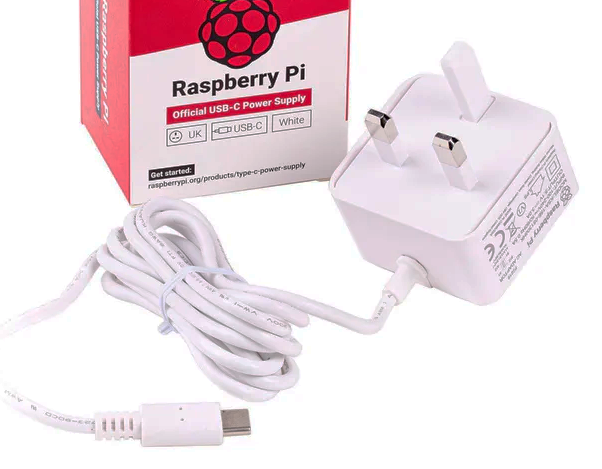
Power Adapter
Different Raspberry Pi models require different power supplies. For best stability, it is recommended to use the official power adapter:
Raspberry Pi 5: Recommended: 5V 5A USB-C power supply (Official 27W PSU). You may also use a USB-C Power Delivery (PD) charger, as long as it provides sufficient current.
Raspberry Pi 4 Model B: Recommended: 5V 3A USB-C power supply (Official 15W PSU). You may also use a USB-C PD or QC 2.0 fast charger.
Micro SD Card
The Raspberry Pi does not include built-in storage. It boots and stores all data on a Micro SD card.
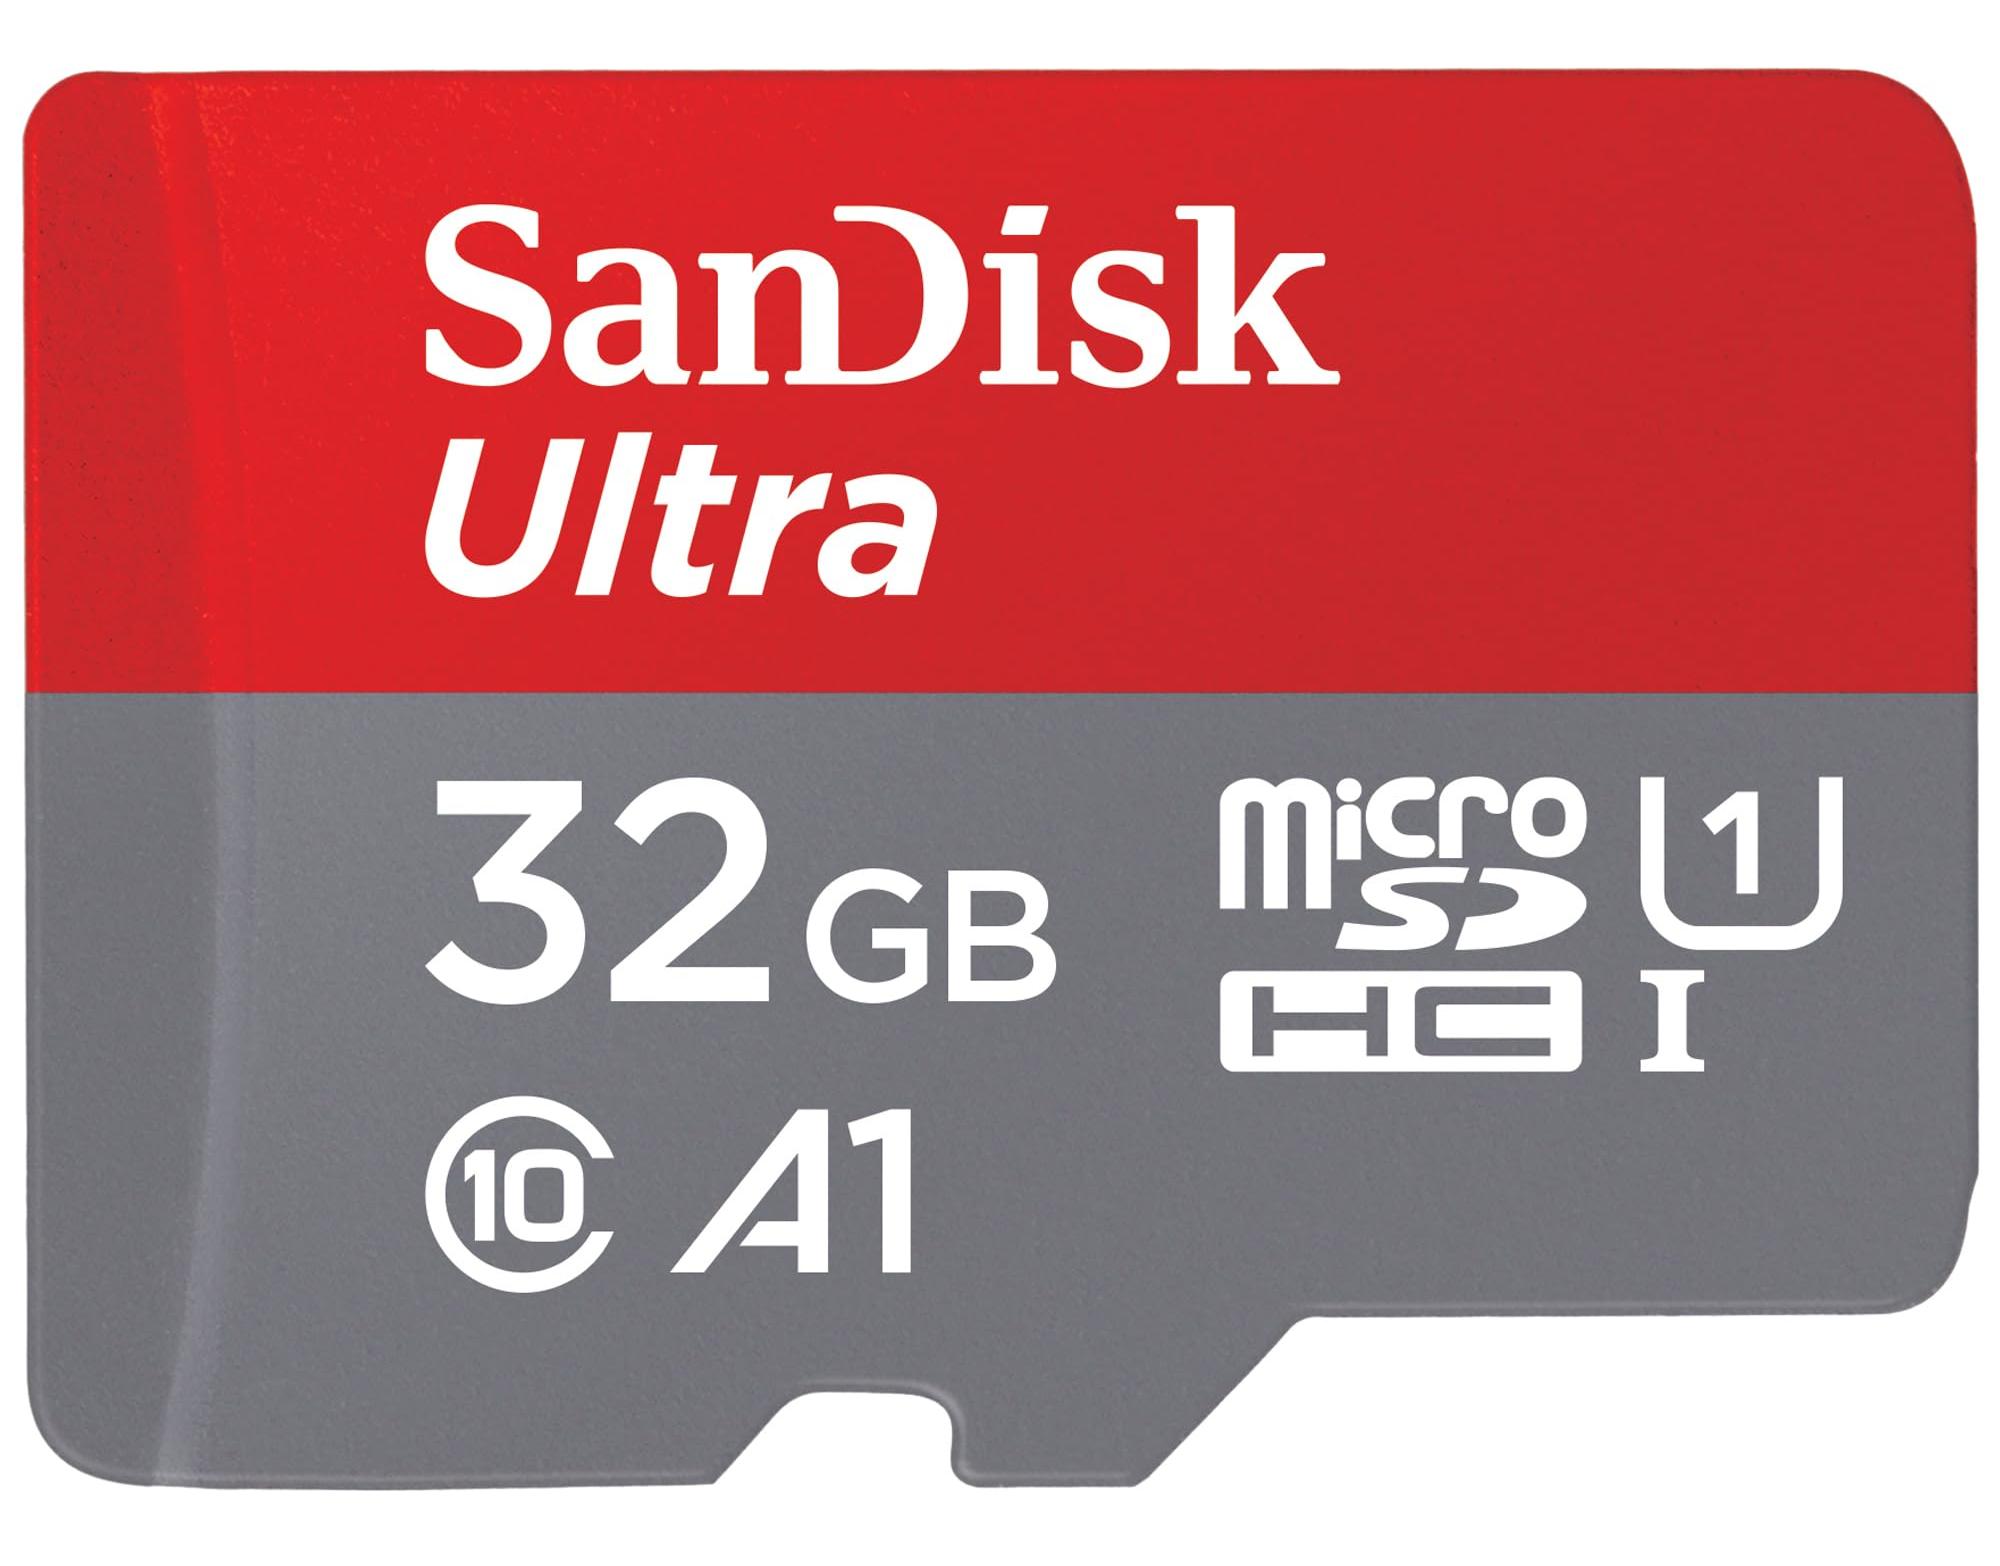
Minimum: 16GB
Recommended: 32GB or higher for better performance and stability
Recommended brands: SanDisk, Samsung
Optional Components
Although not strictly required, the following peripherals will significantly improve your setup and debugging experience:
Monitor (HDMI or TV)
For beginners, we strongly recommend using a display with an HDMI input. This makes it easier to configure the system and run graphical programs.

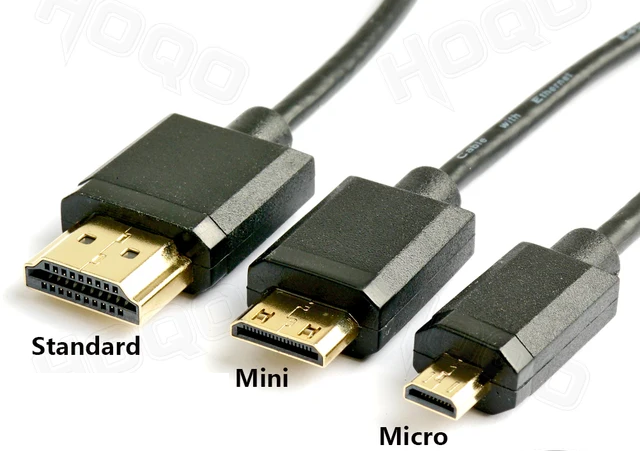
Micro HDMI Cable
The Raspberry Pi 4B and Raspberry Pi 5 require a Micro HDMI cable to connect to a display.
It is recommended to use the HDMI0 port (the one closest to the USB-C power port).
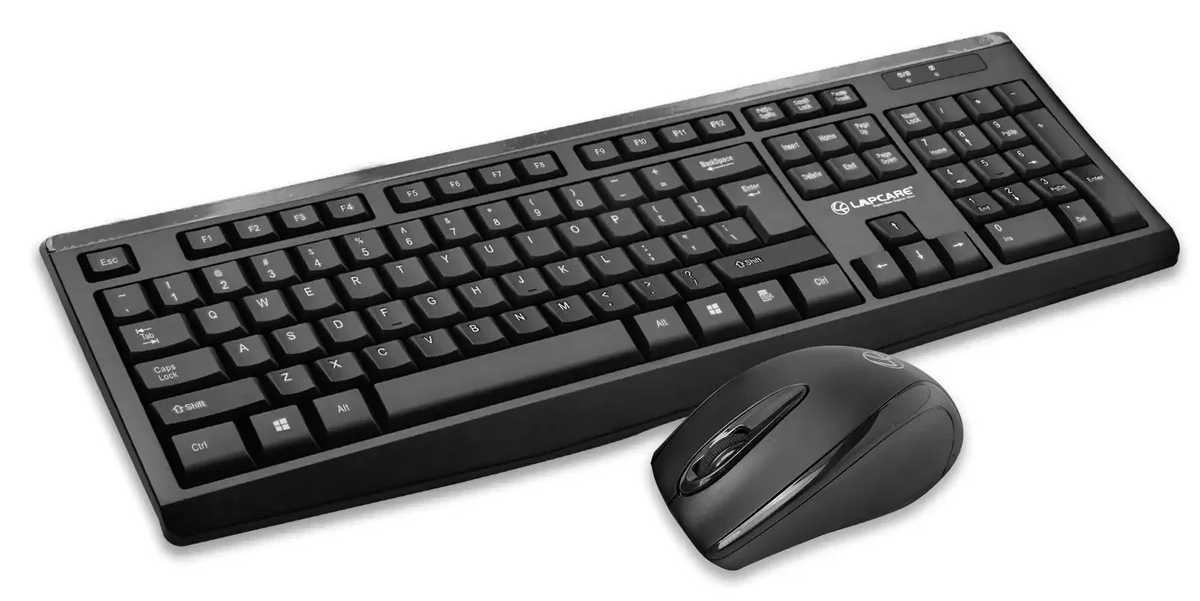
Keyboard & Mouse
These are very useful during the initial OS setup.
You can switch to remote access (SSH/VNC) later, but for beginners, a basic USB or wireless keyboard and mouse are highly recommended.