2. Remote Control Your Zeus Car
Welcome to this lesson, you’ll learn how to bring your Zeus Car to life by remotely controlling it using the Mammoth Coding App.
We’ll guide you through uploading the necessary firmware, connecting your mobile device to the Zeus Car, and programming basic movements. By the end of this lesson, you’ll be able to control your Zeus Car by arrow keys.
You Will Learn
Upload firmware to enable Zeus Car remote control.
Connect the Mammoth Coding App via Wi-Fi.
Use movement blocks to control the Zeus Car.
Program the Zeus Car to move.
Uploading the Firmware to Your Arduino Board
Now, let’s upload the firmware to your Arduino to enable remote control functionality on your Zeus Car.
The ESP32-CAM and the Arduino board share the same RX (receive) and TX (transmit) pins. When uploading code, you need to first disconnect the ESP32-CAM to avoid any conflicts or potential issues.

Use the blue USB cable to connect the Zeus Car to your computer. The Arduino board should be automatically recognized and assigned a COM port, viewable in Device Manager.
Ensure you have completed the Updating the ESP32 CAM Firmware section.
Then, open the
galaxy-rvr-1.2.0folder and double-click theupdate-arduino-firmware.batscript. A command prompt window will open.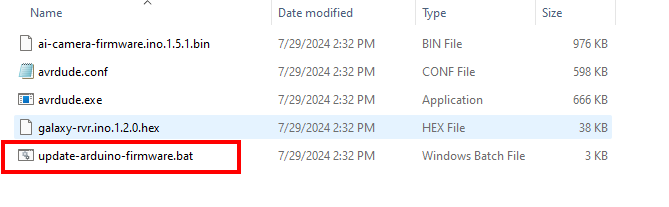
In the command prompt, all available ports will be listed. Find the number corresponding to “USB-SERIAL CH340(COMxx)”. For example, if it’s “1”, enter
1. Press Enter to automatically upload the firmware.
After the upload finishes, you can unplug the USB cable.

Reconnect the ESP32-CAM and then slide the power switch to ON to start the Zeus Car.
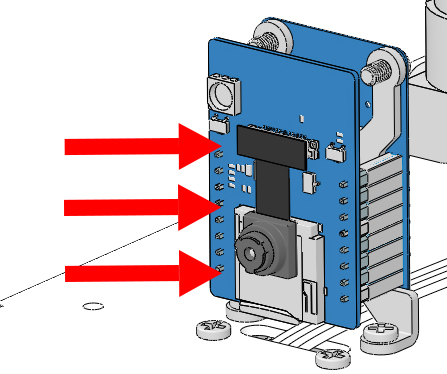
Toggle the Upload switch to the Run position (right side in this diagram) to start the ESP32-CAM.

Press the Reset button to get the Arduino board’s program running again.

Warning
This code enables the Zeus Car to respond to commands from the Mammoth Coding App. You won’t need to upload any more code in subsequent lessons that use the app.
Connecting the App to Zeus Car
Now we’ll connect your mobile device to the Zeus Car’s Wi-Fi hotspot and then connect the app to the Zeus Car.
Connect your mobile device to the local area network (LAN) broadcast by the Zeus Car. This ensures your device and the Zeus Car are on the same network, facilitating communication between them.
Find
Zeus_Carin your device’s Wi-Fi settings, enter the password12345678, and connect.
The default connection mode is AP (Access Point) mode. After connecting, you might see a prompt indicating there’s no Internet access on this network. Choose to continue connecting.

Open the Mammoth Coding App and tap the Add Extension button in the lower-left corner.
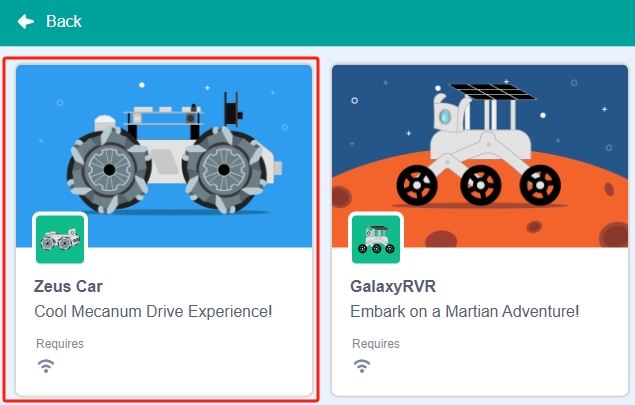
Select the Zeus Car extension.
The app will search for your robot.
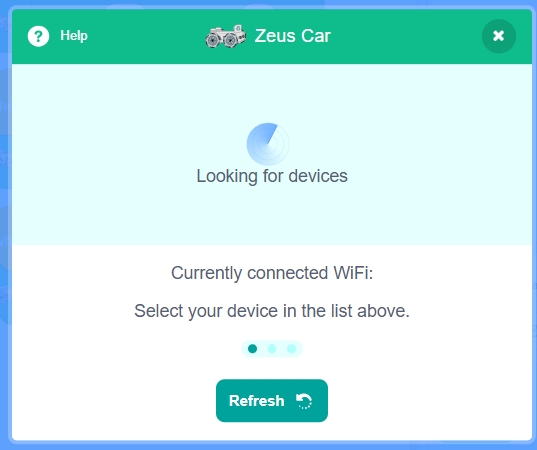
When the Zeus Car appears with its IP address, tap Connect.

You can check the connection status from the light at the bottom of the Zeus Car.
Flashing yellow indicates no devices are connected.
Steady blue means the connection is successful.
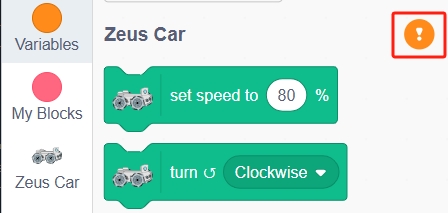
When your device is disconnected from Zeus Car, you will see this pop-up window appear in the interface. Click Reconnect.

If you close the pop-up window, you can also reconnect by clicking this button in the GalaxyRVR category.
Moving the Zeus Car at Different Angles
Now that your Zeus Car and the Mammoth Coding App are ready, it’s time to start programming your Zeus Car.
Let’s make the Zeus Car move in different directions. There are two blocks you can use to control its movement.
1. “move at (0) degrees for (1) secs” Block
This block allows the Zeus Car to move at a specified angle (0-360 degrees) for a set duration.

From the Zeus Car category, find the “move at (0) degrees for (1) secs” block and drag it into the script area.
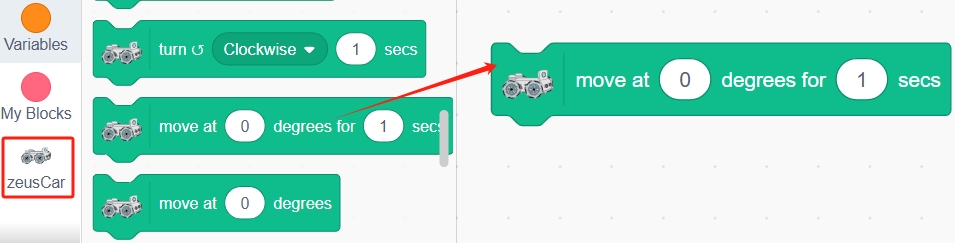
Click the block, and you’ll see the Zeus Car move forward for one second and then stop.
Adjust the angle value to see how the Zeus Car moves in different directions.
2. “move at (0) degrees” Block
This block makes the Zeus Car move continuously at a specified angle (0-360 degrees).

Drag the “move at (0) degrees” block into the script area and set it to any angle you’d like.
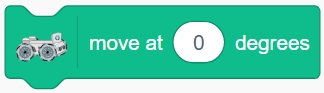
Click the block, and the Zeus Car will keep moving in the set direction without stopping.
To make the Zeus Car move for a specific duration and then stop, add a “wait (1) seconds” block followed by a “stop moving” block.

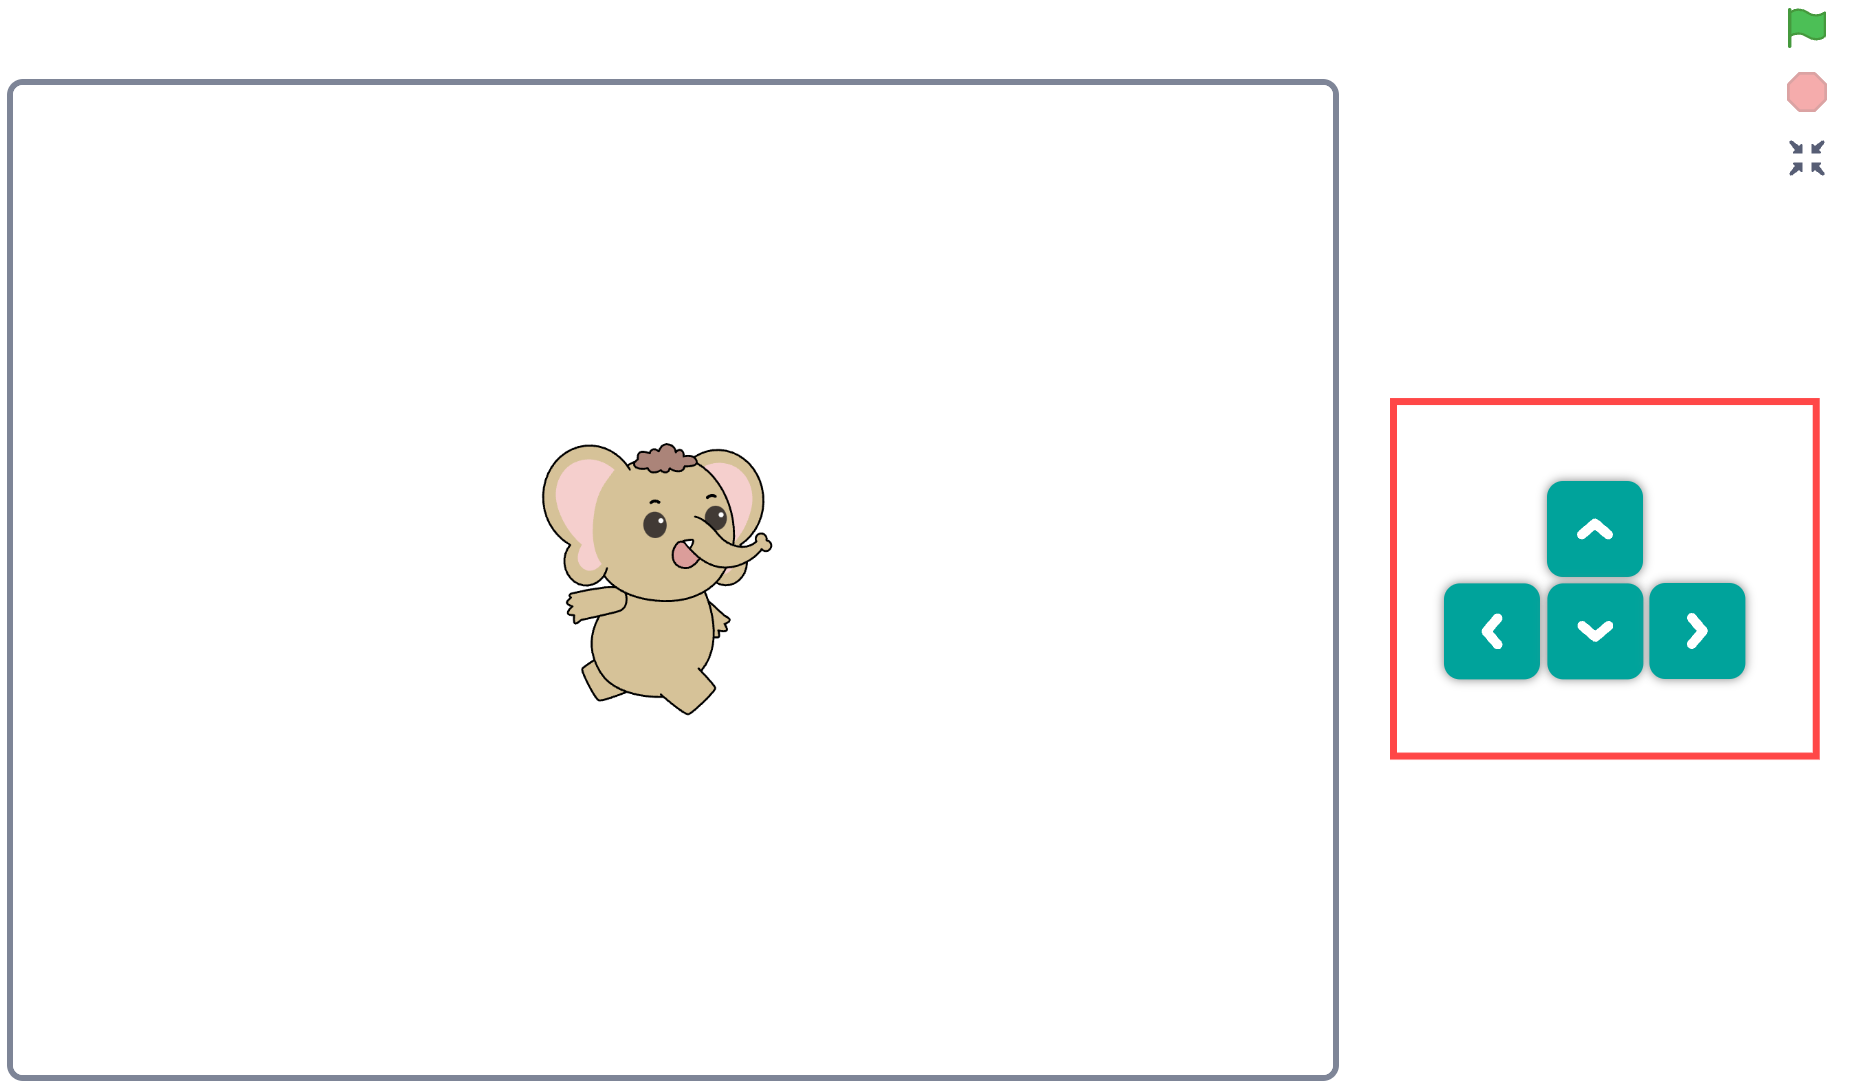
Control Zeus Car Movement with Arrow Keys
Now, we will learn how to use arrow keys to control the forward, backward, left, and right movement of the Zeus Car.
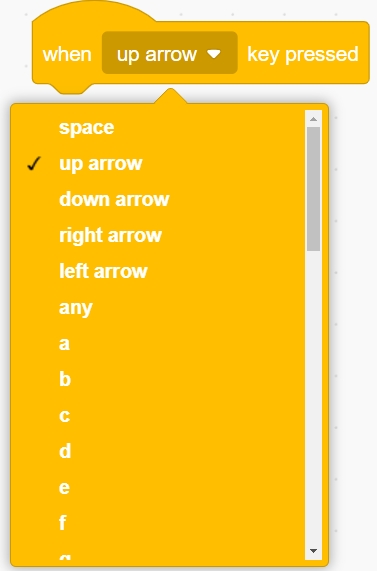
Drag the “when (space) key pressed” block from the Events category into the script area.

The dropdown menu of this block lists various key events, such as space, arrow keys, any key, letters, and numbers. Here, we will use the up, down, left, and right arrow keys.
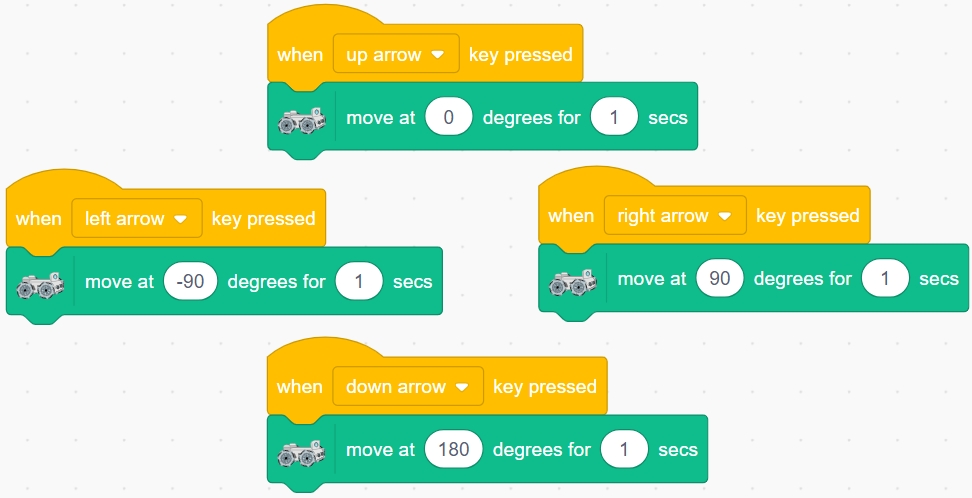
When the up arrow key is pressed, program the Zeus Car to move in the 0-degree direction for 1 second.

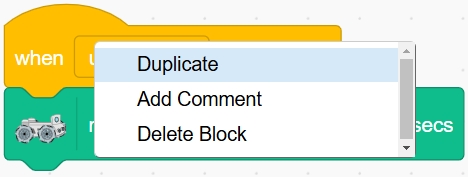
Long-press the “when (space) key pressed” block to duplicate the script.
Duplicate it 3 times and modify the respective key names and movement angles to achieve the following:
When the up arrow key is pressed, the Zeus Car moves in the 0-degree direction.
When the down arrow key is pressed, the Zeus Car moves in the 180-degree direction.
When the left arrow key is pressed, the Zeus Car moves in the -90-degree direction.
When the right arrow key is pressed, the Zeus Car moves in the 90-degree direction.
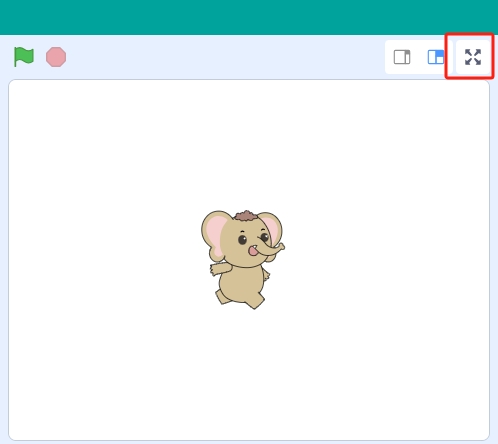
After completing the scripts, expand the stage by clicking this button.
Now, you can use the arrow keys to control the movement of the Zeus Car.
Finally, remember to save this script.
Summary
In this lesson, you learned how to control your Zeus Car remotely using the Mammoth Coding App. You successfully uploaded firmware, connected the app via Wi-Fi, and programmed the Zeus Car to move in different directions. Additionally, you used arrow keys to control its movement, enabling precise navigation. Great work!