Note
Hello, welcome to the SunFounder Raspberry Pi & Arduino & ESP32 Enthusiasts Community on Facebook! Dive deeper into Raspberry Pi, Arduino, and ESP32 with fellow enthusiasts.
Why Join?
Expert Support: Solve post-sale issues and technical challenges with help from our community and team.
Learn & Share: Exchange tips and tutorials to enhance your skills.
Exclusive Previews: Get early access to new product announcements and sneak peeks.
Special Discounts: Enjoy exclusive discounts on our newest products.
Festive Promotions and Giveaways: Take part in giveaways and holiday promotions.
👉 Ready to explore and create with us? Click [here] and join today!
Remote Desktop Access for Raspberry Pi
For those preferring a graphical user interface (GUI) over command-line access, the Raspberry Pi supports remote desktop functionality. This guide will walk you through setting up and using VNC (Virtual Network Computing) for remote access.
We recommend using VNC® Viewer for this purpose.
Enabling VNC Service on Raspberry Pi
VNC service comes pre-installed in the Raspberry Pi OS but is disabled by default. Follow these steps to enable it:
Enter the following command in the Raspberry Pi terminal:
sudo raspi-config
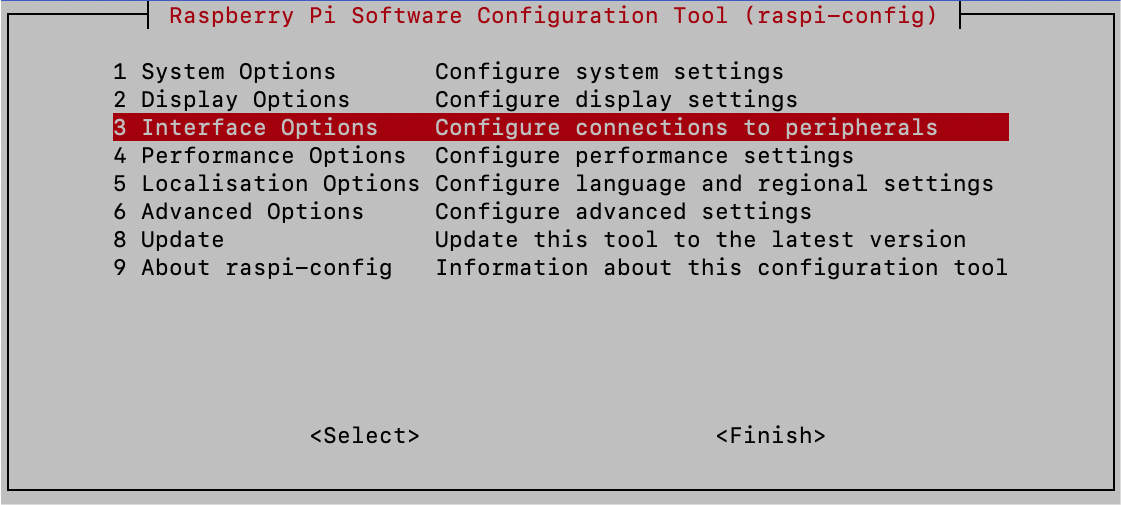
Navigate to Interfacing Options using the down arrow key, then press Enter.
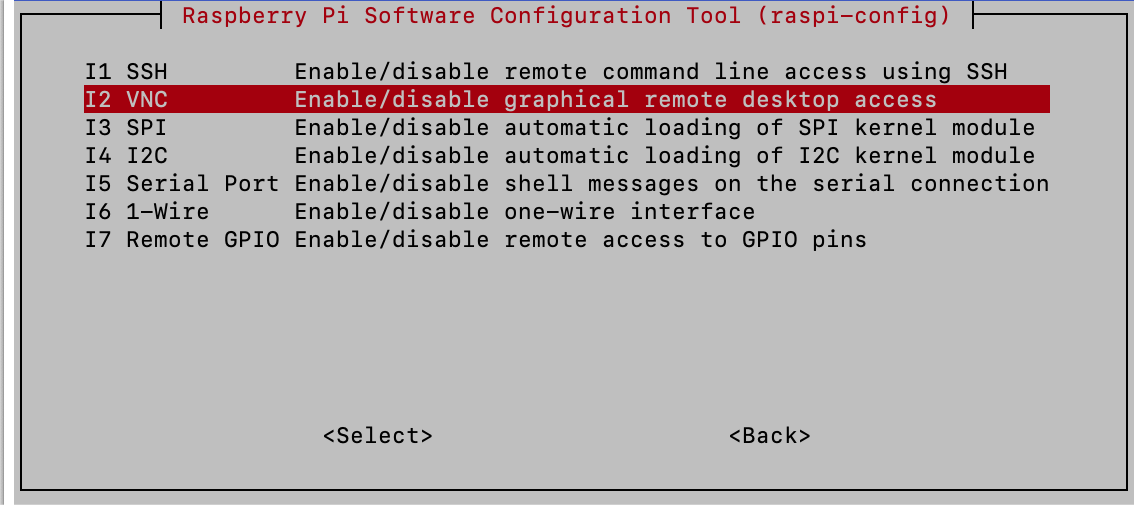
Select VNC from the options.
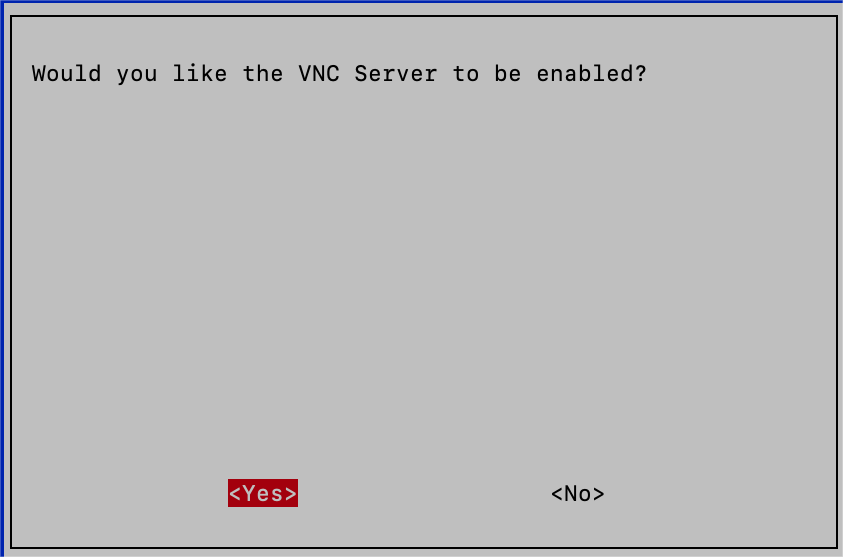
Use the arrow keys to choose <Yes> -> <OK> -> <Finish> and finalize the VNC service activation.
Logging in via VNC Viewer
Download and install VNC Viewer on your personal computer.
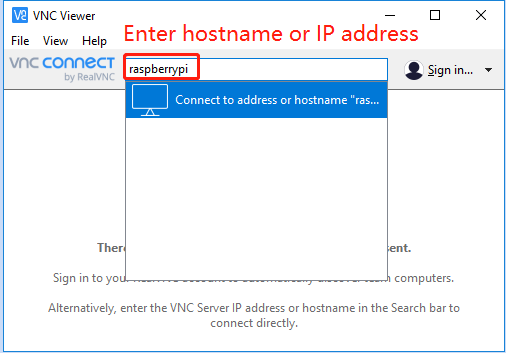
Once installed, launch VNC Viewer. Enter the hostname or IP address of your Raspberry Pi and press Enter.
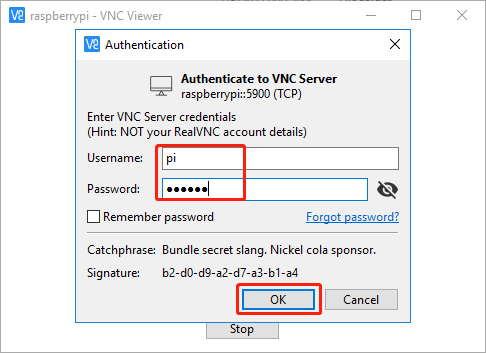
When prompted, enter your Raspberry Pi’s username and password, then click OK.
You’ll now have access to your Raspberry Pi’s desktop interface.