Setting Up Your Raspberry Pi
Setting Up with a Screen
Having a screen simplifies the process of working with your Raspberry Pi.
Required Components
Raspberry Pi
Power Adapter
Micro SD card
Screen Power Adapter
HDMI cable
Screen
Mouse
Keyboard
Steps:
Connect the Mouse and Keyboard to the Raspberry Pi.
Use the HDMI cable to connect the screen to the Raspberry Pi’s HDMI port. Ensure the screen is plugged into a power source and turned on.
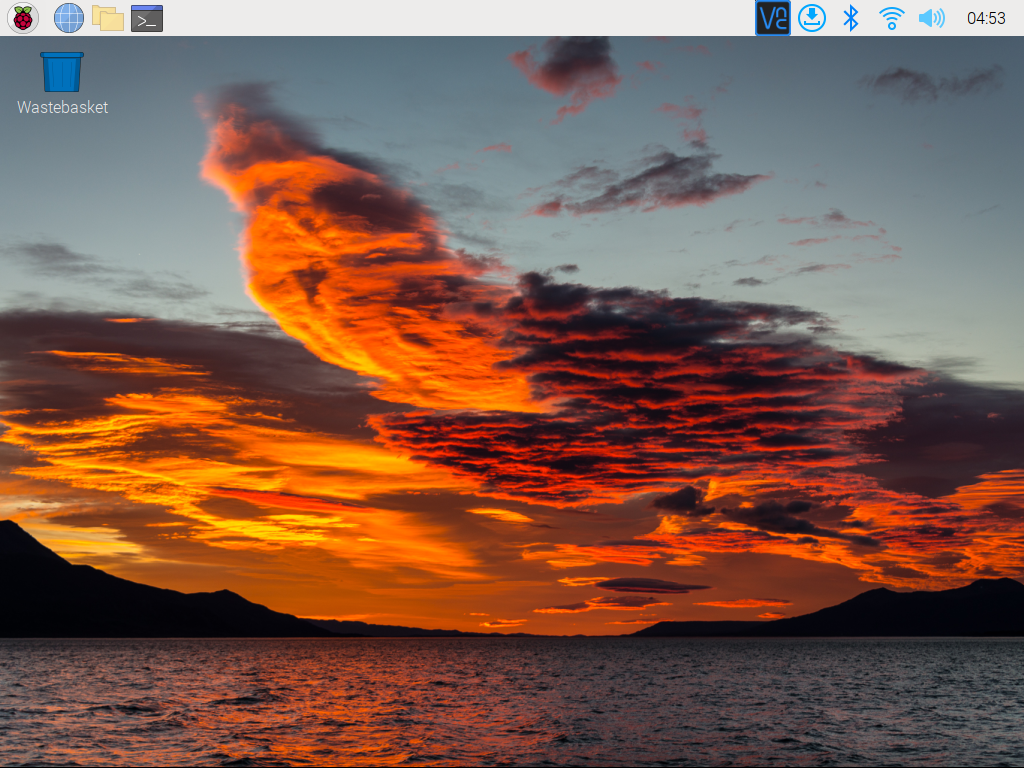
Power the Raspberry Pi using the power adapter. The Raspberry Pi OS desktop should appear on the screen after a few seconds.
Setting Up Without a Screen
If you don’t have a monitor, remote login is a viable option.
Required Components
Raspberry Pi
Power Adapter
Micro SD card
Using SSH, you can access the Raspberry Pi’s Bash shell, which is the default Linux shell. Bash offers a command-line interface for performing various tasks.
For those preferring a graphical user interface (GUI), the remote desktop feature is a convenient alternative for managing files and operations.
For detailed setup tutorials based on your operating system, refer to the following sections: