Note
Hello, welcome to the SunFounder Raspberry Pi & Arduino & ESP32 Enthusiasts Community on Facebook! Dive deeper into Raspberry Pi, Arduino, and ESP32 with fellow enthusiasts.
Why Join?
Expert Support: Solve post-sale issues and technical challenges with help from our community and team.
Learn & Share: Exchange tips and tutorials to enhance your skills.
Exclusive Previews: Get early access to new product announcements and sneak peeks.
Special Discounts: Enjoy exclusive discounts on our newest products.
Festive Promotions and Giveaways: Take part in giveaways and holiday promotions.
👉 Ready to explore and create with us? Click [here] and join today!
Installing the Operating System
Before using your Raspberry Pi, you need to install Raspberry Pi OS onto a microSD card. This guide explains how to do that using Raspberry Pi Imager in a simple, beginner-friendly way.
Required Components
A computer (Windows, macOS, or Linux)
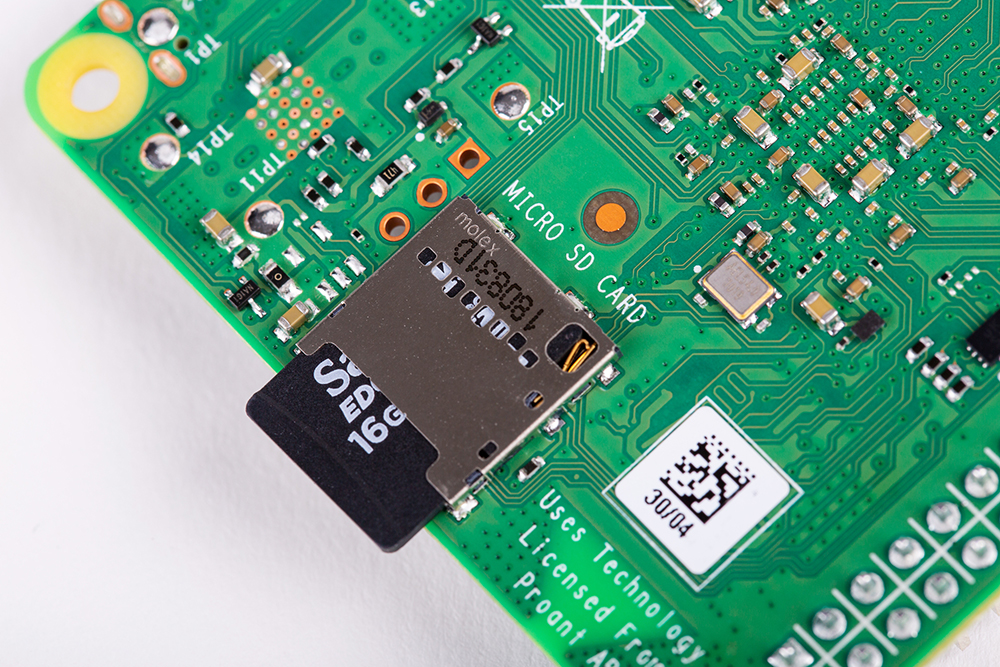
A microSD card (16GB or larger; recommended brands: SanDisk, Samsung)
A microSD card reader
Install Raspberry Pi Imager
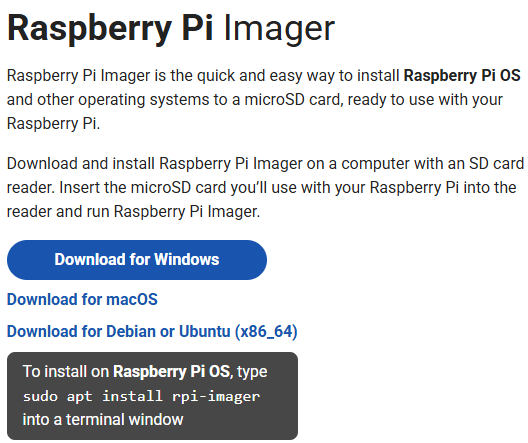
Visit the official Raspberry Pi Imager download page: Raspberry Pi Imager. Download the correct installer for your operating system.
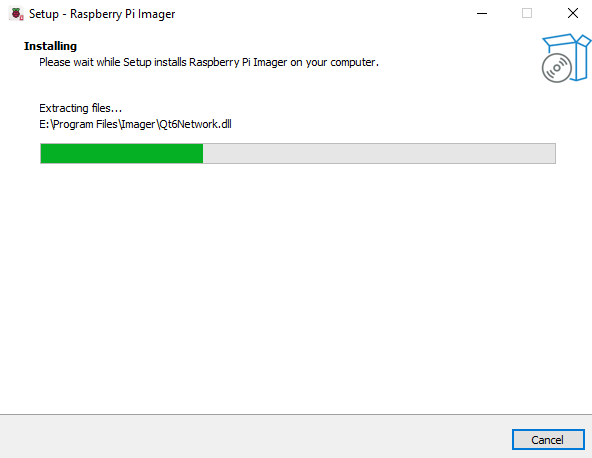
Follow the installation prompts (language, install path, confirmation). After installation, launch Raspberry Pi Imager from your desktop or applications menu.
Install the OS to the microSD Card
Insert your microSD card into your computer using a card reader. Back up any important data before proceeding.

When Raspberry Pi Imager opens, you will see the Device page. Select your Raspberry Pi model from the list (e.g., Raspberry Pi 5, 4, 3, or Zero 2W).

Go to the OS section and choose the recommended Raspberry Pi OS (64-bit) option.

Tip
Do not install the 32-bit version, as some required dependencies may not be available on it.
In the Storage section, select your microSD card.

OS Customization Settings
Continue to the customization step.
If you will connect a monitor, keyboard, and mouse directly to your Raspberry Pi, you may click SKIP CUSTOMISATION.
If you plan to set up the Raspberry Pi headless (Wi-Fi remote access), you must complete the customization settings.
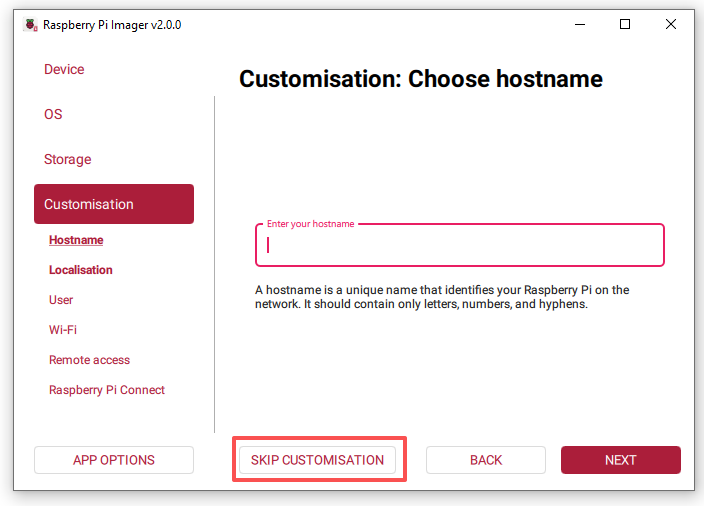
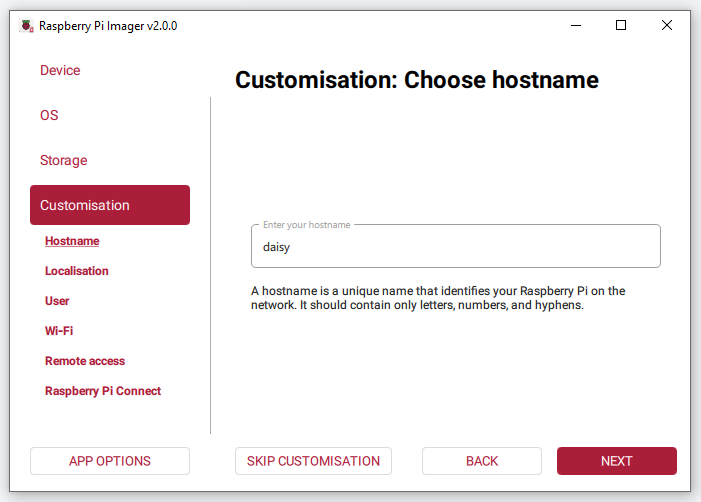
Set Hostname
Give your Raspberry Pi a unique hostname.
You can connect to it later using
hostname.local.
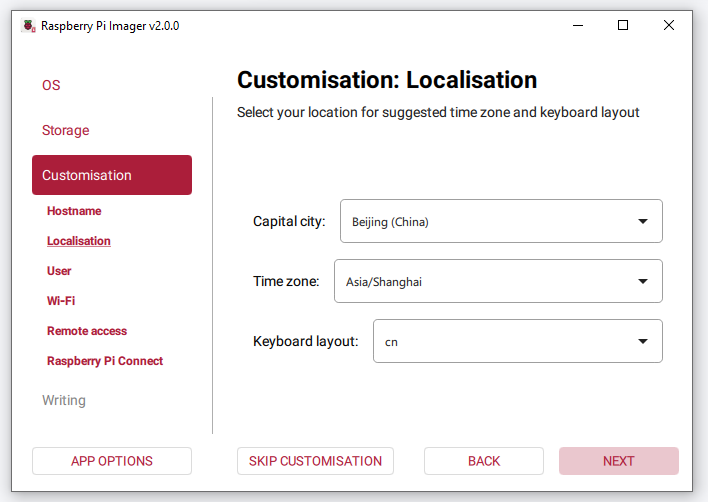
Set Localisation
Choose your capital city.
Imager will auto-complete the time zone and keyboard layout based on your selection, though you can adjust them if needed. Select Next.
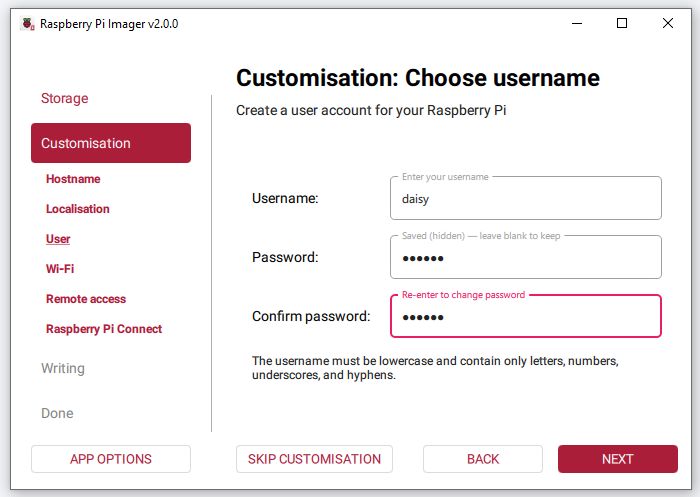
Set Username & Password
Create a user account for your Raspberry Pi.
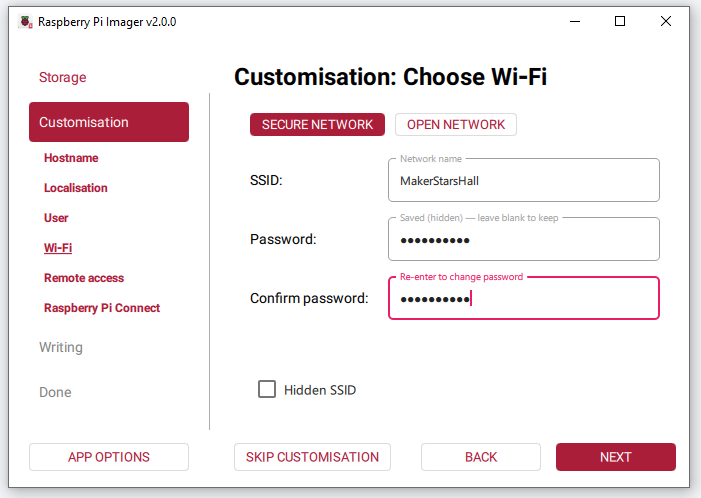
Configure Wi-Fi
Enter your Wi-Fi SSID (network name) and password.
Your Raspberry Pi will automatically connect on first boot.
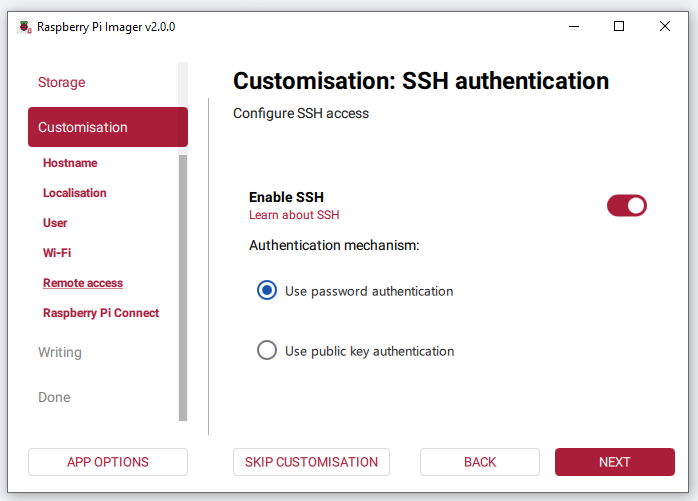
Enable SSH (Optional but Recommended)
Enabling SSH allows you to remotely log in from your computer.
You may log in using your username/password or configure SSH keys.
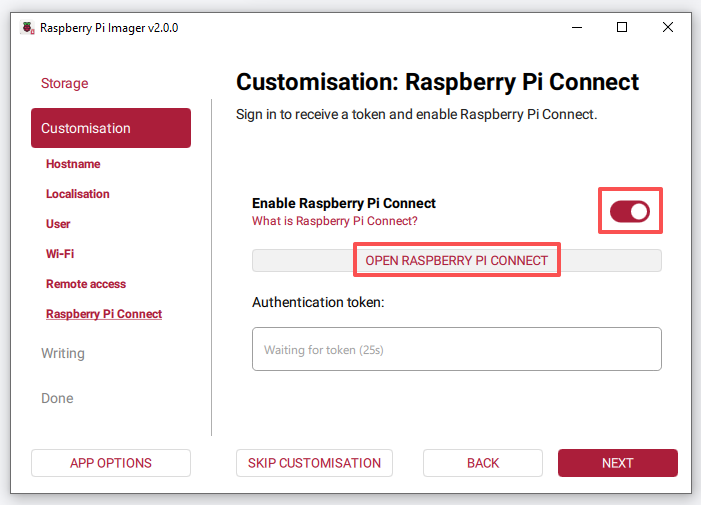
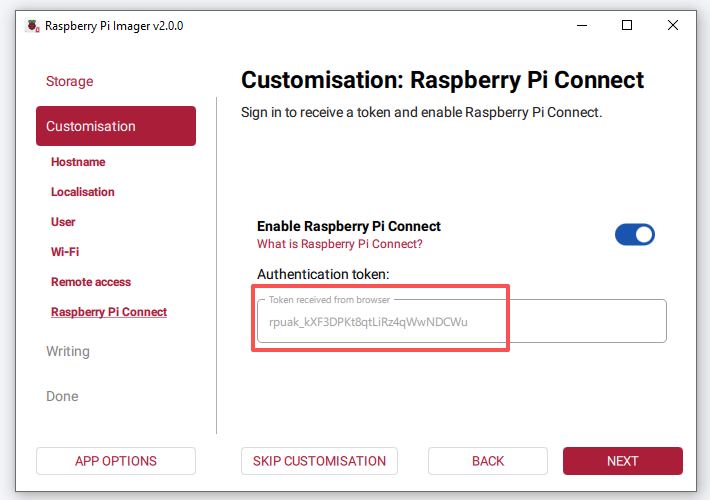
Enable Raspberry Pi Connect (Optional)
Raspberry Pi Connect allows you to access your Raspberry Pi desktop from a web browser.
Turn on Raspberry Pi Connect, then click OPEN RASPBERRY PI CONNECT.
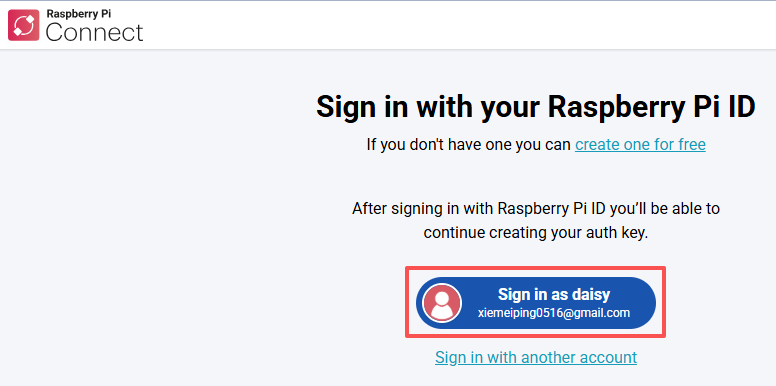
The Raspberry Pi Connect website will open in your default browser. Log in to your Raspberry Pi ID account, or sign up if you don’t have one yet.
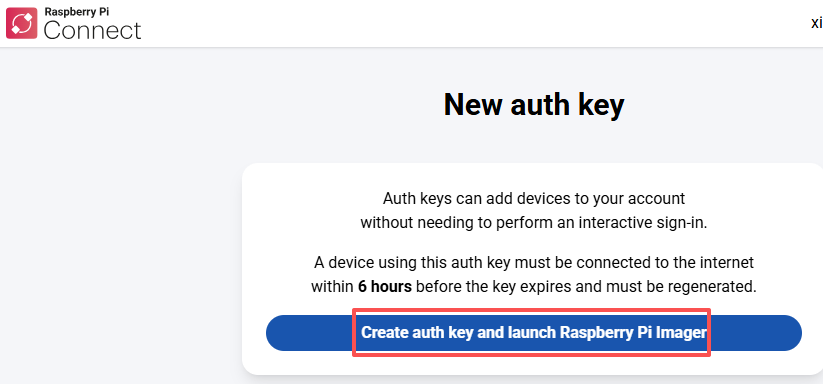
On the New auth key page, create your one-time auth key.
If your Raspberry Pi ID account isn’t part of any organisation, select Create auth key and launch Raspberry Pi Imager.
If you belong to one or more organisations, choose one, then create the key and launch Imager.
Make sure to power on your Raspberry Pi and connect it to the internet before the key expires.
Your browser may ask to open Raspberry Pi Imager — allow it.
Imager will open on the Raspberry Pi Connect tab, showing the authentication token.
If the token doesn’t transfer automatically, open the Having trouble? section on the Raspberry Pi Connect page, copy the token, and paste it into Imager manually.
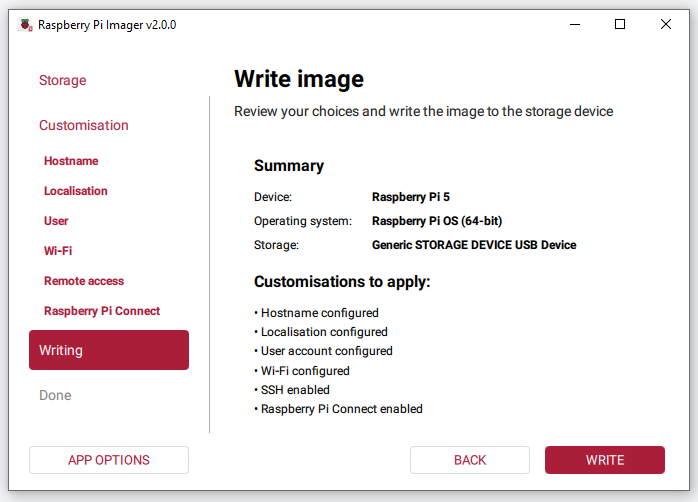
Write the OS Image
Review all settings and click WRITE.
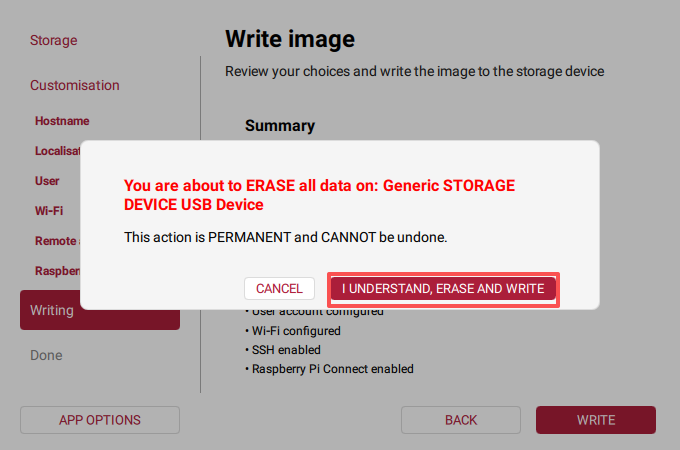
If the card already contains data, Raspberry Pi Imager will show a warning that all data on the device will be erased. Double-check that you selected the correct drive, then click I UNDERSTAND, ERASE AND WRITE to continue.
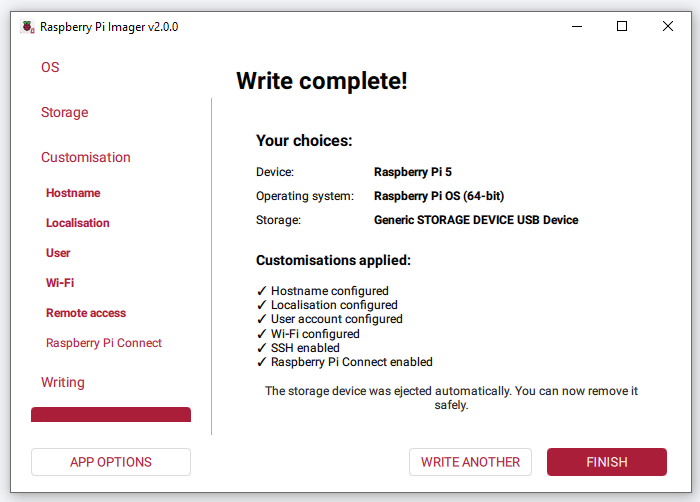
Wait for the writing and verification to finish. When it is done, Raspberry Pi Imager will show Write complete! and a summary of your choices. The storage device will be ejected automatically so you can remove it safely.
Remove the microSD card and insert it into the slot on the underside of your Raspberry Pi. Your Raspberry Pi is now ready to boot with the new OS!