Note
Hello, welcome to the SunFounder Raspberry Pi & Arduino & ESP32 Enthusiasts Community on Facebook! Dive deeper into Raspberry Pi, Arduino, and ESP32 with fellow enthusiasts.
Why Join?
Expert Support: Solve post-sale issues and technical challenges with help from our community and team.
Learn & Share: Exchange tips and tutorials to enhance your skills.
Exclusive Previews: Get early access to new product announcements and sneak peeks.
Special Discounts: Enjoy exclusive discounts on our newest products.
Festive Promotions and Giveaways: Take part in giveaways and holiday promotions.
👉 Ready to explore and create with us? Click [here] and join today!
Remote Desktop
You can access and control the Raspberry Pi desktop remotely from another computer. The recommended method is VNC, which is officially supported on Raspberry Pi OS and provides a reliable and consistent desktop experience.
The following section explains how to enable VNC on your Raspberry Pi and connect to it using RealVNC® Viewer.
Enable the VNC Service
RealVNC Server is preinstalled on Raspberry Pi OS, but it is disabled by default. You must enable it through the configuration tool.
Open a terminal on your computer (Windows: PowerShell; macOS/Linux: Terminal) and connect to your Raspberry Pi:
ssh <username>@<hostname>.localor
ssh <username>@<ip_address>Run the configuration tool:
sudo raspi-config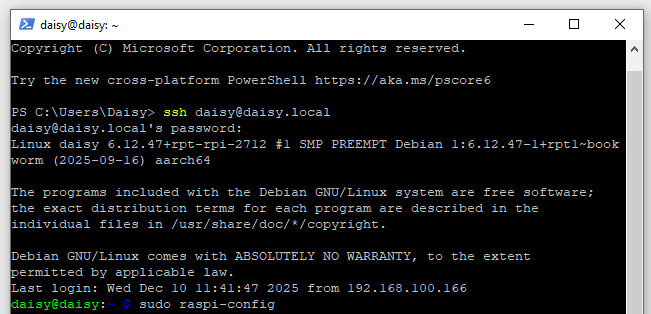
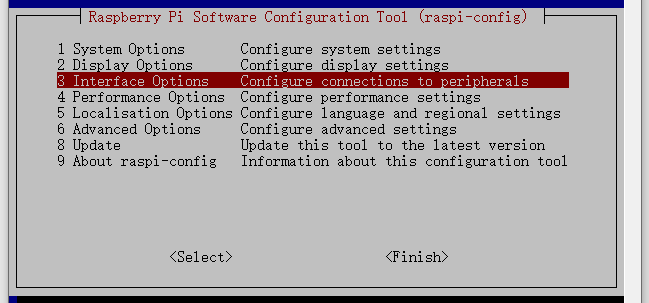
Select Interfacing Options and press Enter.
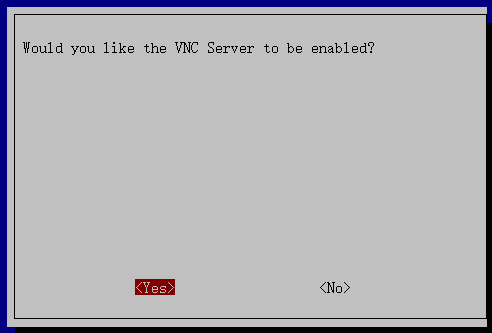
Select VNC.

Choose Yes, then OK, and finally Finish to exit.
Log in with RealVNC® Viewer
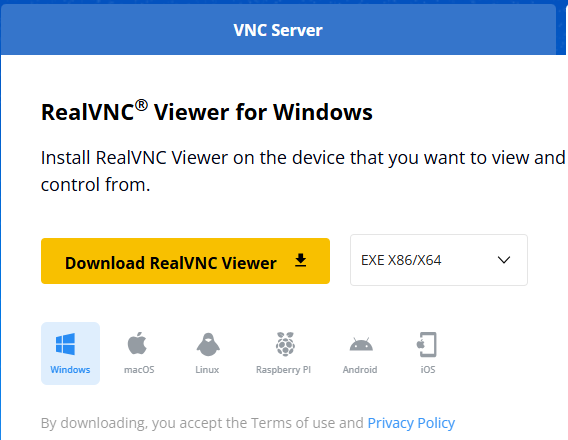
Download and install RealVNC® Viewer for your operating system.
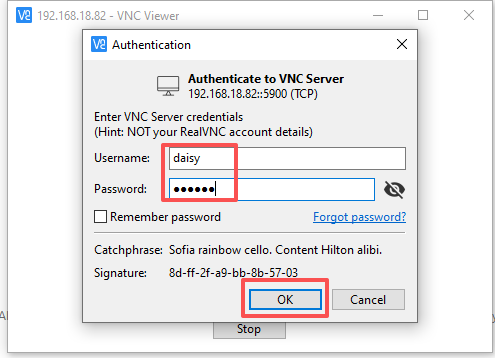
Open RealVNC Viewer, then enter your Raspberry Pi’s IP address or
<hostname>.localand press Enter.
Enter your Raspberry Pi’s username and password, then select OK.
Note
When connecting for the first time, you may see a message such as “VNC Server not recognized”. Select Continue to proceed.
You should now see the Raspberry Pi desktop:
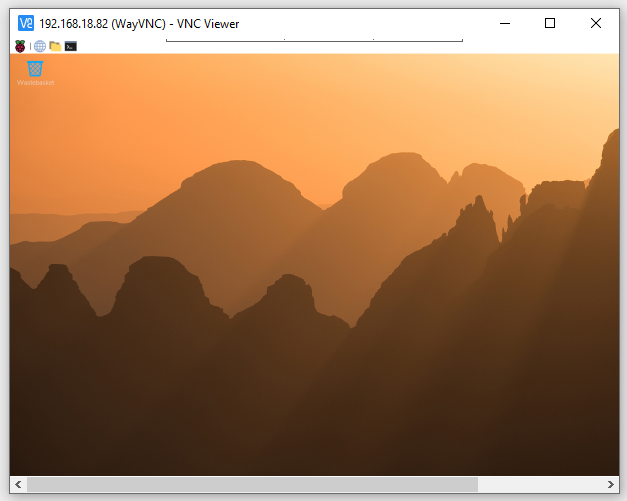
This completes the VNC setup process.
Additional Notes
Desktop version required
VNC requires the Raspberry Pi to be running the full desktop version of Raspberry Pi OS.
If you are using Raspberry Pi OS Lite, install VNC Server manually:
sudo apt install realvnc-vnc-server
Network performance tips
If you experience lag or slow refresh rates, check your network quality.
Wired Ethernet generally offers the best performance.
Fixing display resolution issues
If the VNC window appears too small or the resolution is incorrect, set a fixed resolution via:
sudo raspi-config→ Display Options → VNC Resolution
Ensure VNC is enabled
If VNC fails to connect, verify that it is enabled in:
sudo raspi-config→Interfacing Options→VNCStopping the VNC service
To manually stop the VNC Server:
sudo systemctl stop vncserver-x11-servicedSecurity reminder
VNC is designed for trusted local networks.
Do not expose VNC directly to the internet.
For secure remote access from outside your network, use Raspberry Pi Connect or a VPN.