7. Doorbell
Here, we will use the button and the bell on the stage to make a doorbell.
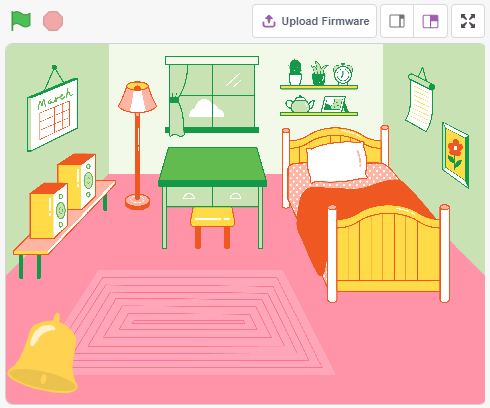
When the green flag is clicked, you can press the button and the bell on the stage will make a sound.
You Will Learn
How the button work
Reading digital pin and ranges
Creating a conditional loop
Adding a backdrop
Playing sound
Build the Circuit
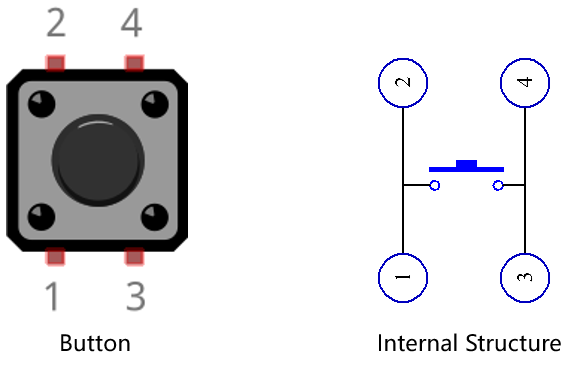
The button is a 4-pin device, since the pin 1 is connected to pin 2, and pin 3 to pin 4, when the button is pressed, the 4 pins are connected, thus closing the circuit.
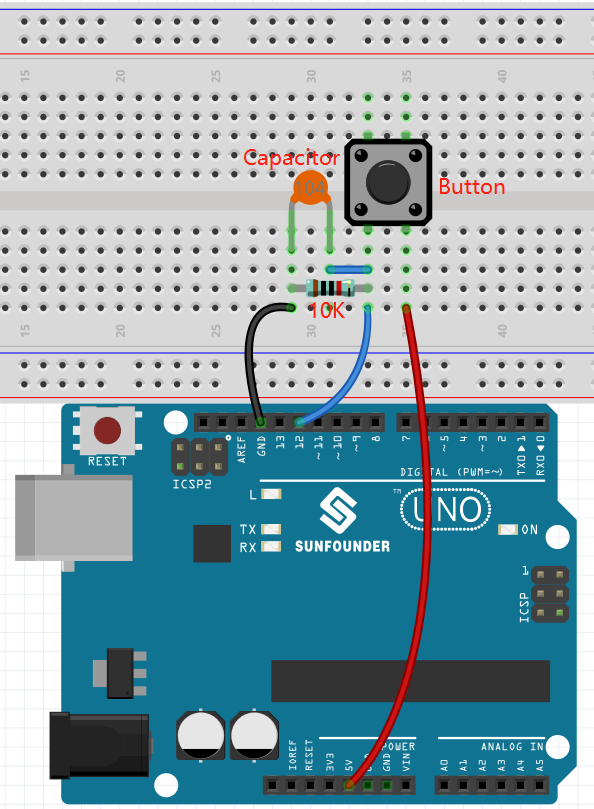
Build the circuit according to the following diagram.
Connect one of the pins on the left side of the button to pin 12, which is connected to a pull-down resistor and a 0.1uF (104) capacitor (to eliminate jitter and output a stable level when the button is working).
Connect the other end of the resistor and capacitor to GND, and one of the pins on the right side of the button to 5V.
Programming
1. Add a Backdrop
Click the Choose a Backdrop button in the lower right corner.
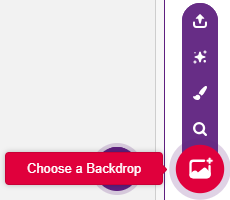
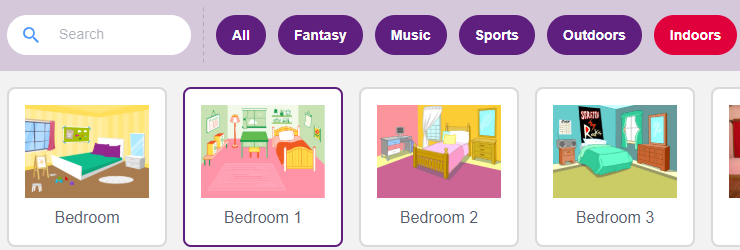
Choose Bedroom 1.
2. Select the sprite
Delete the default sprite, click the Choose a Sprite button in the lower right corner of the sprite area, enter bell in the search box, and then click to add it.
Then select the bell sprite on the stage and move it to the right position.

3. Press the button and the bell makes a sound
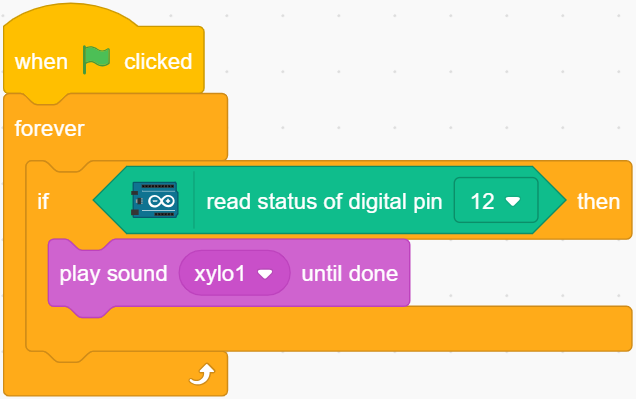
Use [if then] to make a conditional statement that when the value of the pin12 read is equal to 1 (the key is pressed), the sound xylo1 will be played.
[read status of digital pin]: This block is from the Arduino Uno palette and used to read the value of a digital pin, the result is 0 or 1.
[if then]: This block is a control block and from Control palette. If its boolean condition is true, the blocks held inside it will run, and then the script involved will continue. If the condition is false, the scripts inside the block will be ignored. The condition is only checked once; if the condition turns to false while the script inside the block is running, it will keep running until it has finished.
[play sound until done]: from the Sound palette, used to play specific sounds.
