Note
Hello, welcome to the SunFounder Raspberry Pi & Arduino & ESP32 Enthusiasts Community on Facebook! Dive deeper into Raspberry Pi, Arduino, and ESP32 with fellow enthusiasts.
Why Join?
Expert Support: Solve post-sale issues and technical challenges with help from our community and team.
Learn & Share: Exchange tips and tutorials to enhance your skills.
Exclusive Previews: Get early access to new product announcements and sneak peeks.
Special Discounts: Enjoy exclusive discounts on our newest products.
Festive Promotions and Giveaways: Take part in giveaways and holiday promotions.
👉 Ready to explore and create with us? Click [here] and join today!
Powered by PiPower
Required Components
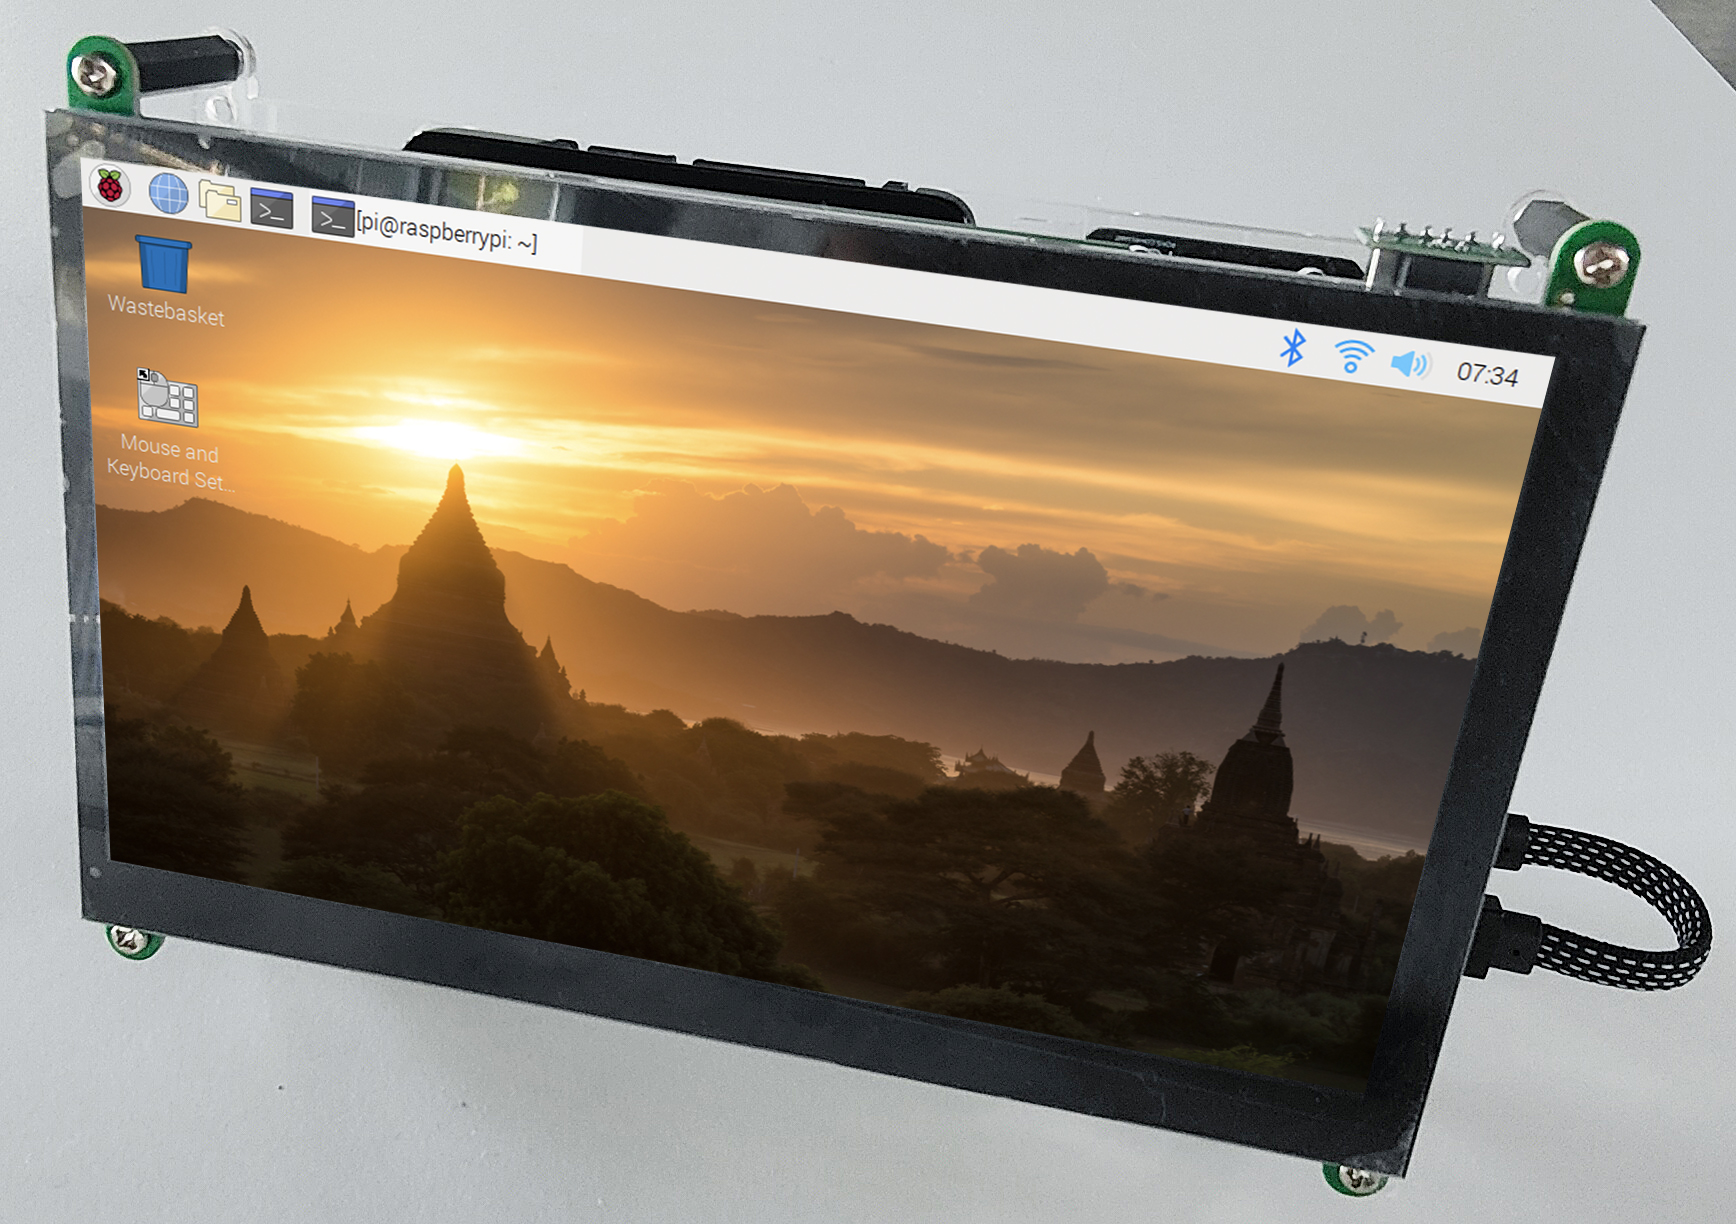
TS7-Pro Screen
PiPower + 2 18650 batteries (self-provided)
Raspberry Pi (Self-provided)
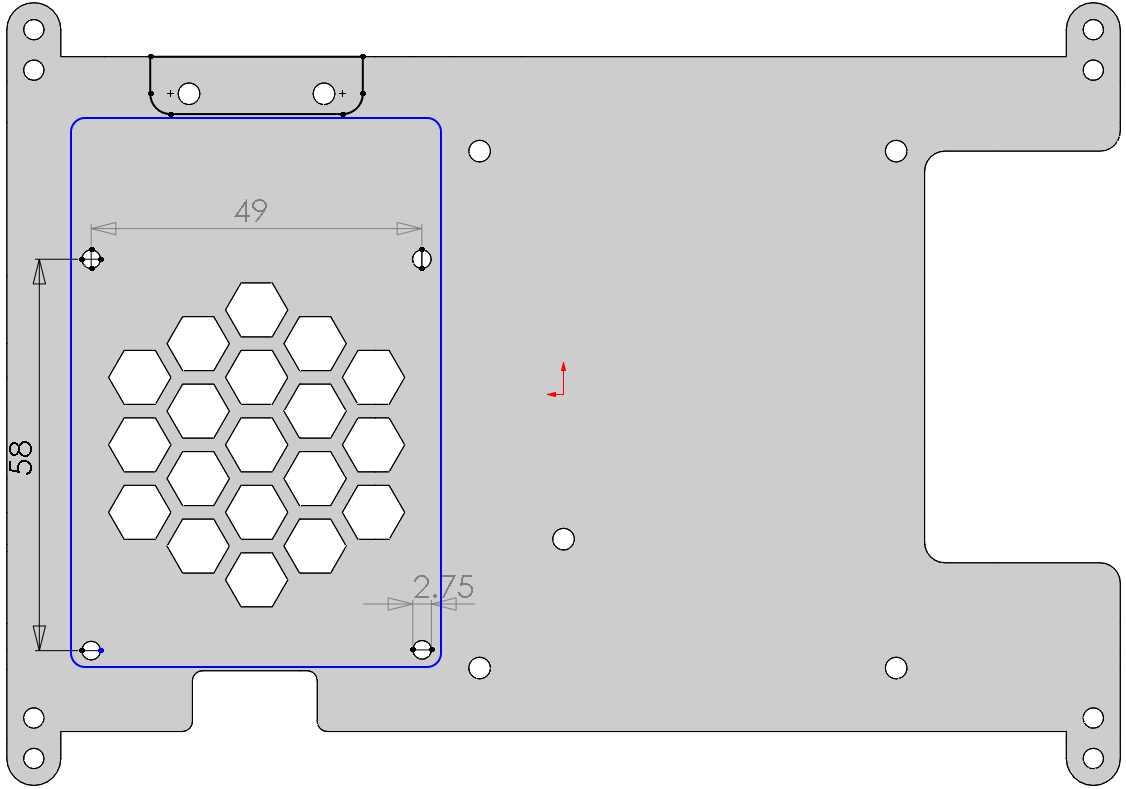
Hole size for mounting the PiPower:
Mount the PiPower
If you buy our PiPower, you can use it to power the TS7-Pro screen directly, so you can easily get it for outdoor use. The specific installation tutorial is as follows.
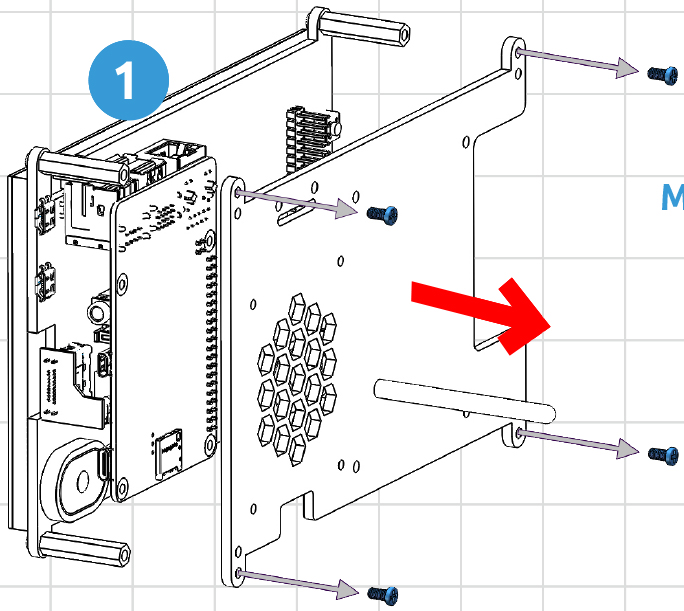
Remove the Protective Cover Plate.
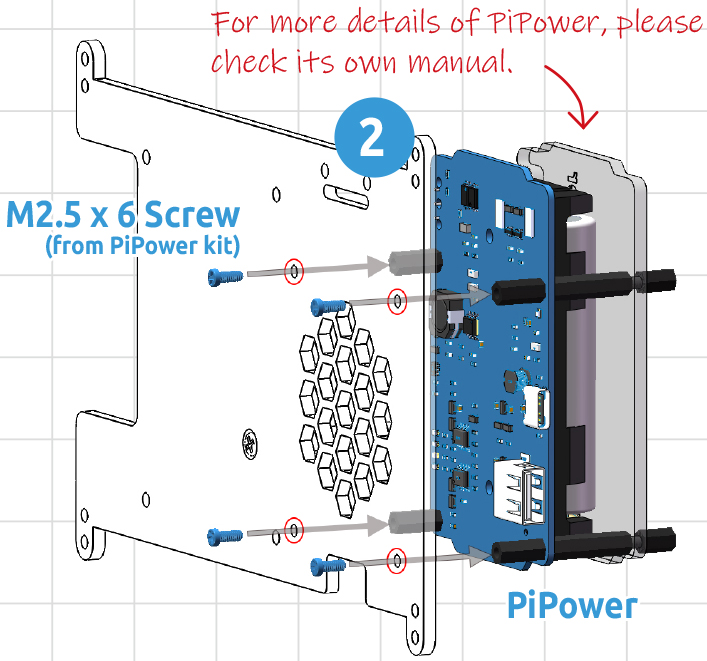
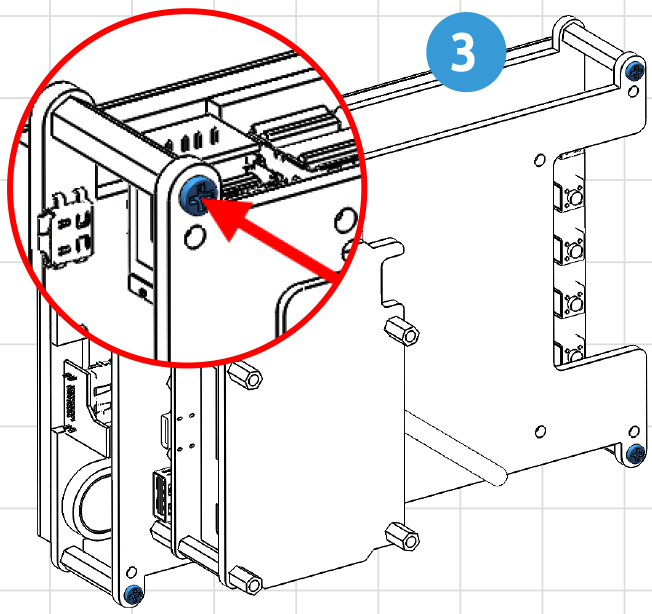
Secure the PiPower to the Protective Cover Plate. Note that the M2.5x6mm screws in the PiPower are required here.
Put the Protective Cover Plate back on.
Connect the PiPower to the Raspberry Pi with a USB cable.
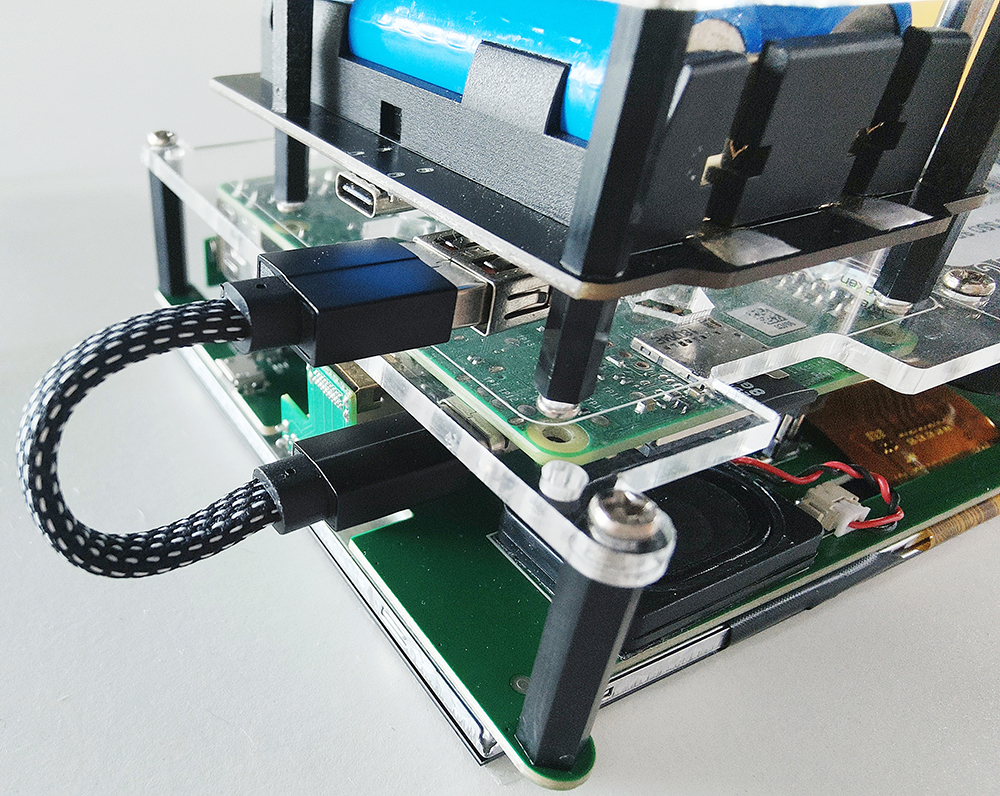
Turning the PiPower switch to ON will allow the Raspberry Pi to boot up.